Ah, Sangria. For me, it is the perfect summer beverage. Chilled wine, fresh fruit, a hint of sweetness…
My love affair with the beverage began when I was in college. I was first introduced to it in San Francisco by my sister, who was living there at the time. She and her then boyfriend snuck me into a bar they loved as I was only 20 years old. The first glass I was not getting what was so great about sangria. Granted, you need to keep in mind I was 20 and Malibu Bay Breezes and Buttery Nipple shots ruled my underage world. By the second glass I was hooked, and by the end of the pitcher as I nibbled on all the punch infused fruit, I was very, very drunk. I have to say, though, years later the first glass always goes down a little rough and then sangria is my BFF.
As I continued my college career, which included culinary school and a bartender’s license, I started experimenting with making sangria. My college best friend Susan and I discovered this awesome mix at Le Gourmet Chef which had a location at Providence Place Mall. The mix looked like this: It was such a simple recipe – wine, water, the mix, and brandy. Since it was the late 90s/early 2000s, we of course thought we were so clever and went with what all the rappers drank, Courvoisier. We were hooked. Nearly every time we hit up the mall we bought them out of the mix. Over time, the store stopped carrying it and we were devastated, so we had to start replicating our own recipes.
I have been complimented on my sangria quite a bit, and it’s time to share it with you all. I wish I could brag and make it out like I’m sharing this amazing trade secret, but I am almost embarrassed by how easy this is to make. The most time consuming part is chopping up fresh fruit.
ANNA’S SANGRIA
- 4 bottles (750 ml) red wine – preferably a mix of sweet and dry
- 1 pint-size bottle brandy – these days I keep it low brow with E&J VS
- 2 cans seltzer
- 2 cans ginger ale or sprite
- assorted fresh fruit – I prefer a mix of citrus and tart apples, fruits that can hold up to a lot of alcohol.
Cut up fruit into chunk size pieces (about 1.5 inches), set aside. Mix all the liquids in a large container – preferably 2-3 gallons, leaving room for the fruit. Add fruit, chill overnight. When ready to serve, add a bit of ice and make sure each glass has plenty of fruit. Enjoy!
If you don’t have a large container, you can divide up the liquid into smaller pitchers for serving. It’s best to leave the fruit in overnight because it allows more flavors to develop, but if traveling to a party you can store the liquids in one container and fruit in another.

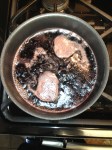
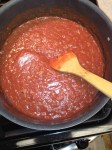
The liquids – a mix of dry and sweet red wines, ginger ale, seltzer…

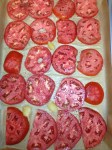
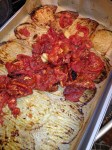
Assorted fruits – ruby red grapefruit, navel oranges, lemons, limes, pink lady apples, granny smith apples

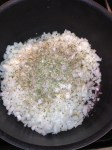
Fruit in chunks

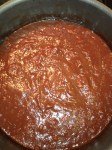
Party-ready Sangria

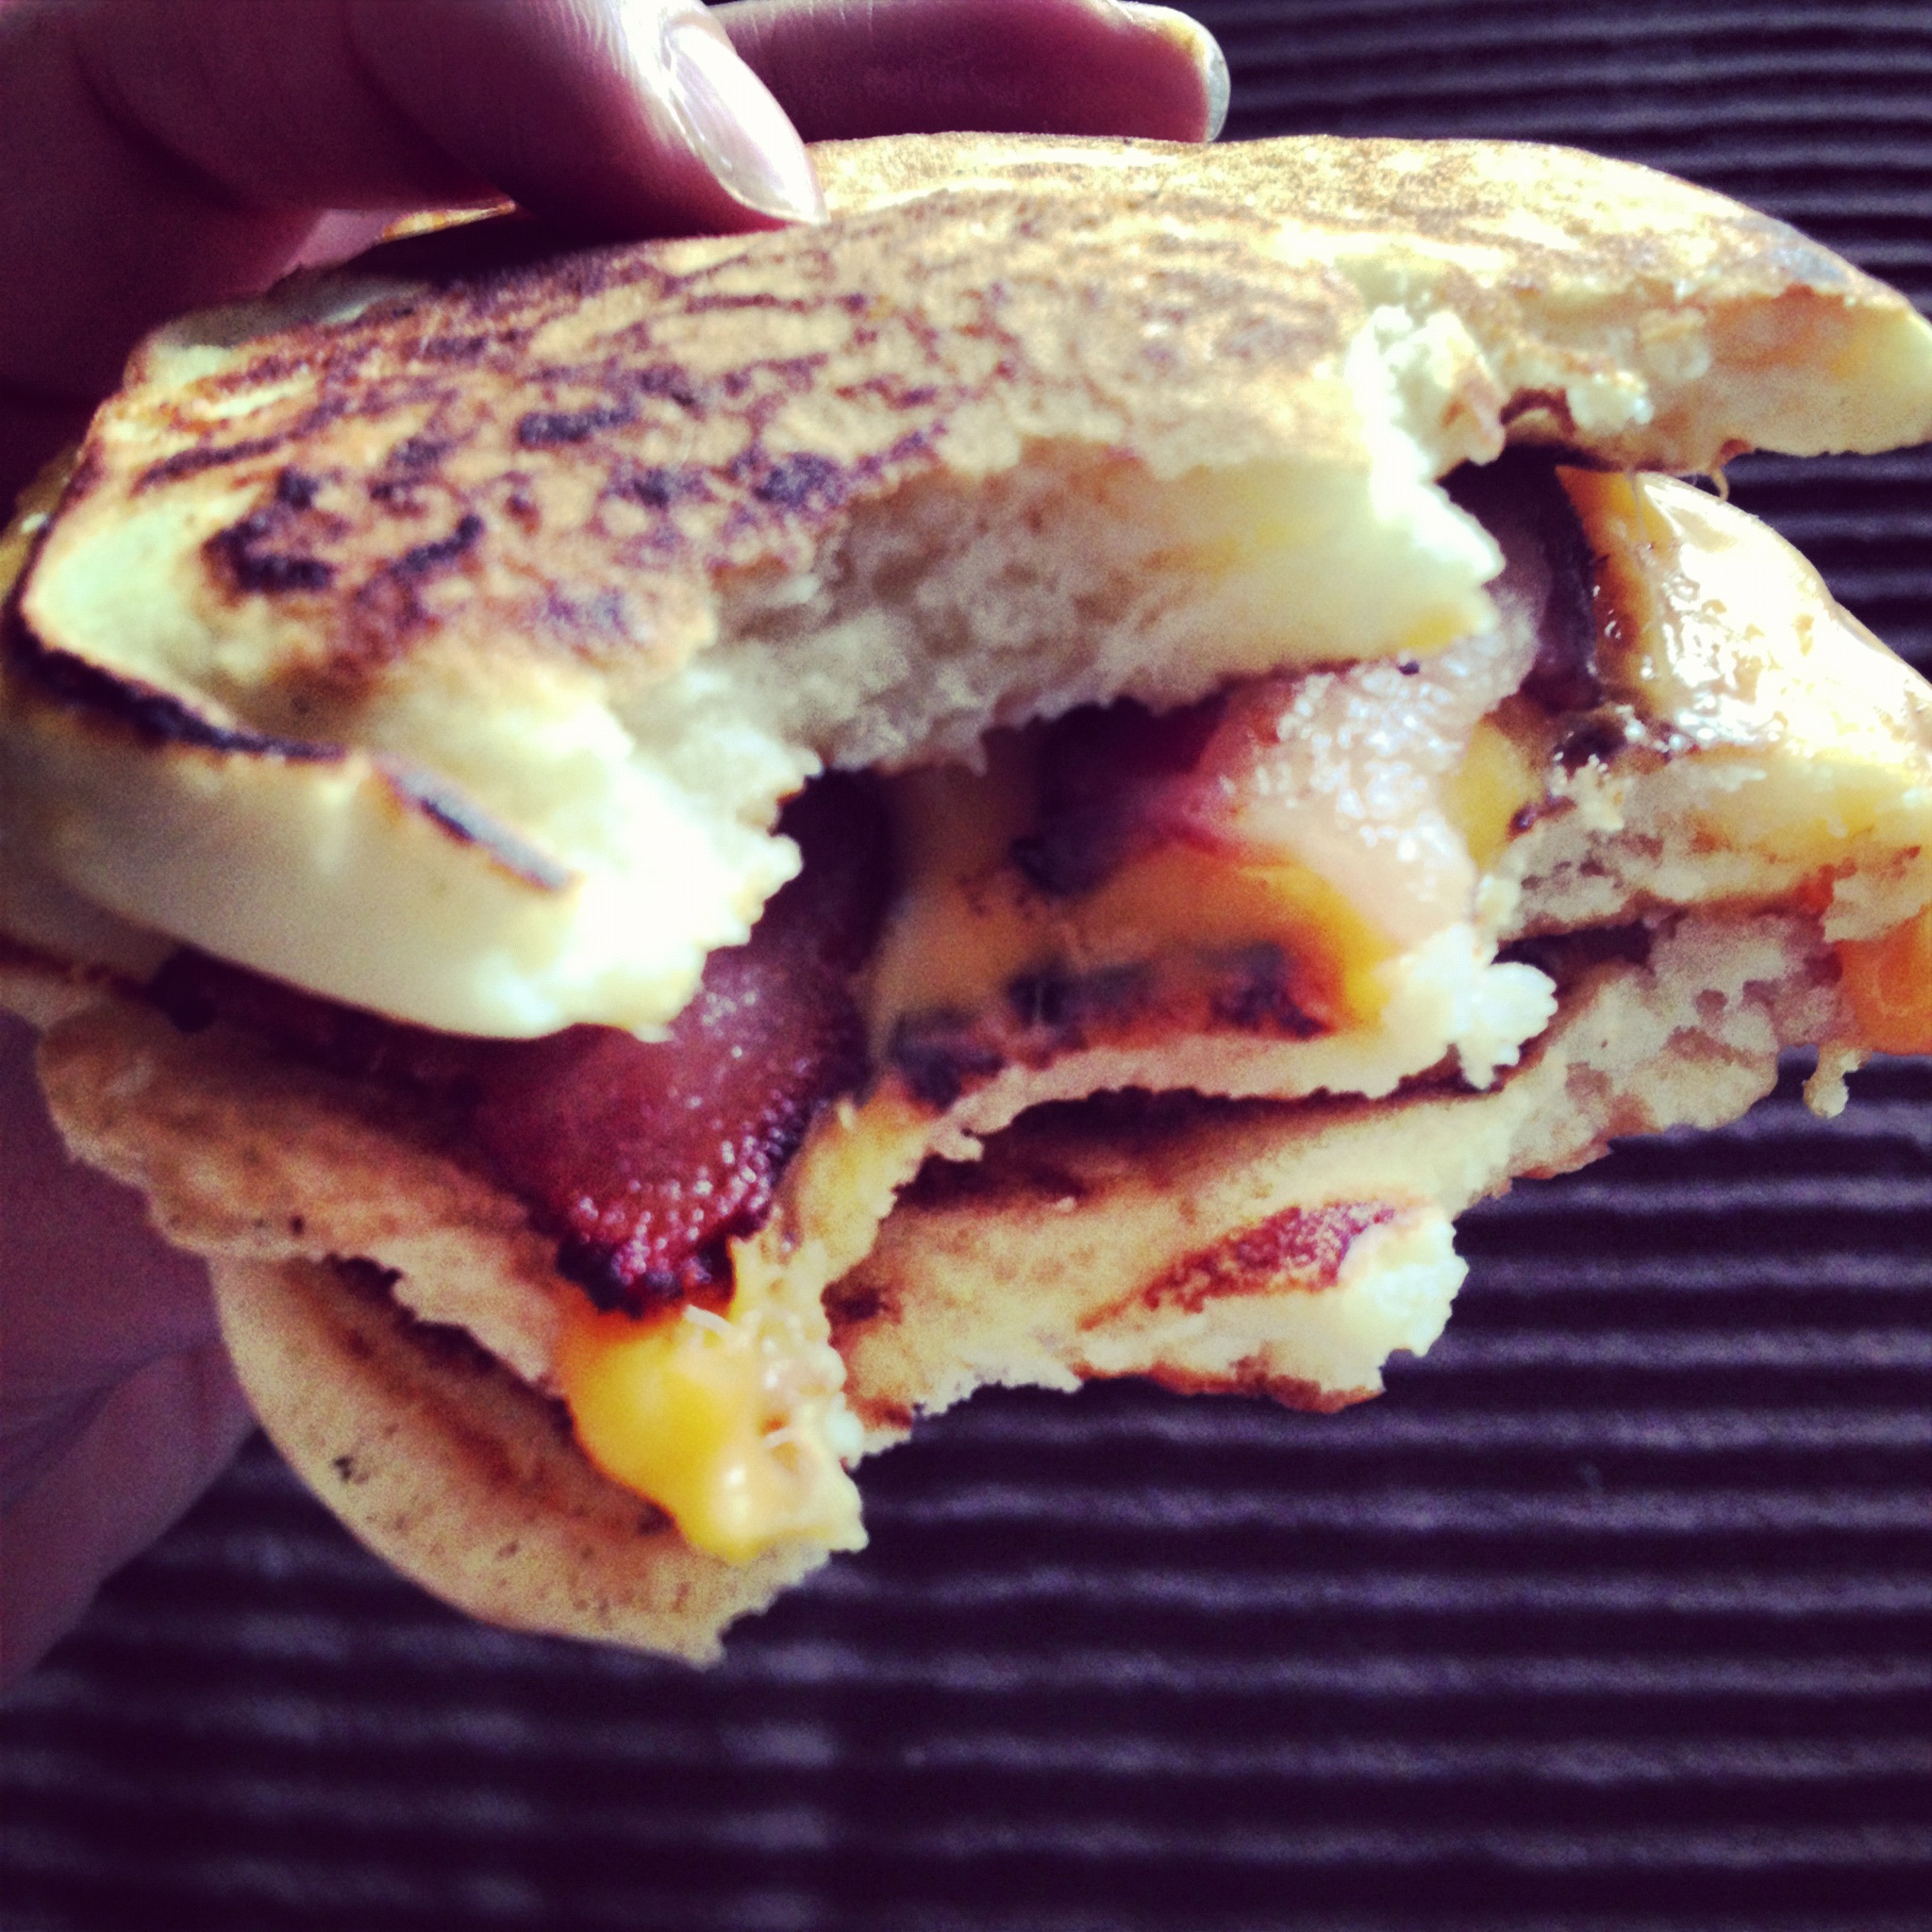
 This is a pretty simple and quick breakfast that you may make as little or as much of as you like. In this case, I used about 1/2 cup of pancake batter (from an add-water mix), two slices American cheese, and 2 slices bacon. I first cooked the bacon and reserved a little grease. I divided the batter for form three pancakes. Upon flipping over the pancakes, I added cheese to two cakes. Finally, I stacked up the pancakes with a slice of bacon between each stack (cut in half so it would cover the full pancake. A little messy for cooking, but damn tasty!