Inventory, Part 4 – Freezer and Fridge Condiments

AC_PANTRYPROJECT

Finally! I have counted all this “inventory” in my home. The last phase of counting and calculation took place this evening. I wanted to work on it earlier in the week, but since the Snowmaggeden bust kept me out of my home the day that I was best suited to do it, I got around to it tonight.

So, using the same loose formula I used for my dry goods (gifts have zero value, stuff from Whole Foods bought under retail with my discount, etc.), I calculated the freezer contents and my refrigerated condiments (i.e., perishable but long shelf life in fridge) came to about $240, so the grand total cost of all my food is $1140.

Since starting this project a little over a week ago, I have not gone grocery shopping for myself. The only exception is I stopped and bought a dessert as a hostess gift for a friend who was having me for dinner. I have gone out with friends to eat a couple of times, but otherwise, I have just been depleting my pantry. I will have to make a trip soon for some fresh produce and dairy, but I know I’m saving a lot of money being resourceful. Next phase, of course, is to figure out what I would spend on average in the past and how I am helping my current cause.

Here is what I have to work with from my freezer and refrigerator… Continue reading

Advertisement

Friday Night Hummus

AC_PANTRYPROJECT

Every time I make hummus I am reminded how foolish it is to buy it. The ROI on store-bought hummus simply is not there. There are plenty of things I can make that I can buy because of time constraints, or that my version is not as good, but hummus just does not fit into that category.

In about five minutes, less time that it takes to go to the store, you can have hummus. And of course, what I love, is I know exactly what I am putting in my body and I have control over smoothness, sodium, preservatives, etc.

For this version, I used tahini, lemon, parsley, and garlic, but you can experiment with all sorts of ingredients and mix-ins, but I recommend at least chickpeas and olive oil.

This is MORE than what you need for a simple hummus.

This is MORE than what you need for a simple hummus. From left to right – parsley, tahini, garlic, chickpeas, lemon, olive oil, salt, pepper.

HUMMUS
1 can (14.5 ounces) Chickpeas, drained and rinsed
1/4 cup Tahini
2 tablespoons Olive Oil
3 cloves Garlic
Juice of 1 Lemon
1 tablespoon Lemon Zest
2 tablespoons fresh Parsley
1/4 – 1/2 cup water

For a quick meal, serve with salad and pita bread or naan. For this dinner, I combined arugula and tuna with Curry Dressing.

IMG_3889

COSTS:
$2.80 for 1 1/2 cups (12 oz.)
Chickpeas – $1
Tahini – $.75
Lemon – $.80
Olive Oil and Seasonings – $.25

Butterscotch Brownie Bites

AC_PANTRYPROJECT

No secret here – I love butterscotch chips. I also had an unopened box of No Pudge! Brownie Mix that was burning a hole in my chocolate craving, so I wanted to make brownies with the mix and use up some of my three bags of chips. Since making the Curry Aioli I was out of yogurt that the box’s recipe calls for. Surprisingly, I have no applesauce in the pantry, either, but I did have pumpkin and butternut squash. I decided to improvise and make little bites. So cute! (In my opinion…)

BUTTERSCOTCH BROWNIE BITES
Makes 20 bites

1 box No Pudge! Brownie Mix
1 cup canned Pumpkin
1 tablespoon Vanilla Extract
1 teaspoon Salt
1 cup Butterscotch Chips

  1. Preheat oven to 350 degrees
  2. Grease mini muffin tin, set aside
  3. In a medium sized bowl, pour out brownie mix and add pumpkin. Mix with a large spoon until well incorporated
  4. Mix in vanilla extract and salt
  5. Stir in butterscotch chips
  6. Using a large spoon or ice cream scoop, scoop out batter into 20 of the muffin tin cups
  7. Bake for 10-12 minutes, do not over bake
  8. Allow to cool and enjoy!

Tip: Better to under bake a little than over bake, makes for an ooey-gooey treat! 🙂IMG_3872IMG_3873

Cheese Sauce, Part 2

what's cooking

Another fun aspect of The Accidental Pantry Project is that is creates opportunities to stretch some things into several meals. Tonight I made a super quick mac and cheese thanks to already having about a cup of cheese sauce on hand. Dinner took about 45 minutes including baking time. I mixed about three cups of whole wheat elbow macaroni with sauce, put it in a baking dish, topped with about 10 Ritz crackers and a quarter cup of shredded cheddar and baked at 350 for about 25 minutes.

IMG_3867

Lentil Cakes with Curry Aioli – Snowmagedden

AC_PANTRYPROJECT

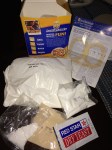
So we had this major snowstorm bust here in the NYC metro area. I thought we would have been snowed in for a few days, so I took my pantry project on the road to my sister’s house. Since I live alone, figured it would be more fun to be snowed in with my nephews (who are 7 and 5) in a big house than cooped up in my apartment. Not wanting to lose steam on my project, I grabbed red lentils, chopped onion, super grains (a mix of quinoa, buckwheat, and millet), yogurt, and curry powder. I had a vision of Lentil Cakes with Curry Aioli, and it was going down at her house.

I am so happy I made this recipe “on the road” and had more people to feed than myself. My nephews would not go near the food (though they did stir the sauce), but my sister and brother in law were thrilled with the meal, especially how it got them thinking of ways they can vary this dish.

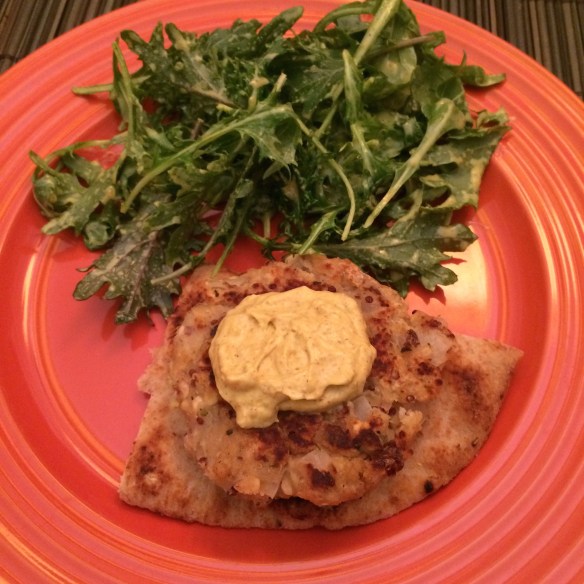
Even before we ate, we already did one variation, which was using the aioli as a base for salad dressing, and combining heads we created a simple, snowed-in feast.

IMG_3859

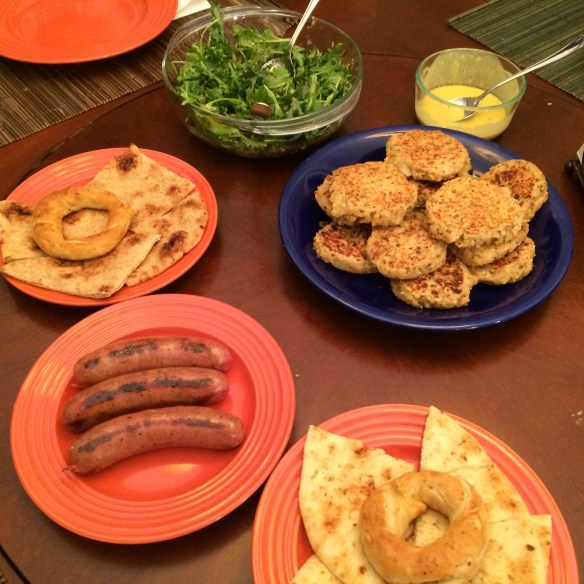
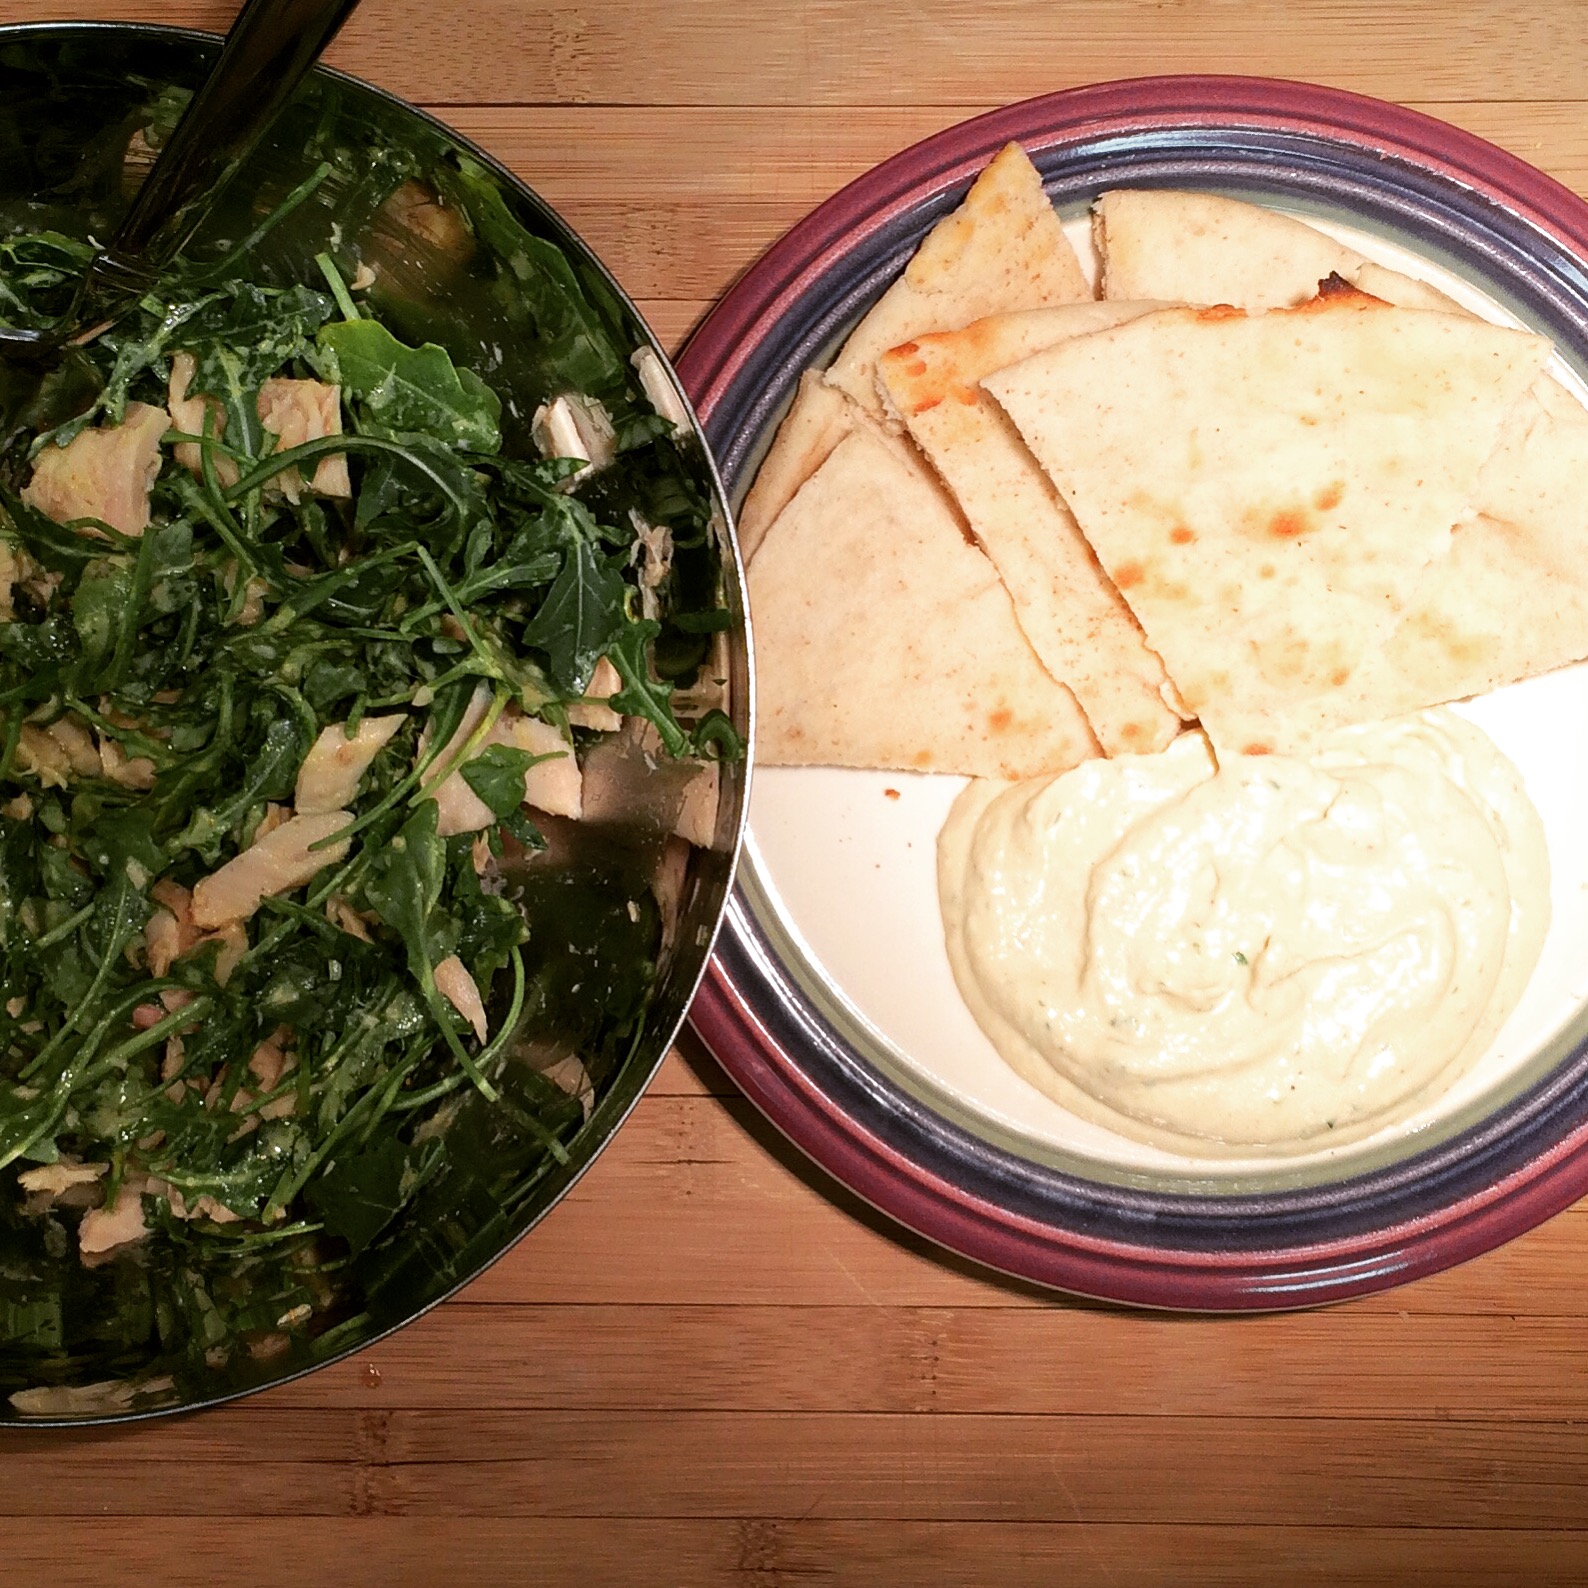
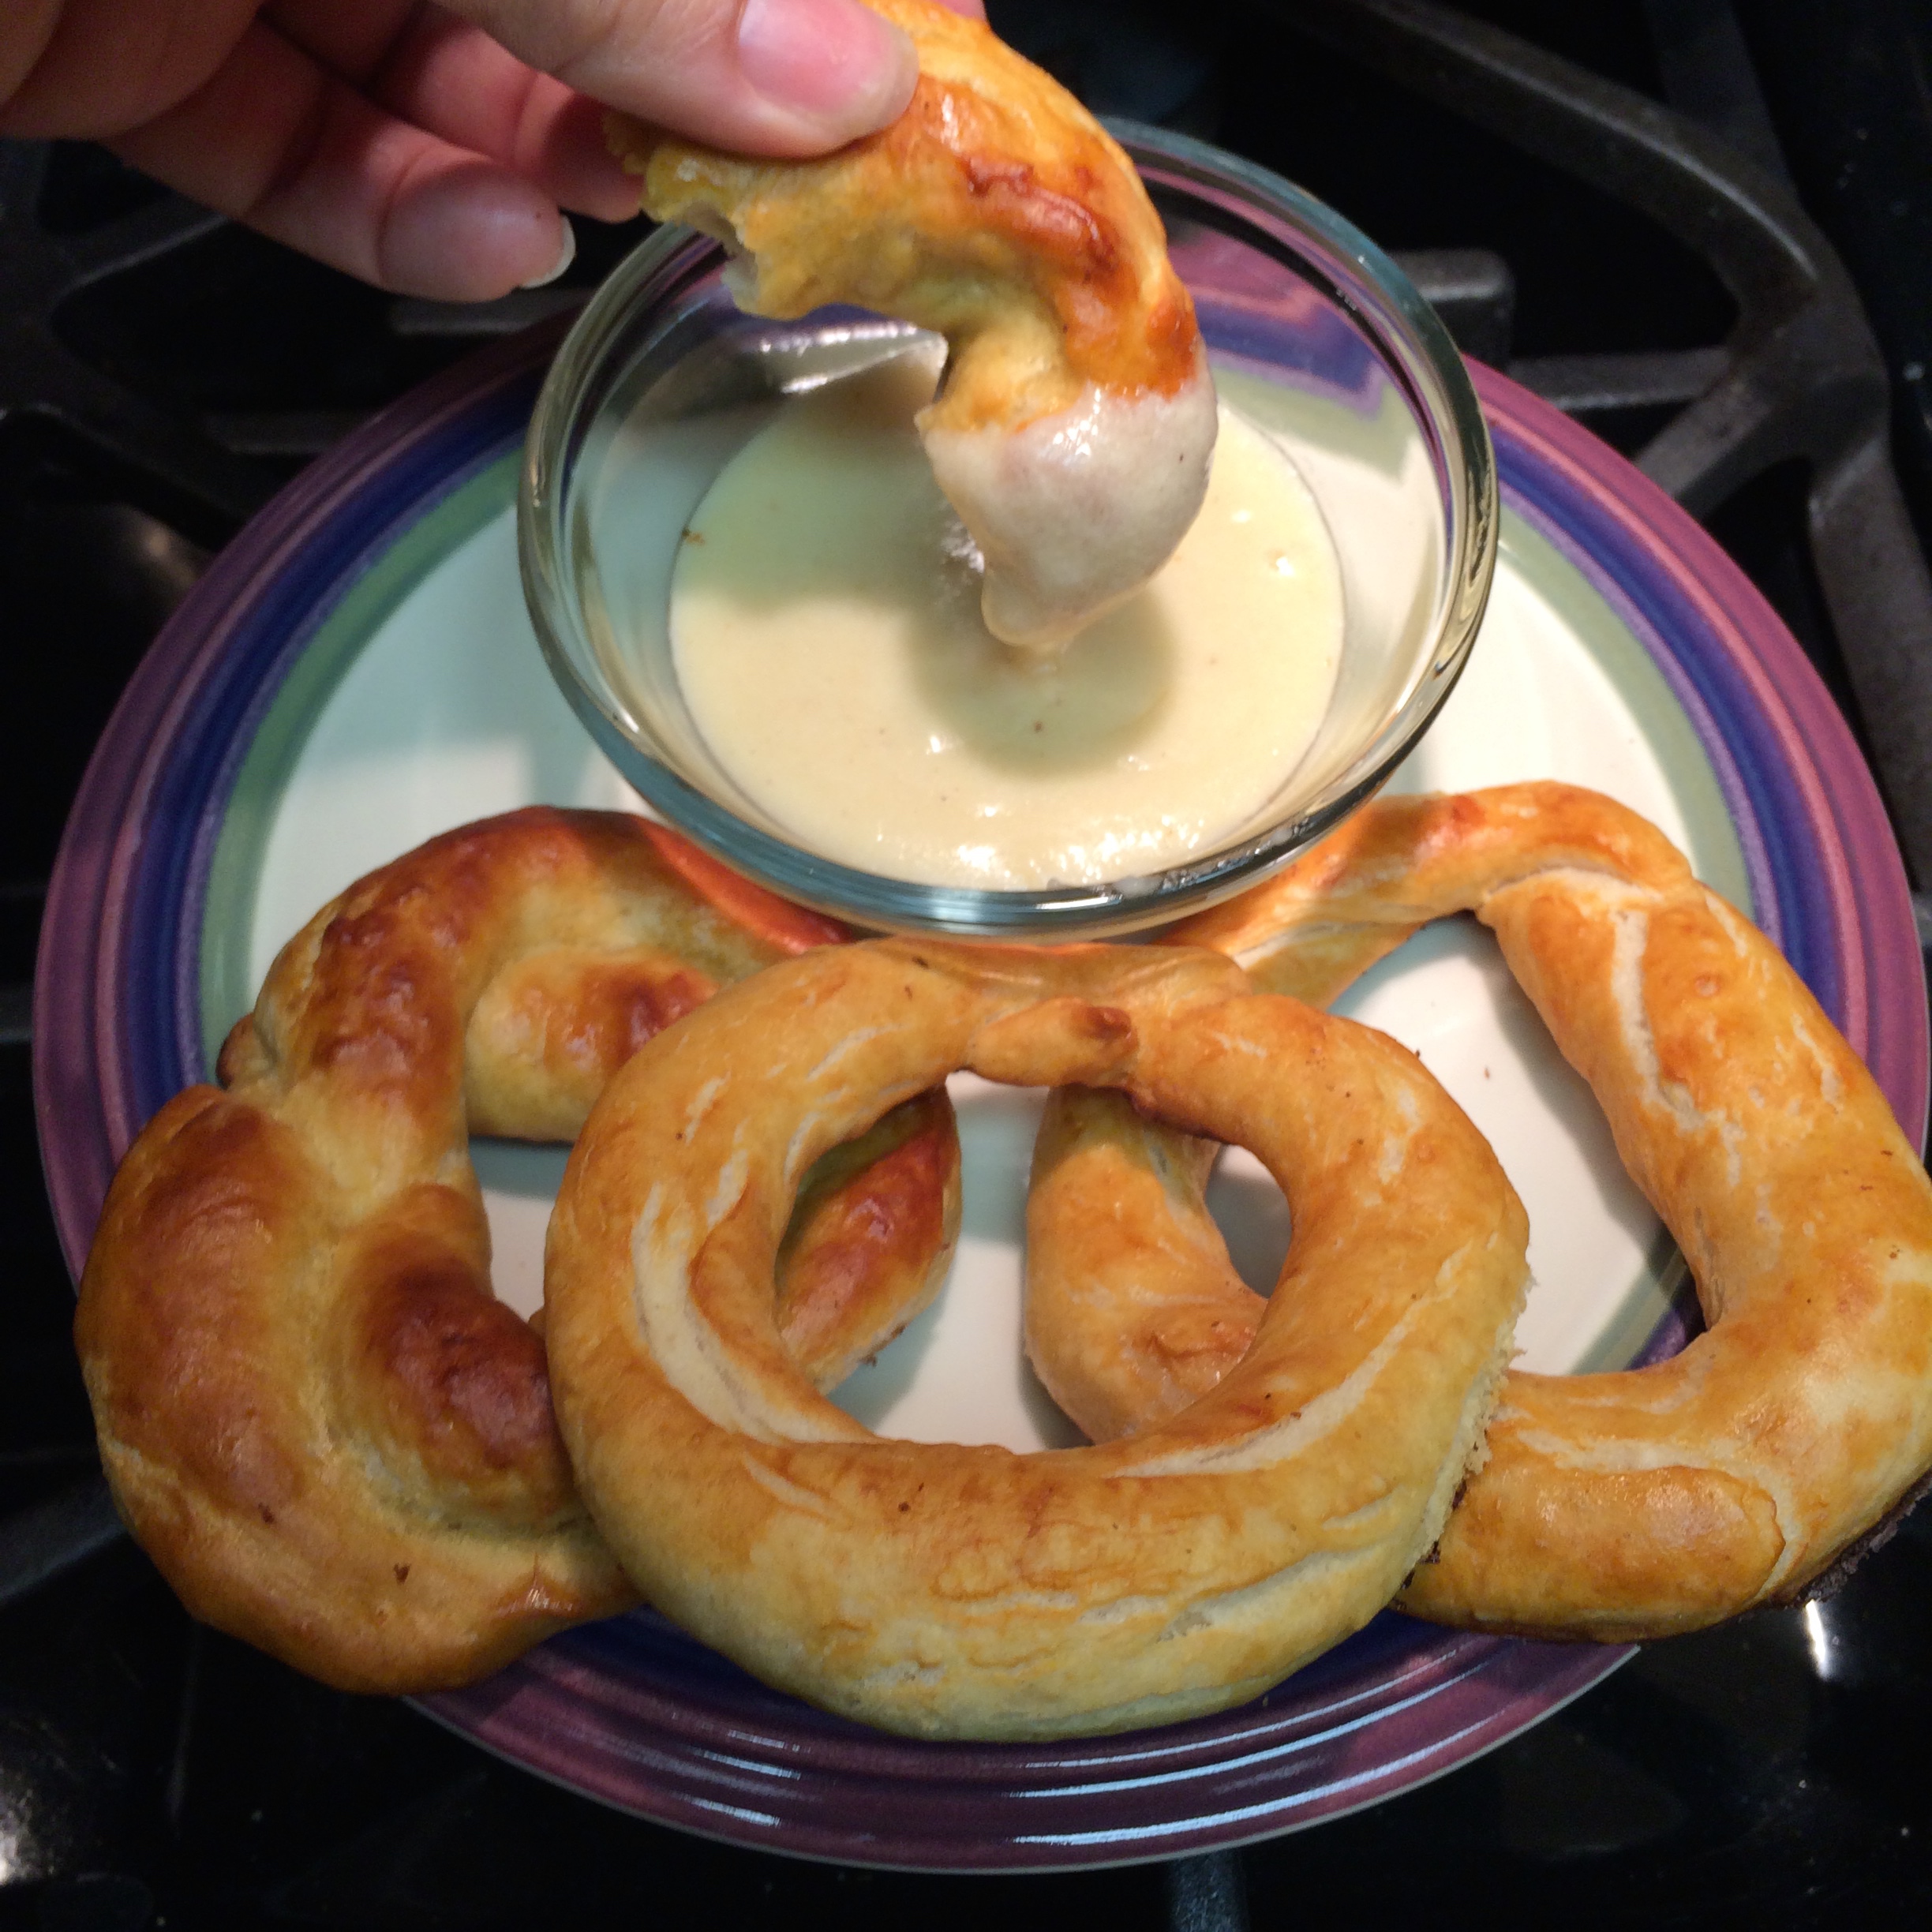
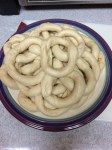
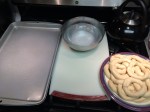
The Meal – Lentil Cakes, Curry Aioli, Mixed Green Salad with Curry Dressing, Two Types of Naan (whole wheat and garlic), Apple Chicken Sausage, and a couple of leftover Pretzels

IMG_3860

“Meatless Monday” Serving Suggestion – Open Faced Lentil Cake Naan-wich and Salad

LENTIL CAKES
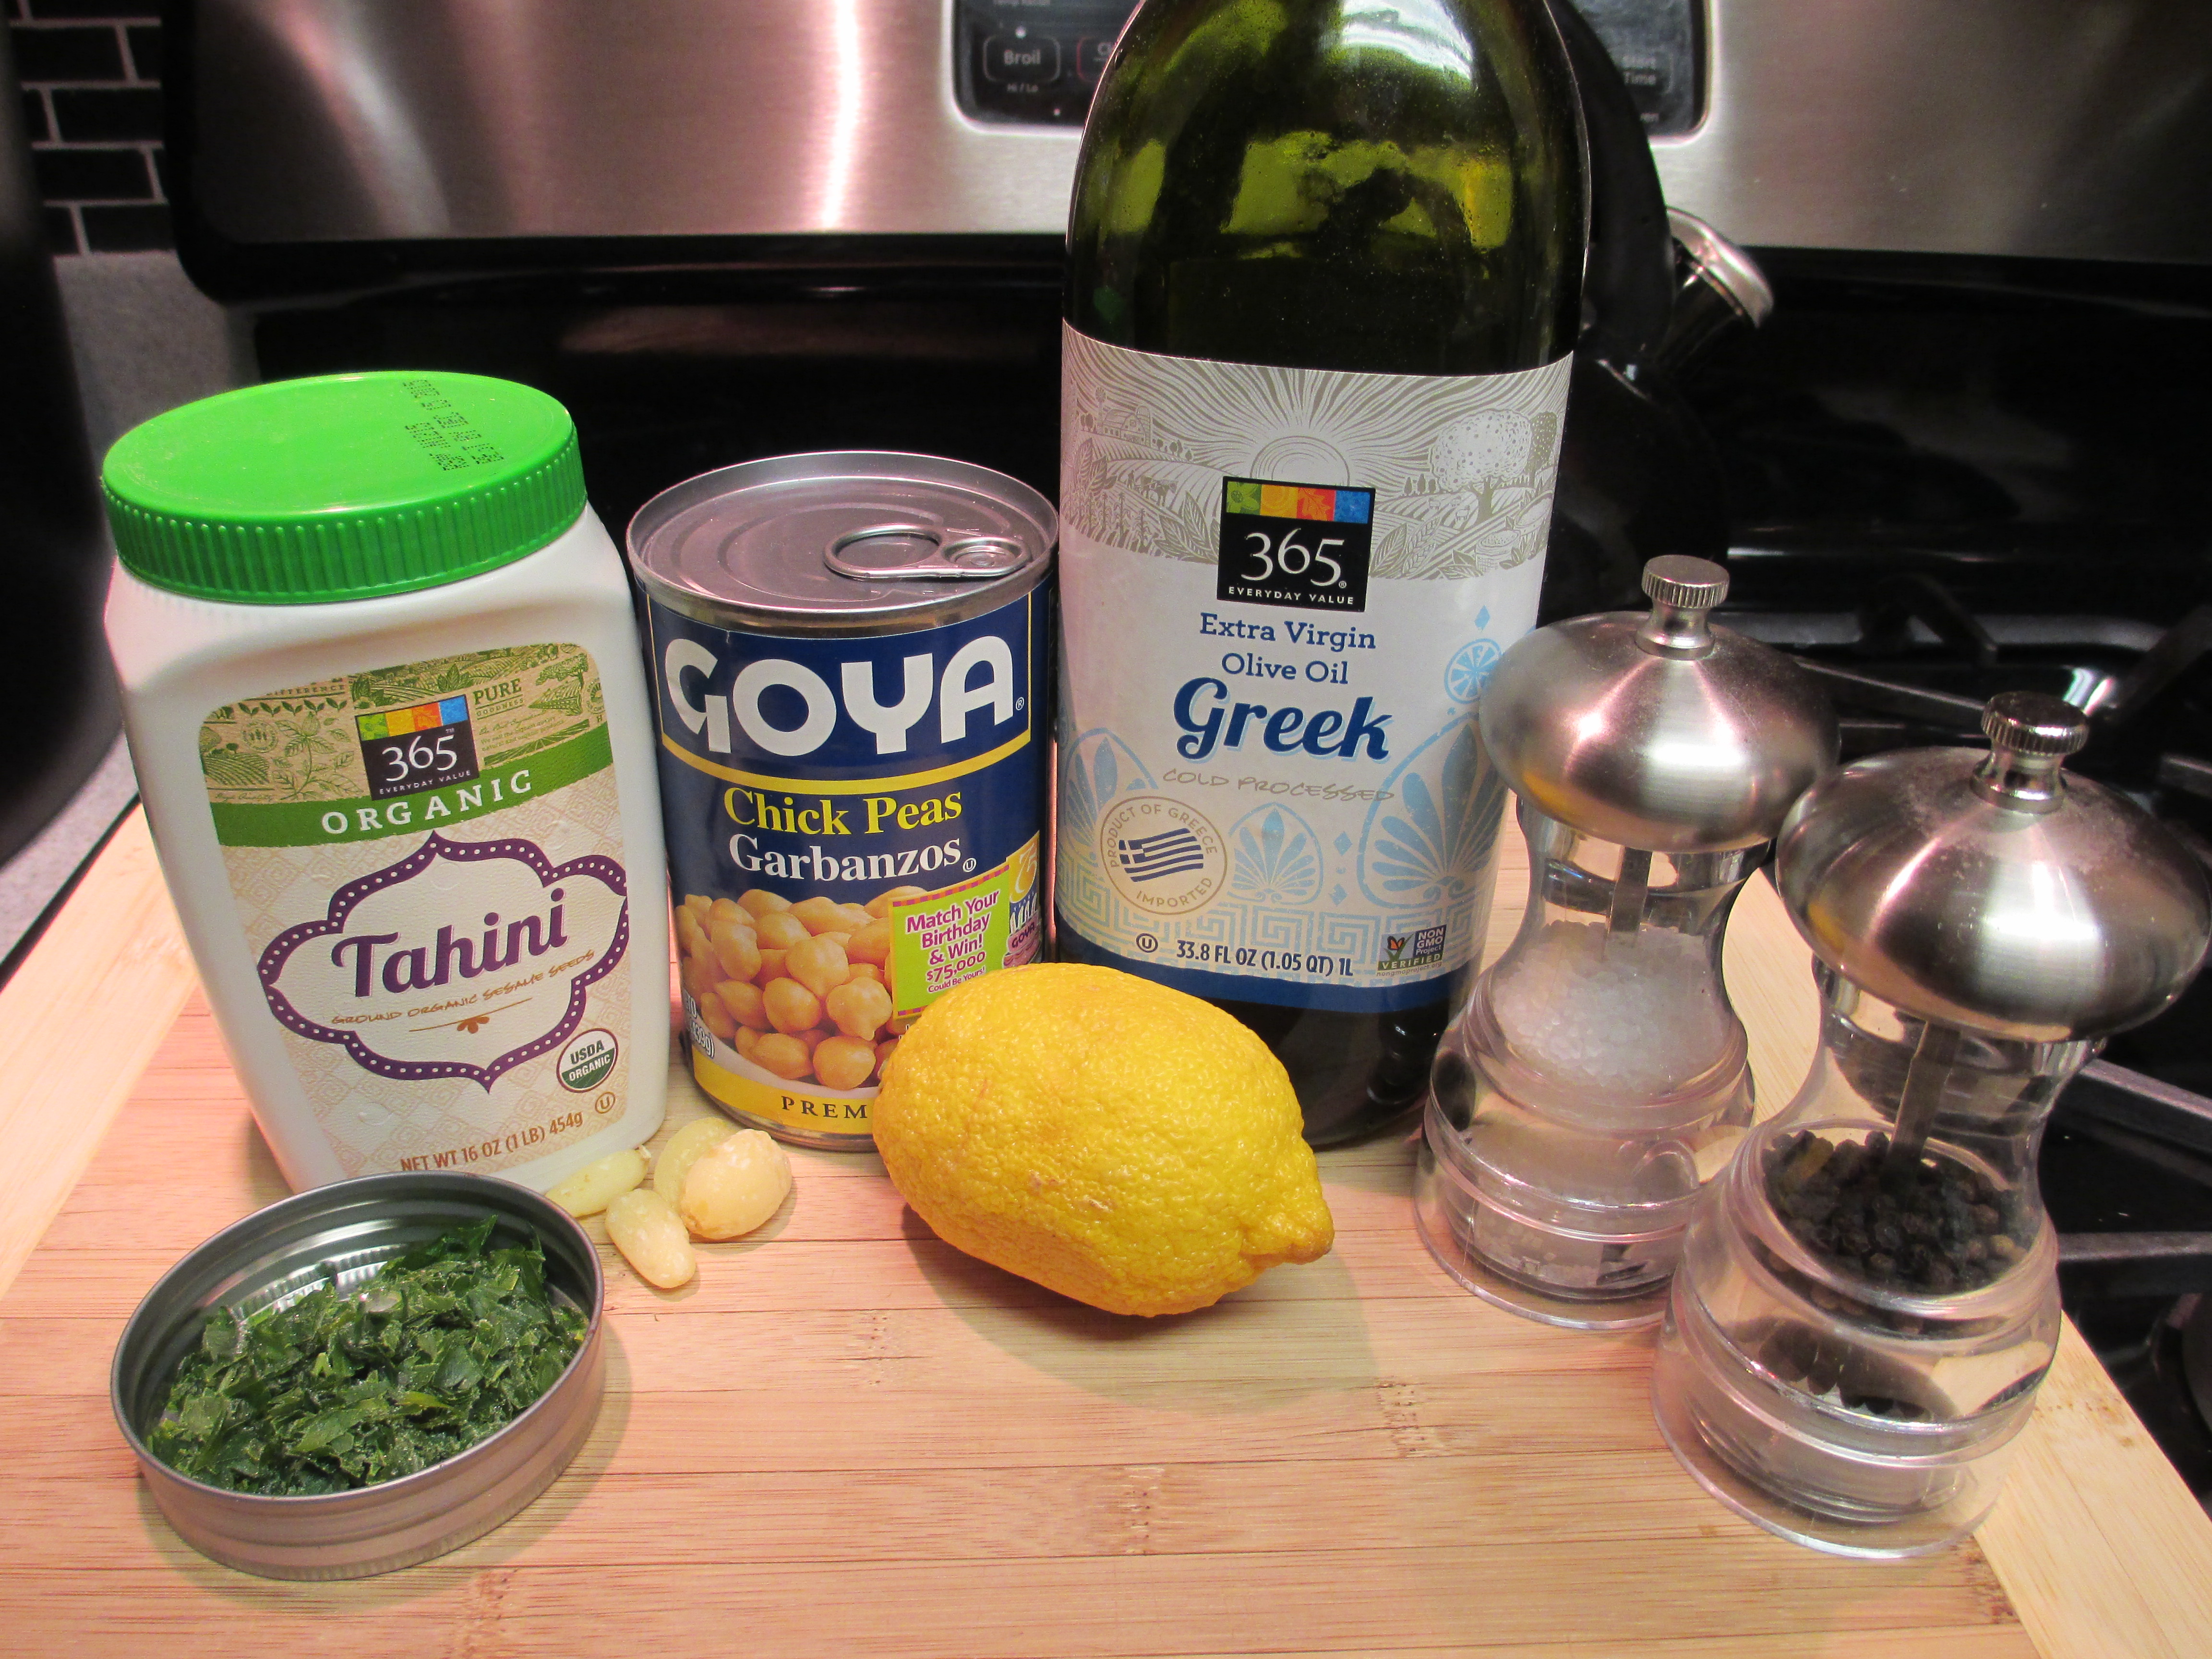
1 1/2 cups dried red lentils
1/2 cup super grains
1- 1 1/2 cups chopped onion
Olive oil, for sauteing
1 egg
1/2 cup whole wheat flour
salt and pepper, to taste
1 tablespoon pizza seasoning
1 teaspoon garlic powder

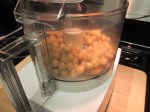
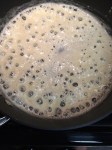
  1. Cook lentils and super grains in separate pots according to package directions, drain and allow to cool to room temperature or chill
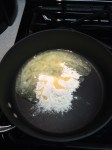
  2. Lightly saute onions about two minutes with about 1-2 tablespoons oil, season with salt and pepper. You want to maintain the texture of the onions, but soften them a bit so they are not completely raw. Remove from heat and allow to cool to room temperature or chill
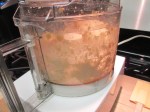
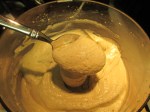
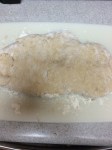
  3. Using a potato masher, mash lentils in a large bowl. Stir in grains and onion
  4. Crack egg into bowl and mix in thoroughly
  5. Mix in flour and seasonings. Mixture should be moist but not wet, similar to raw meatloaf. Add more flour if it is too wet/soft
  6. To cook – lightly spray a nonstick pan with cooking spray and place over high heat to medium heat
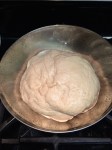
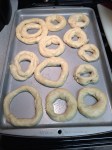
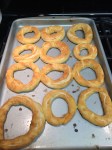
  7. Once pan is hot, but not scorching, scoop about 1/4-1/3 a cup of the mixture and form a patty. You can cook 4-5 cakes in one pan. Do not overcrowd or make more than that at once, so not to burn the cakes, since you are shaping the patties as you go. Cook each patty 2-3 minutes on each side. Cakes can be transferred to an oven safe dish and kept warm in your oven (200 degrees or less) until ready to serve
  8. To serve, add a dollop of aioli to each cake. Cakes work well with flatbreads for a sandwich, or they can be eaten on their own
  9. Cakes can be refrigerated or frozen and reheated, but they taste best freshly made

Note: Seasonings were what was on hand. The pizza seasoning was comprised of oregano, marjoram, basil, onion powder, garlic powder. Had I made this at home, I would have used thyme and marjoram. Feel free to season the mixture as you would like.

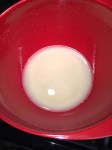
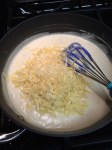
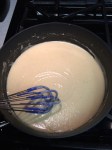
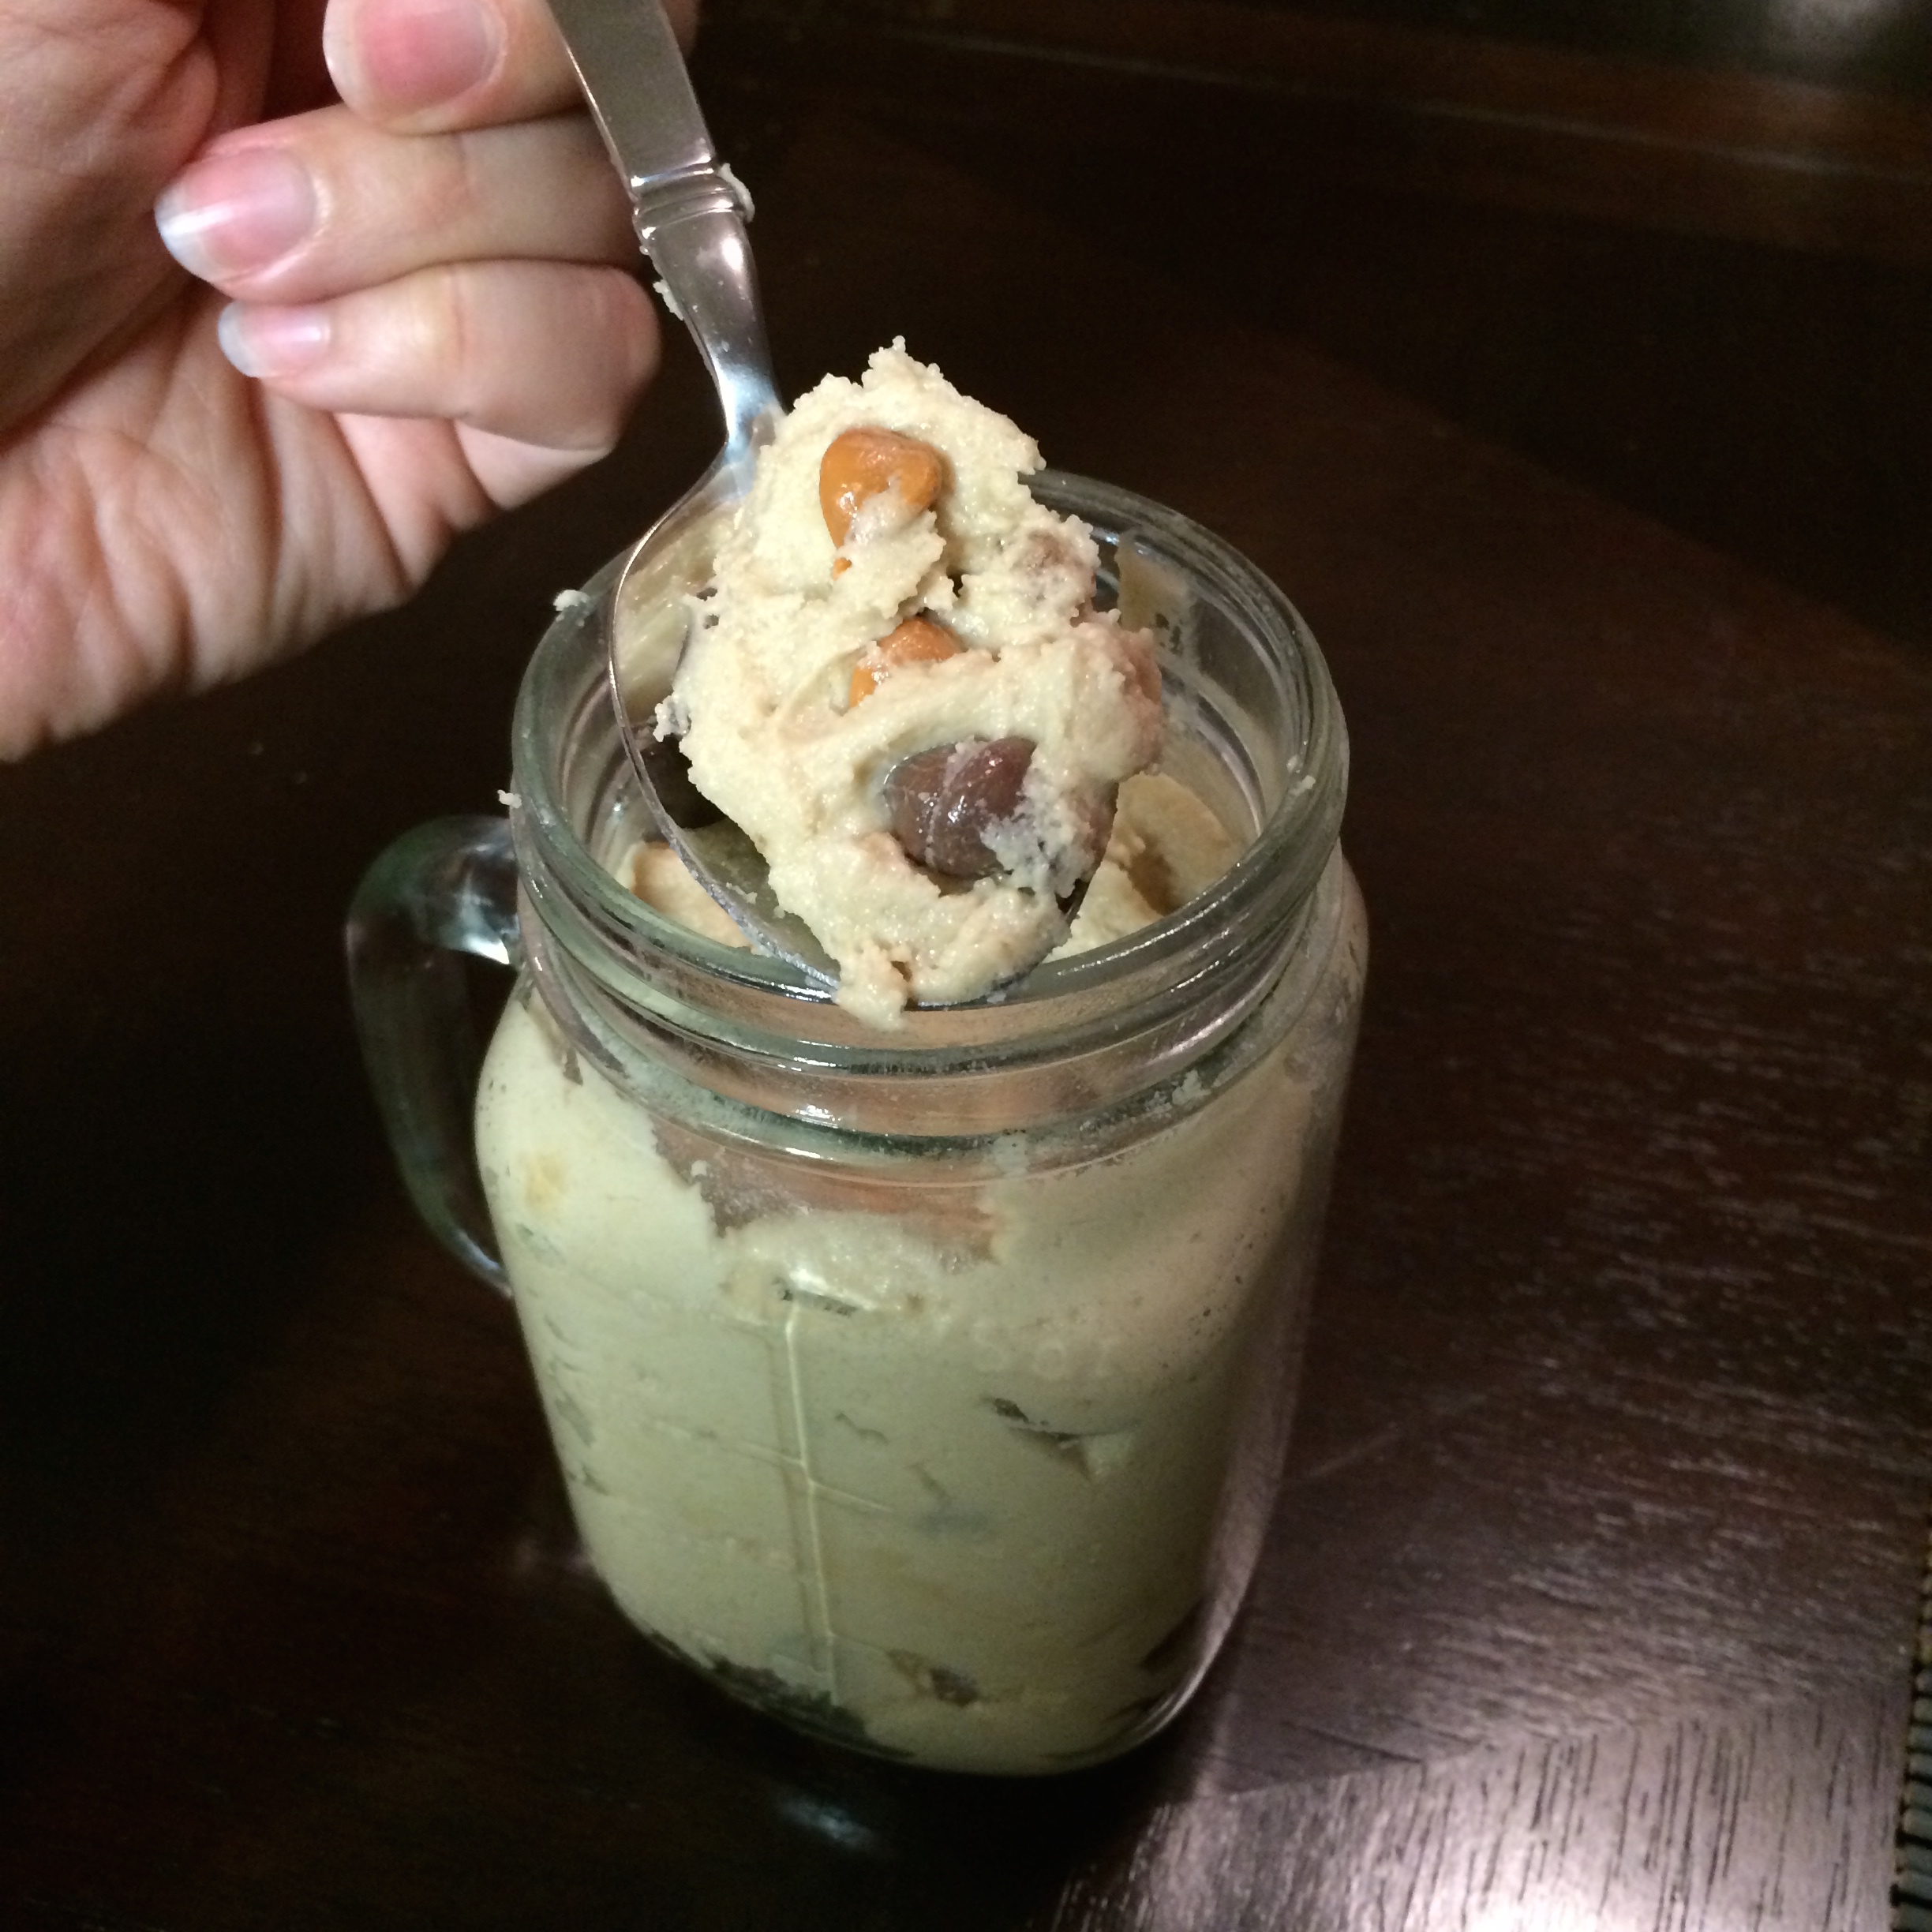
CURRY AIOLI (and dressing)
1/2 cup nonfat plain Greek yogurt
1/4 cup light mayonnaise
2 tablespoons olive oil
2 tablespoons lemon juice
2 tablespoons curry powder
salt and pepper
extra olive oil and white wine vinegar (for dressing)

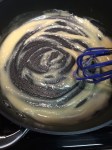
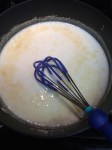
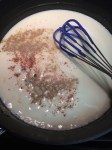
Whisk all the ingredients in a bowl until well incorporated. Aioli should be a nice buttercream yellow color. Taste and adjust seasonings as need.

To make a salad dressing, combine 1/4 cup dressing, 1-2 tablespoons olive oil, and 1-2 tablespoons white wine vinegar. Thin the mixture out with a little bit of water, to desired flavor and viscosity (I used about a tablespoon). Taste and season with additional curry powder, salt, and pepper if necessary. Toss with your favorite greens.

Inventory, Part 3

AC_PANTRYPROJECT

Today I figured out the value of the inventory of my pantry dry goods. I putzed around google and amazon for costs, and where applicable I used about a 20% discount on things I know I got at Whole Foods with my employee discount. Hence, the rough estimate really will not be all that rough.

The area that I really averaged an estimate, however, was spices. In terms of spice inventory, I am going to say the average spice in my cabinet cost $2.50. Most of those standard sized McCormick bottles out there go for about that price, but my spices range from free stuff I scored through work, trade shows, mom’s pantry and gift baskets, to some high quality stuff I splurged on (hello, saffron and vanilla). With 51+ spices, that’s $127.50, and I think that is a very fair estimate.

Looking ahead, I plan to omit spices from the exact cost factor in my recipes, similarly to how restaurants and food service establishments do when they cost out recipes. Instead, when I cost out recipes I will use a blanket seasoning cost estimate, which will probably be pennies per recipe, maybe $.03 – $.10. Think about it, let’s say I spent $3 on a 1.25 ounce bottle of Italian seasoning. The bottle probably has about 30 teaspoons of seasoning in it, so about $.10 per teaspoon. Some recipes will use a dash, some will use tablespoons. I’m going to drive myself crazy thinking about what I spent on that, and again, the financial aspect of this project is more of an exercise on money I am saving moving forward, not what I have already spent. Plus, and I know I’m beating a dead horse here, it’s more about creativity and making use of what is on hand.

So you want to know the full value of my dry goods inventory, what is has probably cost me? $904. The average cost of each individual item (218 in total) is about $4.16. This ranges from about 15 non-spice items that were definitely free, to pricey supplements that cost about $50 (hello, Green Vibrance). $904. I think that’s fascinating. I don’t even know how many meals and dishes and snacks I will create from all this, but knowing that I usually drop $40 – $100 when I go out to a nice dinner with friends, it is beyond foolish not to cook at home when you want to save money. Plus what I have to work with will not mean meals of ramen, plain spaghetti, and PB&J.

Next up in the project – freezer and fridge inventory, figuring out my average grocery costs before now, and figuring out on average how much I have been spending on food. Oh, and of course, what I have cooked so far. Stay tuned!

Late Night Snack – Pretzels and Cheese Sauce

AC_PANTRYPROJECTIMG_3831

While I work on my on-hand food inventory and cost, I’m also doing the fun part of this project, which is getting creative with what I have to make some yummy food!

The latest experiment was making Auntie Anne’s Pretzels from a kit I bought at Bed, Bath, and Beyond. For years, an Auntie Anne’s pretzel has been my favorite mall fare – a quick snack to refuel on shopping excursions. Plus with cheese being my favorite food, I would also get a packet of cheese sauce to go with the pretzel. Granted, that cheese sauce was more of a chemically processed cheese food that could survive nuclear holocaust and will probably be sitting in my system years after I am dead, but it really was a satisfying snack.

On my own, I make a good cheese sauce because I love Bechamel, cheese, mac and cheese, etc. Depending on my needs I am not as diligent in the classic mother sauce preparation as I was in my youth. I still love the whole pomp and circumstance of an onion cloute and straining the milk mixture before blending it with the roux. But tonight was about snack time and pantry depletion, so shortcuts happened and the results (in my opinion) were still quite scrumptious.

I followed the instructions that came with the baking mix. It was pretty easy to follow, but the process was definitely time consuming, as is any sort of bread baking. From when I started to when I was snacking was probably about an hour and a half to two hours, and it yields a hefty number of pretzels. Much of that time is active time, too. Other than the half hour you allow the dough to rest so the yeast can do its thing, you are working a lot and quickly. I made the mistake of wanting to make my cheese sauce while the pretzels were baking, but the baking time was short and active, and I do not have the counter space to work around that.

Overall lesson learned – making the pretzels at home was fun and cost saving, but DEFINITELY not convenient and time saving.

Here’s my adventure, followed by the cheese sauce recipe

CHEESE SAUCE

3 tablespoons butter
3 tablespoons flour
1 1/2 cups nonfat milk (can use any milk, nonfat is what I had on hand), ideally warmed to room temperature
3 cloves
1/2 teaspoon salt
dash each of nutmeg, white pepper, onion powder, Worchestershire sauce
1 teaspoon maple sugar (any natural sweetener works, again, what I had on hand and I love maple)
1 cup shredded cheese (I used Clothbound Cheddar and Landaff that were going to go bad if I didn’t use them)

  1. Over low heat, whisk the flour and butter together, cooking about 5 minutes until roux is blonde in color – do not overcook
  2. Slowly whisk in milk, continue to cook over low flame, whisking constantly. Mixture will thicken within a couple of minutes
  3. Add seasonings, cook about three more minutes to incorporate flavor. The sugar is used to balance out the saltiness of the cheeses
  4. Whisk in cheese and continue to stir until fully melted and incorporated. Sauce should be smooth and creamy, not stringy
  5. Serve immediately, but be sure to pick out the cloves so not to choke or get an intense hit of spice. Sauce can be cooled and reheated, but best to reheat over slow heat and mix in extra milk to prevent curdling
  6. Recipe yields about 2 cups of sauce, about 4 servings

RECIPE COST (for me based off my pantry items):
$9.85 for 10 pretzel servings and 4 sauce servings
$8, pretzel mix
$.40, butter
$.75, seasonings, sugar, flour
$.70, milk
$0, cheese (was from a gift basket)

In Case of PMS, Break Glass – Edible Cookie Dough

AC_PANTRYPROJECT

Actually, in case of PMS, break open glass. Now sometimes we women have cravings. Tonight I was in the mood for cookie dough. Luckily, thanks to my Accidental Pantry Project, I knew I had all the ingredients, and this snack took little more effort than me running to the store for ready made dough. Plus, even though it’s not a low-cal snack, by making it myself I know exactly what is in it. And anything in a mason jar is just fun. (Thanks, Pinterest.)

IMG_3800

Thanks to my microwave, that I used to soften the butter and the rock hard brown sugar, this was put together in about 10 minutes. And thanks to no egg, no salmonella!

I used milk chocolate and butterscotch chips, both because I have them on hand, and because I love butterscotch chips/flavoring in many desserts. Definitely feel free to experiment with your mix-ins.

SNACKING COOKIE DOUGH
1 stick (1/2 cup) butter, softened
1/2 cup brown sugar
1/4 cup white sugar
2 tablespoons milk
1 teaspoon vegetable oil
1 teaspoon vanilla extract
pinch of salt
1 1/2 cups flour
1/4 cup milk chocolate chips
1/4 cup butterscotch chips

  1. Using either a hand mixer or stand mixer set to low, cream together butter and sugars until smooth.
  2. Add milk, oil, vanilla extract, and salt. Mix until well incorporated.
  3. Slowly mix in flour, keep beating with the mixer until smooth. Taste and adjust any flavoring (e.g., more vanilla or salt).
  4. Fold in chips.
  5. Dough is now ready to eat. If you have the willpower, store in the container of your choice in the fridge for up to two weeks (though it is doubtful it will last that long).

Inventory, Part 2

AC_PANTRYPROJECT

Oh man…still have to figure out cost factor, but I have put together what I have one hand. Quantities are listed in a system I understand, I do not have exact weights and measurements, so it not going to necessarily be foolproof for someone who may look at my list and cross reference it to what I have on hand.

I have copied and pasted this from an excel sheet, so it can be searched and filtered in a bunch of different ways. This is just my dry goods. I still have to go through my fridge condiments (i.e., items with a long shelf life) and my freezer. Continue reading

Inventory

AC_PANTRYPROJECT

I’m not feeling well today, so I’m not moving very fast. I have gotten through about 60% of my dry goods storage and have filled five pages in my journal. I still have baking goods, spices, and condiments to go through. This is a pretty eye-opening exercise, but I think I’m drained from it!

Oh crap, I have my freezer, too.

Oh well, this is why I described it as one of the phases of the project.