Poor Woman’s Wonton Soup

IMG_4485

Since becoming quarantined nearly a month ago I have not ordered takeout or had prepared food delivered once. One night in a moment of weakness I bought fried chicken from my local grocery store, and I broke out in hives. I think I have an underlying allergy to certain fry oils, but in our current corona-culture, it was enough to spook my very non-germophic heart.

My next few posts are going to get interesting, as I have not grocery shopped a single item since March 29. I’m craving certain foods, but I am determined to make them on my own, including Chinese takeout.

AE4BA6F4-3CA5-4FA4-B7FE-7B07FB5539AF_1_201_a

This is by far a “semi-homemade” Wonton Soup with pantry and freezer ingredients. Store bought wontons, frozen scallions (chopped and frozen by me), frozen ginger (didn’t photograph well, so subbed powdered ginger in the pic), chicken bouillon packet, and rice vinegar.

POOR WOMAN’S WONTON SOUP

  • 1 packet Chicken Bouillon (or cube, or chicken stock or other broth)
  • 2 cups water (if not using prepared stock/broth)
  • However many wontons you want to eat
  • 1 teaspoon Rice Vinegar
  • 1 teaspoon Ginger
  • 2 tablespoons chopped Scallions

Simmer all ingredients together until wontons are cooked through. I wish it was more complicated than that. For extra zing, you can saute and lightly the wontons in a bit of sesame oil before adding broth.

41BF6619-5320-4728-9B98-657073E969B3

Looks like takeout to me

EDAFD45A-B8E3-4D50-921D-D8D2C7B3CF44_1_201_a

Served with a scallion pancake, another one of the few convenience items in my freezer

Advertisement

The Jiffy Chronicles – Spicy Cheddar Cornbread

IMG_4485

A couple of weeks ago I took stock of my pantry and pointed out several boxes of Jiffy Corn Muffin Mix and their amazing versatility. Today I did my first quick recipe for Saturday morning brunch. The package directions for cornbread are fine, but it’s kind of boring. It’s so easy to doctor this mix up to something more interesting and even more delicious.

IMG_7202

The main ingredients in the cornbread – mix, cheese, chilis in adobo, and corn

SPICY CHEDDAR CORNBREAD

  • 1 package Jiffy Corn Muffin Mix
  • 1 cup shredded Cheddar Cheese
  • 1 cup frozen or canned Corn
  • 1 egg
  • 1/2 cup milk
  • 1/2 Chipotle Pepper in Adobo Sauce*
  • Salt and Pepper, to taste

Preheat oven to 350 degrees. Grease a 10 inch cast iron skillet or 8×8 baking pan, set aside. In a medium mixing bowl, add muffin mix, cheese, corn, egg, and milk and mix thoroughly. Chop chipotle pepper and create a paste with a little bit of salt and pepper. Stir paste into batter. Pour batter into pan, bake 20-25 minutes until golden brown and a toothpick placed into center comes out clean. Allow to cool about an hour before serving.

*If you have never worked with Chipotle in Adobo- these are VERY spicy and a little goes a long way. Even if you’re into spice, I would not recommended more than one for this whole recipe – when you overdo it, the heat takes over and you lose flavor in the dish.

IMG_7209

Finished Cornbread

IMG_7212

Serving suggestion – great brunch accompaniment


Gluten-Free Butterscotch Chocolate Chip Banana Bread

AC_PANTRYPROJECT

One thing I like to do as I am utilizing what is in my pantry is use up items I do not particularly care for, or I can’t quite remember why I bought it. I found a box of live Gfree gluten-free baking mix. Live Gfree is Aldi’s line of gluten-free grocery products. While I joke that enjoy a gluten-FULL diet, I particularly enjoy gluten-free pretzels – they have a nicer, lighter crunch than regular pretzels.

IMG_6643

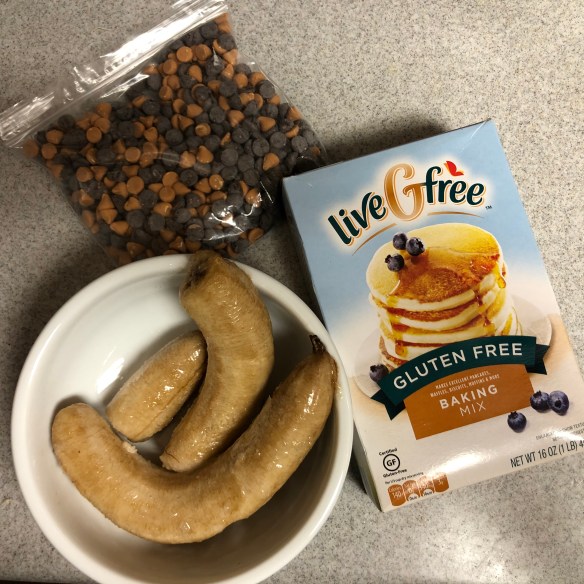
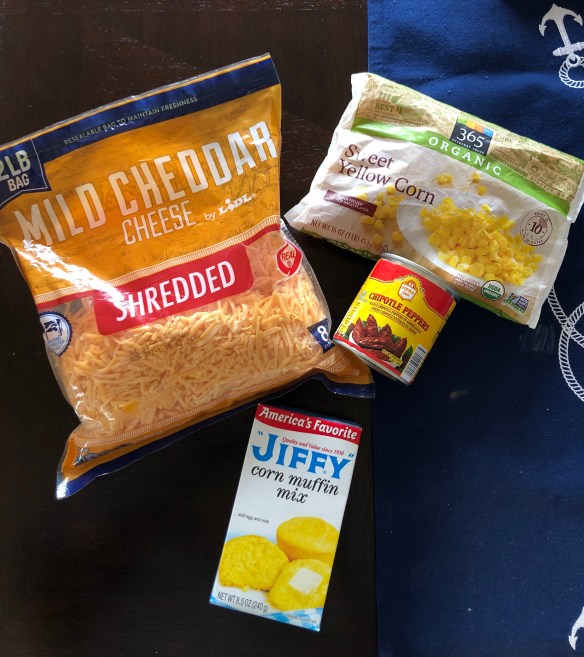
Main Ingredients – all things on hand – previously frozen, thawed bananas, gluten-free baking mix, and a mix of chocolate and butterscotch chips

For the baking mix, I wasn’t sure what to do. Reading the recipes on the back, it was like Bisquick. With the pandemic looming I’m either by myself or with my boyfriend, so I didn’t want to make something like pancakes or waffles, it felt wasteful.

Rummaging through my supplies, I opted for a banana bread. Banana bread is one of those foods that is really the kitchen sink of breakfast or coffee pastries. You can throw in just about anything and it will still be good.

In my cabinet I had some loose chocolate chips and butterscotch chips mixed in zipper baggie together – a combination I often use in blondies. In my freezer I had about 3 frozen bananas – something I usually save for smoothies, but they looked like they were on their way out. Using up these ingredients, even if this didn’t work, I would not have felt bad trashing the banana bread.

GLUTEN-FREE BUTTERSCOTCH CHOCOLATE CHIP BANANA BREAD

  • 1 package live Gfree gluten-free baking mix (1 pound)
  • 3-4 ripe bananas, mashed
  • 3 eggs
  • 1/2 cup milk
  • 2 tablespoons vegetable oil or melted butter
  • 2 teaspoons vanilla extract
  • 1 cup chocolate chips
  • 1 cup butterscotch chips
  • pinch of salt

Preheat oven to 350 degrees. Grease a 9x5x3 loaf pan, set aside. Mix mashed bananas with the baking mix, add remaining wet ingredients one-by one, forming a thick, but smooth batter. Stir in chips and salt. Pour batter into loaf pan. Bake at 350 degrees 45-55 minutes, or until a toothpick inserted in center comes out clean. Be careful not to overbake. Remove from oven, allow to cool about 2 hours before serving.

Tips:

  • “Mix-ins” – can be flavored chips, nuts, dried fruit, etc., instead of the chocolate and butterscotch
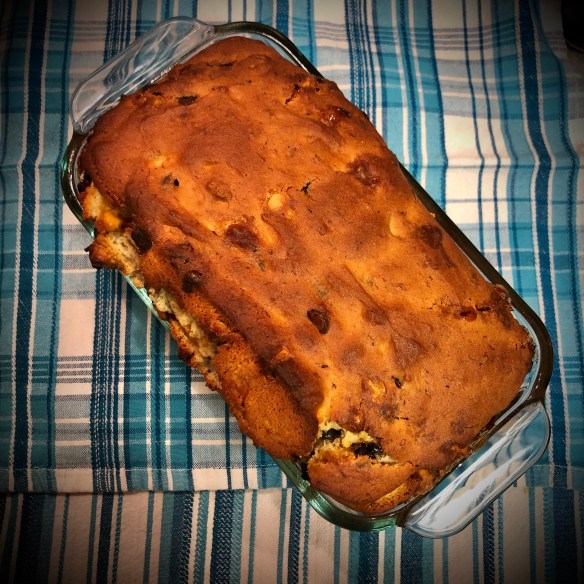
  • I used a glass pan only because of what I had on hand. Any loaf pan will do, just double check baking times
  • For storage, the first night I wrapped in tea towels to keep loaf from drying out, but also to retain some crispiness on the edges. After the first night I wrapped in plastic wrap and stored in the fridge
  • When serving, warm a slice of the bread in oven or toaster oven – heat at 200 degrees for about 10-15 minutes. This tastes best when the chocolate is melty and gooey

The verdict? This banana bread was amazing! Gluten-free baking flours and mixes have come such a long way the last few years. I was also impressed with the ingredients in the package – all things I could pronounce and all natural – rice flour, sugar, baking powder, potato starch, salt, and xanthan gum. Also, if I followed a true gluten-free lifestyle, I could probably replicate this baking mix and make it in bulk. However, for its price point (less than $6), I think it’s fine getting the box mix.

IMG_6674

IMG_6678

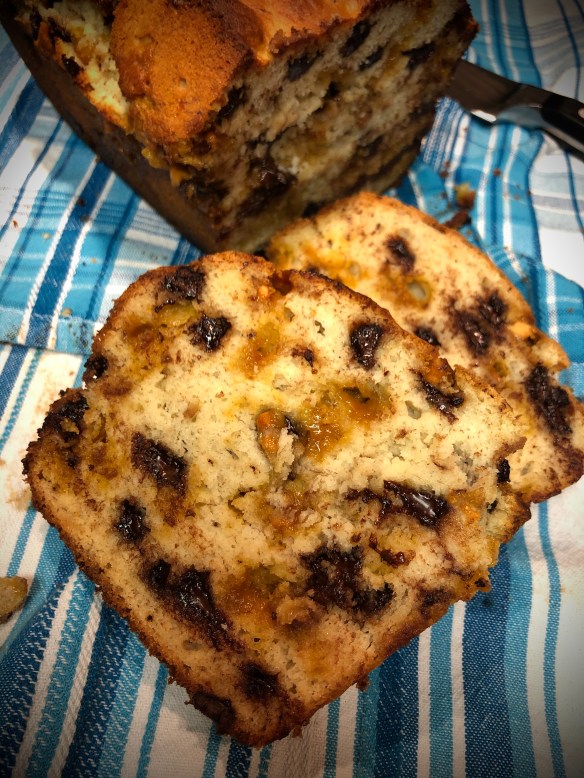
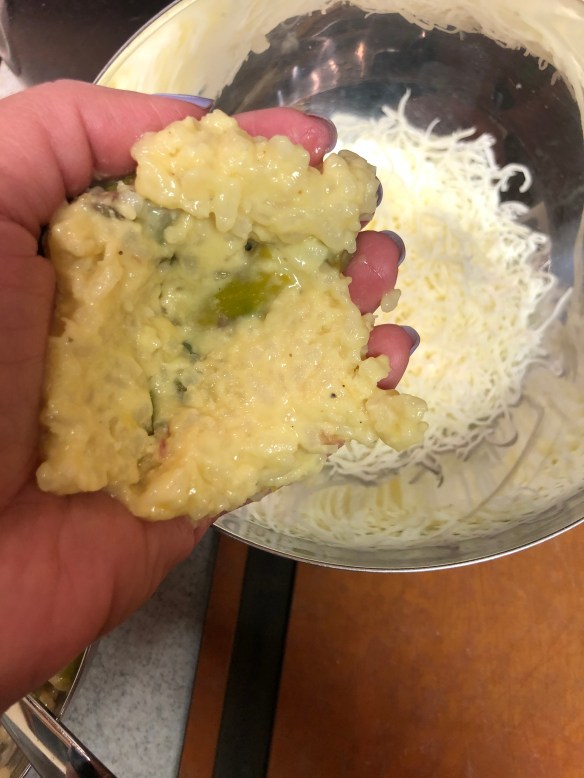
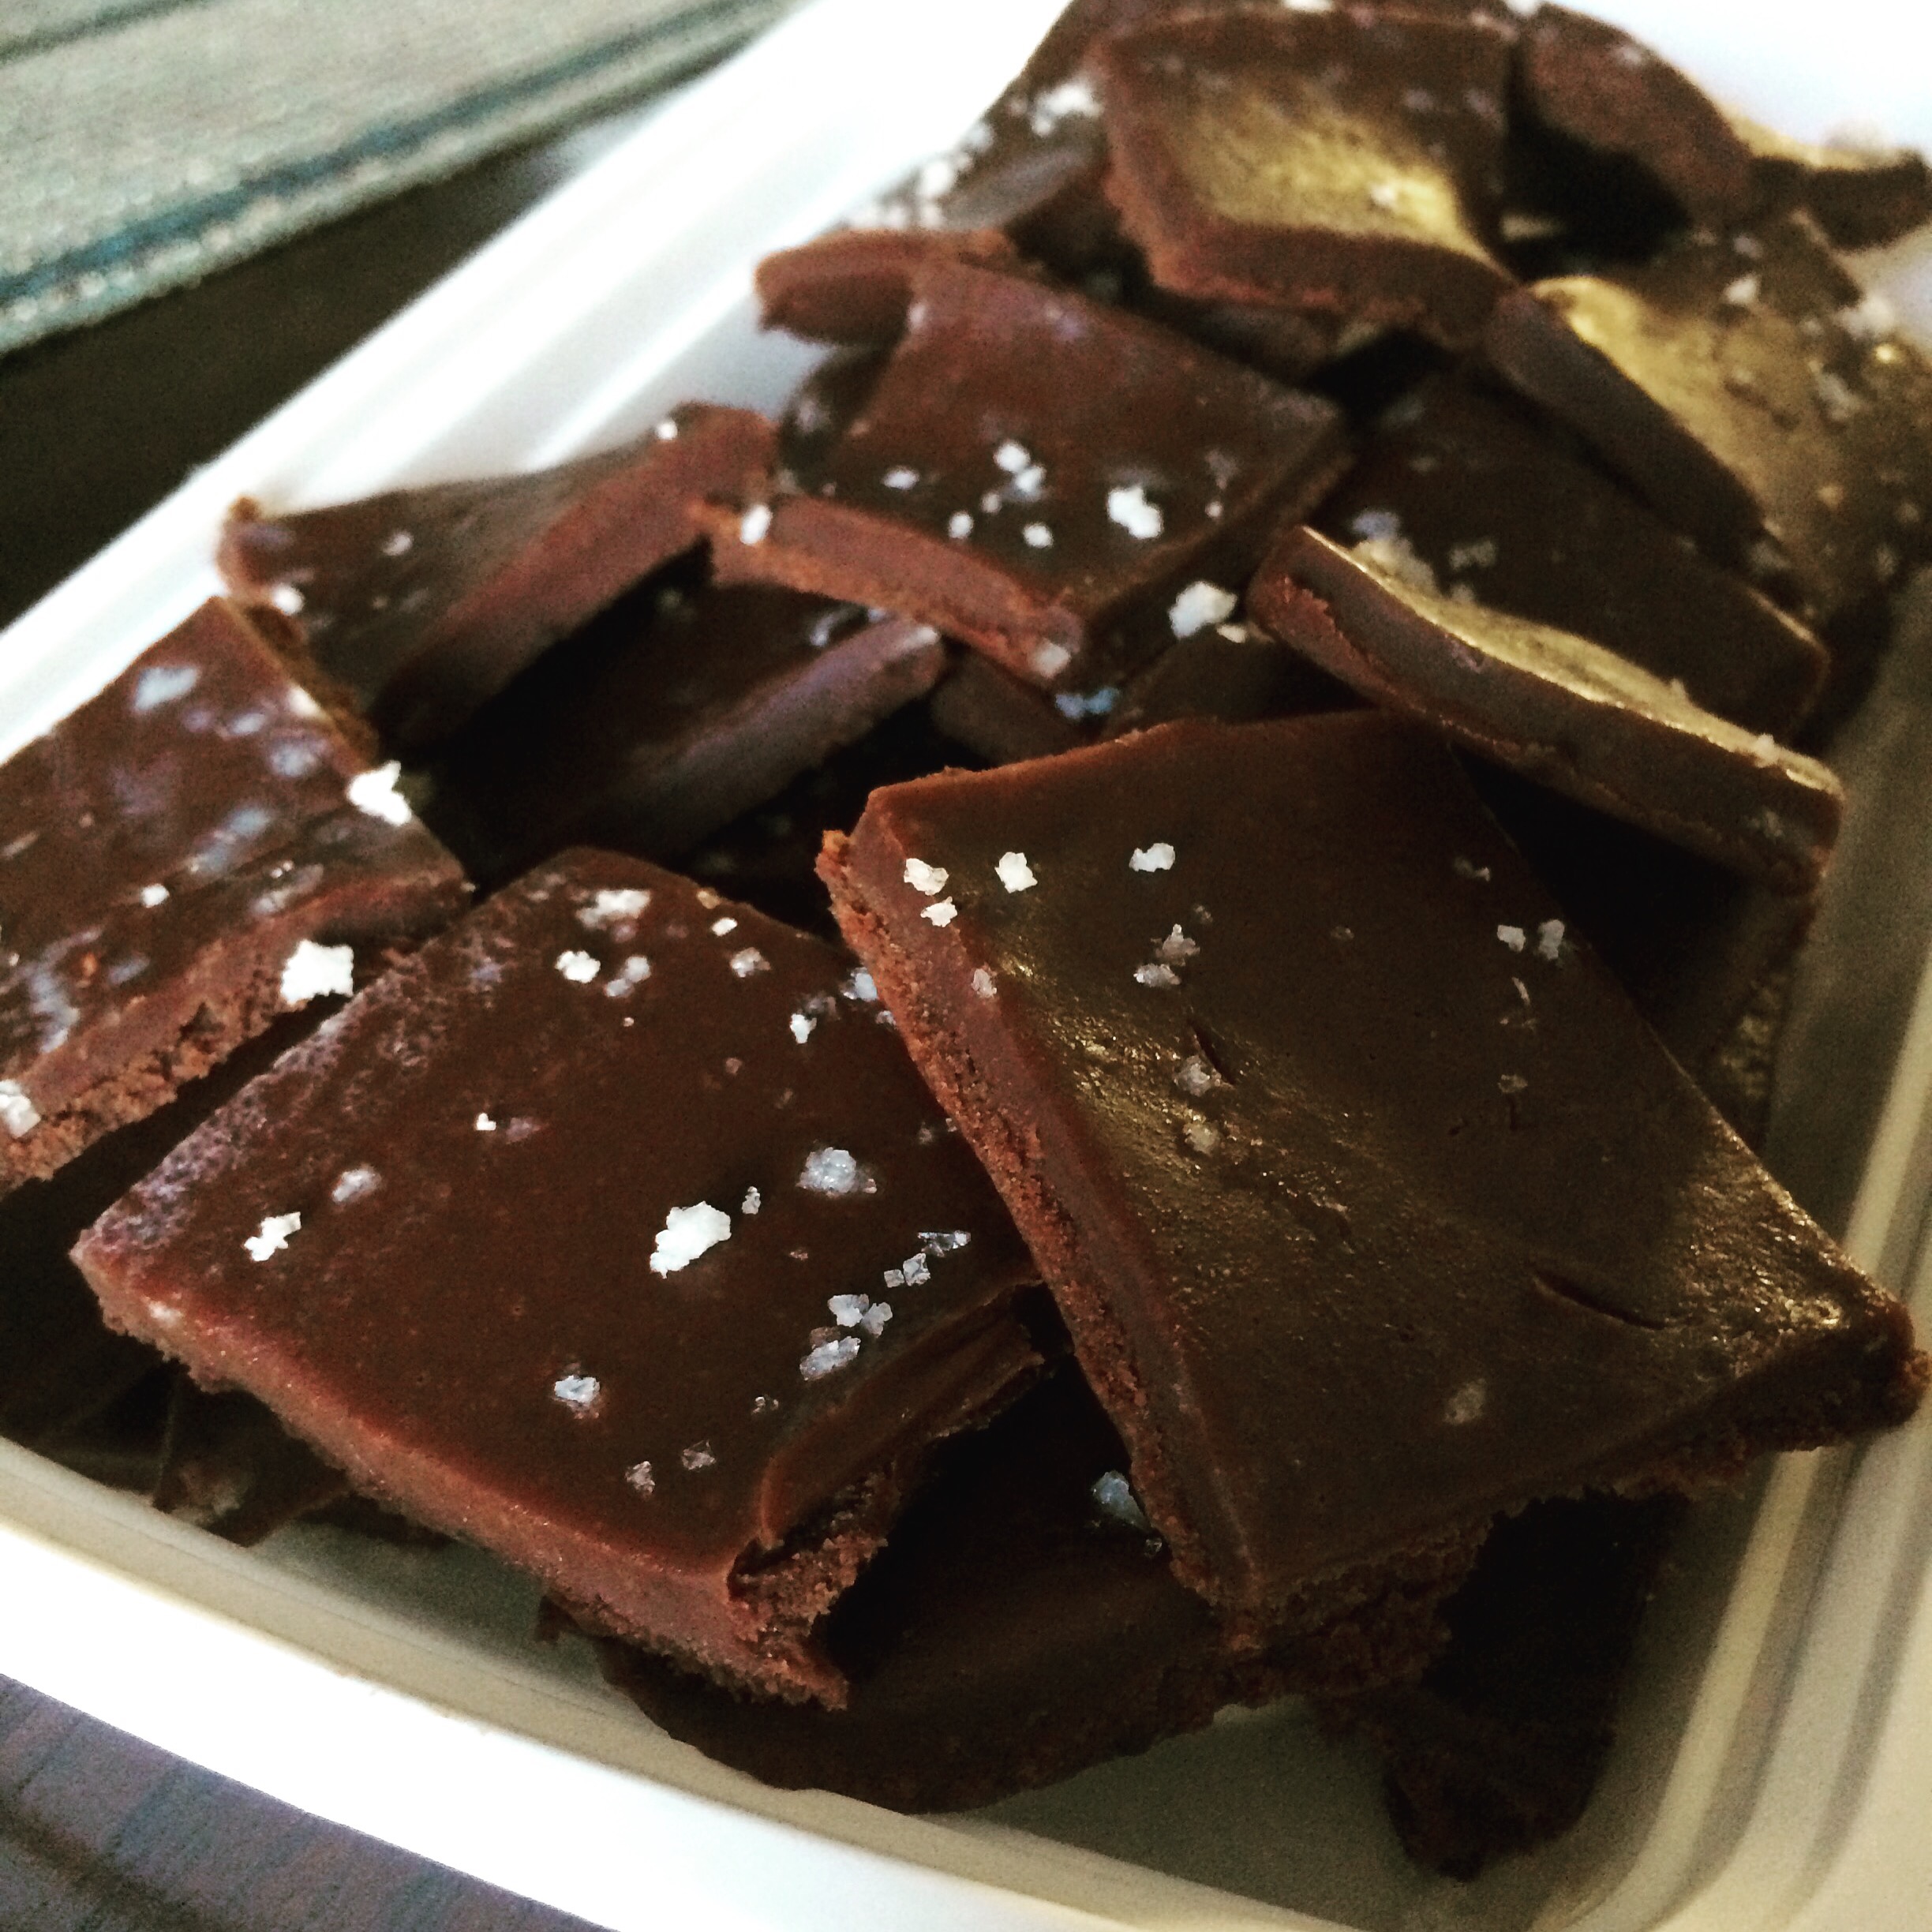
Gobs of melty chocolate had me drooling!

Other than a subtle grittiness from the rice flour, I could not detect a big difference in taste or texture from traditional banana bread. My boyfriend also said he only knew it was gluten free because I told him.

So, my apologies for referring to the mix as “this garbage” on my Instagram story before I actually used it. I was VERY wrong.

Rework Leftover Risotto – Arancini

Instead of making rice, cooling it, seasoning it, etc, for arancini, why not take a shortcut to enjoy this deep-fried deliciousness sooner? The asparagus risotto from last night was left over and it already has so many of the ingredients you would use if you’re making arancini from scratch – rice, cheeses, seasonings, even some vegetables. While I normally have seen it made with peas, who is stopping me from making an asparagus version?

LEFTOVER RISOTTO ARANCINI

  • 2 cups risotto
  • 3 eggs, divided, beaten
  • 1 cup shredded cheese
  • 1/2 cup flour, seasoned with salt and pepper
  • 1 cup bread crumbs, either Italian seasoned or you can season your own
  • Peanut oil or other high heat oil for frying
  • Grated cheese and tomato sauce for serving, optional

Mix the risotto with one beaten egg. Scooping about 1/4 cup at a time, cup the risotto in one hand and fill with a couple of tablespoons of cheese. Wrap the rice mixture around the cheese until no cheese can be seen, forming a round ball. Lay out shallow bowls or dredging trays – fill one with the flour, the other with the remaining eggs, and the third with the bread crumb mixture. When all the balls have been formed, dredge in flour, dip in the remaining egg mixture to coat, and then toss with the bread crumbs, being sure to coat the entire arancini. You may place in the fridge to cool for a little while, about half an hour, or you may freeze to fry at a later time.

Coat a heavy bottomed or cast iron pot with about 3 inches of oil. Using a candy/deep fry thermometer, heat the oil to at least 350 degrees, but do not exceed 380 degrees. When oil is ready, take arancini out of fridge or freezer, drop in the oil 2-3 balls at a time (do not overcrowd the pot – you want to fry, not steam). Fry about 5 minutes, turning halfway, until the arancini is a deep golden brown. Remove from the oil and drain on paper towels. When ready to serve, dust with a bit of grated cheese and have warm tomato sauce for dipping on the side.

IMG_6745IMG_6746IMG_6747IMG_6755IMG_6758

Asparagus Risotto with Lemon Broiled Shrimp

IMG_4485


Dinner tonight was utilizing one of my boyfriend’s favorite vegetables, asparagus. What’s nice about this dinner is that it can be made in about 45 minutes. It took me a bit longer as I also prepped some banana bread.

IMG_6646

Some old wine from the fridge, asparagus I wanted to use that was still fresh, frozen shrimp, and arborio rice from my pantry

Staying true to my project, all food was things I had on hand. Risotto is one of those foods that is very forgiving – you can almost always add more liquid and ingredients beyond the 1:3 ratio of rice to liquid.

ASPARAGUS RISOTTO WITH LEMON BROILED SHRIMP

  • 2 tablespoons butter
  • 1 tablespoon olive oil
  • 1 medium onion, diced fine or minced
  • 3 cloves garlic, minced
  • 1 cup arborio rice
  • 3 cups water, broth, and/or wine (I used 1 cup wine and two cups water, plus bouillon packets)
  • 2 lemons, zested and juiced (set aside zest and about 1/4 of juice)
  • 1 bunch asparagus, trimmed and chopped in bite sized pieces
  • 1/4 cup parmesan cheese
  • 2 ounces cream cheese
  • Salt and Pepper, to taste
  • Shrimp, thawed and trimmed – about 3 ounces per serving
  • Olive oil, as needed

Melt butter and heat oil over medium to high heat in a large saute pan. Add onions and garlic, sweat until translucent, about 2-3 minutes. Add rice and saute another minute. Stir in liquid and 3/4 of lemon juice and bring to a boil, stirring occasionally. Lower heat to a simmer and cover pan. Cook the rice until tender, about 20 minutes, stirring occasionally. If rice mixture feels too thick and difficult to stir, add a bit more liquid, ideally water or broth. Stir in asparagus and cook until it starts to soften but not totally tender (asparagus will continue to cook when rice is removed from heat) – about 3-4 minutes. Stir in cheeses and half the lemon zest and blend until cream cheese is fully incorporated.

Meanwhile, lay the shrimp on a foil-lined baking sheet. Brush the shrimp with olive oil and sprinkle both sides with salt, pepper, and lemon zest. When you’re ready to serve, broil on high about 5 minutes, flipping the shrimp about halfway through cooking. Remove from broiler and pour remaining lemon juice over the shrimp.

To serve, scoop about a cup to a cup and a half of risotto into a bowl, arrange a few shrimp on top.

TIP – Risotto can be leftover and reheated. Ideally, make shrimp when you are ready to eat.

IMG_6669

Creamy Crockpot Chicken Stew…and Pot Pie…and Possibilities

IMG_3955
In another pantry experiment, I made a batch of “Cream of Something” soup mix. It’s a lower fat, healthier alternative to canned cream soups, especially as you make it and know exactly what is in it. It is comprised of chicken bullion granules, nonfat dried milk, cornstarch, and dried spices (basil, onion, thyme, pepper). It sounds a little weird but it’s pretty tasty.

Today I decided to make a chicken and rice crockpot stew – just set it and forget it. 

  
What ended up happening is the soup mix turned out to be a base for another base. My stew turned out thick and creamy and while delicious on its own, was screaming for dumplings or crust or cheese and vegetables. So much can be done with such minimal effort.

CREAMY CHICKEN AND RICE CROCKPOT STEW
1 pound chicken thighs
1 cup brown rice
1 chopped onion
1 cup chopped carrots
2 quarts water
1.5 cups cream of something soup mix
Juice of 1 lemon
1 small can corn

  1. Place thighs, onions, carrots, water, and rice in crockpot, set on high.
  2. After three hours mixture will be thick. Add remaining ingredients and set to warm for another half hour. Enjoy!

  
Now you can play! I created an individual pot pie by adding cheese into the stew, topping with pie crust, and baking to golden brown. You can make empanadas, dumplings, casseroles…possibilities are endless and there’s barely work involved!

    Kitchen Sink Fried Rice

    IMG_4485
    2015 has not been my year – new job, a painful breakup, sick family members, and just an overall blah feeling. To add to it, I crunched some numbers and financially I am not as well off as I was a year ago. 

    So I’m dusting off the pantry project and seeing how I can save on my food budget, particularly bringing food to work and cooking at home as much as possible.

    I love fried rice, and typically I make mine with jasmine rice, eggs, onions, mixed vegetables (the frozen ones with carrots, corn, peas, etc), chicken, sesame oil, ginger, soy sauce and once in awhile I’ll add scallions or water chestnuts.

    I decided to make a batch as I had some eggs that were soon going to expire, I was super low on sesame oil, and I always have frozen veggies on hand. Or so I thought…

    I raided the freezer and found some rice I had made awhile back and didn’t get around to eating it all. It was brown basmati with some saffron. Oh well, this wasn’t about to be an exact science. I hunted around for mixed veggies but alas, I had none. I did have some cauliflower.

      
    So I went to work and came up with a hodgepodge of ingredients. In the end, the rice had red onion, chicken breast, diced baby carrots, scallions, eggs, ginger (that I had frozen in ice cube trays), cauliflower, liquid aminos all stir fried in toasted sesame oil. And it tasted no different than any other batch I have made haha.


    Have Potatoes, Will Focaccia

     
    I have this tendency to buy potatoes and not use them before they get gross.

    Even though we’ve been experiencing 80+ degree days here in New Jersey, I was feeling the urge to bake.

      
    One of my go-tos that I don’t do often enough is focaccia. It’s a pretty easy pantry staple because all you really need is flour, oil, salt, sugar, and yeast. It’s a quick bread to make – about two hours to do, and about 90 minutes of that is just hanging out and waiting.

    For a moister, fluffier center and chewy-crunch crust, potatoes are also used. My inspiration for this focaccia came from a Bon Appetit recipe from a few years ago. I modified it this time around, omitting the seasonings/toppings. I opted for a Rosemary-rich Italian seasoning blend and Parmesan cheese. 

    Focaccia also makes a great Accidental Pantry Project Recipe – you do not need potatoes, but they do make a better bread. The rest is pretty much stuff you have around – flour, yeast packets, sugar or honey, oil, and water. 

    Follow the rest of the recipe accordingly.

    Homemade Coconut Oil Chocolate with Fleur de Sel


    I have been on a huge coconut oil kick lately. I first learned about the benefits years ago when I was a writer for the eco-living site Ideal Bite. It is truly a superfood.

    Lately I have been using it more as a supplement and in my cooking as it is supposed to be a metabolism booster. I use it to make popcorn, I’ve had it in coffee, and I like a little in my morning smoothies. It appears to be working because I find my jeans being looser without a drastic change in diet.

    I came across this chocolate recipe on Pinterest and decided to give it a try, but I took it a step further with cacao nibs instead of organic cocoa powder. The main reason being while I had both nibs and powder at home, I had more nibs than I knew what to do with.

      
    The goods – coconut oil, honey, cacao nibs, vanilla extract, and fleur de sel. 

     I pulverized about a cup of nibs in my food processor. The texture was still grainier than I wanted so I mixed in about 1/4 cup of honey.
      
    The honey made the mixture much smoother and I hoped the heat from the oil and stove would help smooth it out.


    I heated the oil until warm (I was scared the chocolate would fry) and whisked in the cacao and honey mixture. It was not incorporating as much as I wanted and it wasn’t sweet at all. I ended up using the full amount of sweetener the recipe suggested – 3/4 of a cup (I mixed maple syrup with the honey), and it helped it all come together like a sauce. I added in about a tablespoon of vanilla. I love vanilla and always use more than a recipe calls for. 

      
    I was now ready to cool it. 

     
    I lined a pan with plastic wrap and poured out the chocolate.

      I then let it set for a moment and sprinkled it with the fleur de sel.

       Chocolate is ready to cool and harden in the fridge!

     
    Texture is slightly fudgier than I intended. Next time I will lesson the oil and increase the cacao. 

    Chicken Parm Casserole for One


    Now that I’m working in a mall I often am so busy I forget to eat. When I do it tends to be nasty mall food, which is just sucky.

    So I had a super long day today but refused to buy something for dinner. Instead I did a quick fridge and freezer rummage and came up with this Chicken Parm Casserole. It was about 25 minutes of prep (mainly inactive) and about 10 minutes in the oven.

    I baked two frozen chicken fingers while I boiled the pasta (I used half a cup of whole wheat elbow macaroni). When the pasta was done, I drained it and placed it into a small casserole dish. I mixed in about 1/2 cup Rao’s marinara sauce and a couple of dollops of part skim ricotta. I then took the chicken fingers out of the oven, diced them up, and covered with a bit more sauce and shredded Italian blend cheese. I then baked it in the oven about 10 minutes until the cheese melted.

    It’s not a diet dish, but it is way more wholesome and natural than takeout!