Oil-Free Chicken Tetrazzini

what's cooking

For some reason I have several varieties of mustard in my home and in significant quantity. I decided I wanted to make a mustard flavored sauce, and then I remembered how my mom used to make turkey tetrazzini on occasion. Her recipe was light and used grain mustard. I researched a few recipes, but did not quite find what I was looking for, especially as most of the recipes had a lot of cream and were baked in a casserole. So I decided to experiment and was quite happy with the results.

As I started cooking I took things a step further and did not use any oil in the recipe. When necessary, I substituted water or broth.

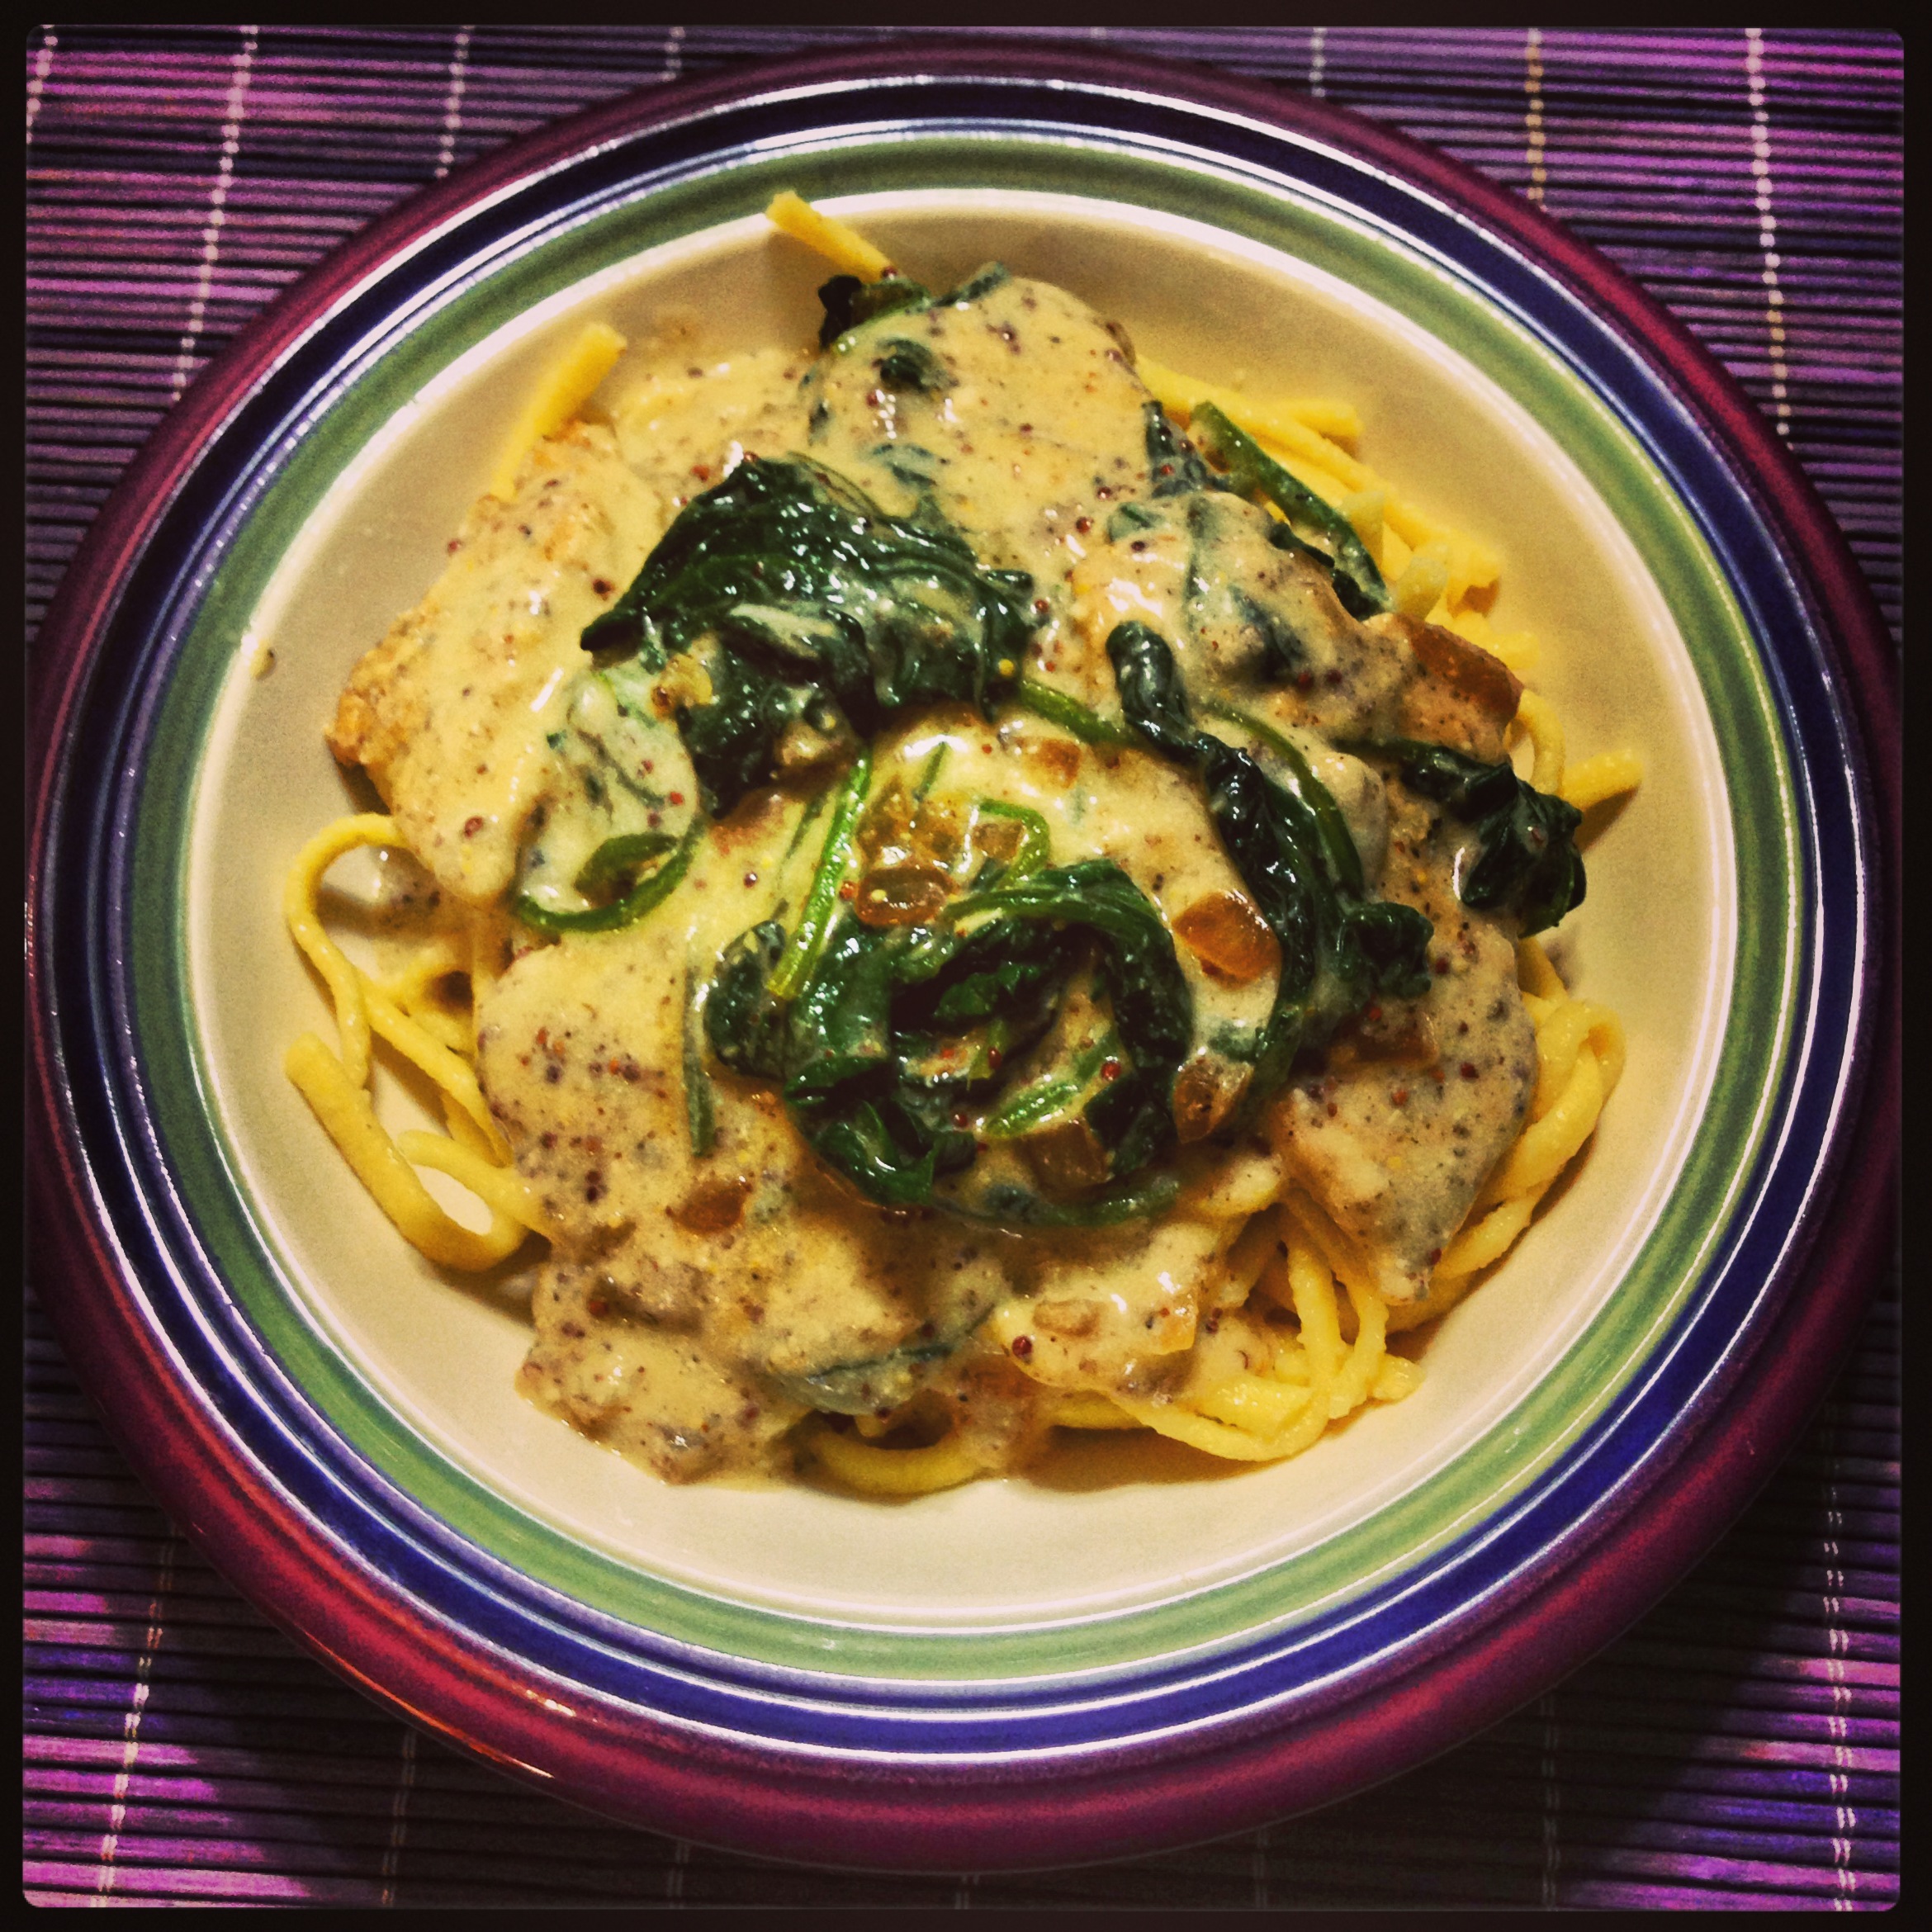
The dish is made in three parts, utilizing a large saute pan in all three steps – chicken, then spinach, then sauce. Serve over egg noodles or your favorite pasta.

OIL-FREE CHICKEN TETRAZZINI

CHICKEN:
1 pound chicken breast, pounded thin and cut into two-bite pieces
salt and pepper

SPINACH:
2 or 3 10-ounce packages baby spinach
1/2 small onion, finely chopped
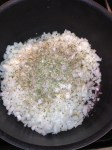
SAUCE:
2 cups chicken broth
1/3 cup grain mustard
2 tablespoons flour, mixed well with water
1/2 teaspoon nutmeg
1 cup Greek yogurt
3/4 cup finely shredded Jarlsberg or Swiss cheese

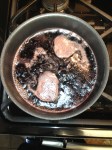
  1. Heat a large nonstick pan (only use nonstick) and add chicken ( you may need to two this in 2-3 batches). Sprinkle with salt and pepper. Cook on each side about 2-3 minutes. If chicken sticks to pan, add about a tablespoon of water. When cooked through, remove from pan (do not overcook, if chicken is slightly pink in the middle it is ok) and set aside.
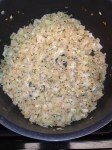
  2. Using same pan, add onions. There should be a little chicken fat in the pan. Saute, add a little water, and cover for two minutes until onions soften. Add spinach and cover again for about 30 seconds to wilt spinach. Cook the spinach about one more minute, and remove from pan. Set aside with chicken.
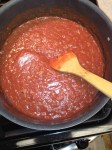
  3. Deglaze pan with chicken broth. Add mustard and bring mixture to a boil.
  4. Add flour mixture and reduce heat to low. Simmer the sauce for about five minutes, stirring frequently to ensure no lumps – sauce will thicken and become slightly opaque.
  5. Add nutmeg and yogurt. Once yogurt is mixed in thoroughly, add cheese. Cook sauce about two more minutes – taste and adjust seasonings if necessary.
  6. Add chicken and spinach back to the pan and mix thoroughly with sauce. Cook all ingredients together about two more minutes (this will ensure chicken is cooked through without overcooking it). Remove from heat, and serve immediately, or reserve for later.

Sauce can be cooled and reheated.

IMG_0972

“Pantry” Chicken Pozole Soup

chef's journal

Probably about two years ago, I was introduced to the deliciousness that is pozole (or hominy). I have always like grits, but I had never had pozole in this form. As defined, “Hominy is a food made from kernels of corn which are soaked in an alkali solution of either lime or lye. The corrosive nature of the solution removes the hull and germ of the corn and causes the grain itself to puff up to about twice its normal size.” Apparently, it is fairly nutritious as well, which after hearing of the process you almost would not expect. However, it is rich in carbohydrates, low in fat, rich in fiber, and much less caloric than other grains and starches. I like the texture.

In any case, my mother saw a segment on the Today Show featuring Michael Lomonaco’s recipe for Turkey Pozole Soup. It ended up being way too spicy for her liking, but the flavor and heartiness stayed with me. Lately I had been craving some sort of Mexican style soup, so about two weeks ago I was playing around in my kitchen and I ended up modifying his recipe utilizing what was in my pantry and freezer (I had bought hominy a couple of weeks earlier). Since I work crazy hours, I do not keep a lot of fresh food in my apartment, I instead rely on my freezer and shelf-stable goods to whip up meals. It was a fun test of my skills, and I ended up loving the results.

IMG_0264

Pantry Chicken Pozole Soup
2 tablespoons olive oil
1 pound frozen chicken breasts, thawed and roughly cubed
1/3 cup dried chopped onion
1 tablespoon dried sliced garlic
1 quart turkey stock (can use chicken or vegetable stock/broth)
1 28 ounce can chopped tomatoes
1 26 ounce box Pomi strained tomatoes
1 10 ounce can tomatoes with green chiles
1 29 ounce can hominy
1 tablespoon dried cilantro
1 packet True Lemon lemon powder
1 teaspoon chili powder
1 teaspoon ground black pepper
1/2 teaspoon Cholulah hot sauce
Optional – shredded cheese, tortilla chips, and sour cream for garnish

In a stock pot, heat olive oil and add chicken, brown on all sides, about five minutes (don’t worry about fully cooking it, the chicken will cook while the soup is simmering). Add onion, garlic, and about a half cup of the stock to help reconstitute the seasonings. Cook for about two minutes. Add the rest of the stock, tomato products, hominy, and remaining seasonings. Bring ingredients to a boil, then lower to a simmer. Taste and adjust seasonings if desired (I did not add any salt, as the tomatoes already have a good amount of sodium). Simmer for about half an hour. Soup can be served immediately, or can be cooled down and reheated. Serve with optional garnishes, if desired.

Quick Birthday Brunch

what's cooking

My boyfriend’s birthday celebration weekend went beyond Peanut Butter Cup Cheesecake. I also surprised him Saturday morning with a quick brunch for two. The whole meal took less than an hour to prepare, as it utilized a mix of from-scratch and pre-made ingredients. And all this was done as he was still snoozing away.

IMG_1543

On the Menu:
Scrambled Egg Muffins
Bacon Hearts
Banana Berry Smoothie
Sea Salt Caramel Blondies
Fresh Fruit
Coffee

For the Egg Muffins:
I lowered the the oven temperature to 350 degrees (it had been at 400 degrees for the bacon). I beat about four eggs and mixed in 1/2 cup shredded cheddar cheese, 1/2 teaspoon pepper, 1/4 teaspoon garlic powder, a pinch of salt, and a pinch of nutmeg. I sprayed a few molds in my muffin tin (I did not need all twelve molds), and filled each about halfway with the egg mixture. Because of how much eggs leaven when they bake, it was important not to overfill the tin, even though they eggs collapsed a bit after baking. The eggs baked for about 20 minutes, until they were just starting to turn golden and were firm in the center (use a toothpick or knife to check – if it comes out clean, the eggs are done). What is great about this method is that you have portion control and you can play around with ingredients in your eggs.

For the Bacon Hearts:
Since David’s birthday is just after Valentine’s Day, Pinterest and the blogosphere were full of cute recipes. I found this one at The Paper Mama. I did deviate from her recipe slightly, by brushing the bacon with some maple syrup and brown sugar for a hint of sweetness.

IMG_1539

For the Banana Berry Smoothies:
I love smoothies. I have one almost every day for breakfast. I usually mix in chia seeds and greens powder, such as Green Vibrance, but for this brunch, I kept it simple. I mixed a cup of frozen berries, a cup of frozen bananas, a cup of berry juice, in this case I used Tropicana Farmstand Pomegranate Blueberry, and a cup of unsweetened almond milk. I blended it all in my blender until smooth, about one minute.

For the rest:
The rest of the menu was pretty much ready-made items. The blondies were Dancing Deer brand that I bought on sale at work, and I cut them in to smaller pieces, we also had clementines, and coffee was made in my Keurig.

Peanut Butter Cup Cheesecake

what's cooking

My boyfriend just celebrated his birthday this past week. Like many men, getting an answer out of him in terms of what he wanted for a birthday cake and what he wanted to do to celebrate his birthday was like pulling teeth. Through a painful text message conversation, I narrowed down that he’s not a big cake person, is anti fruit flavored cakes, not a big ice cream fan, likes cheesecake, and said that anything that combines chocolate with peanut butter is good.

So I narrowed it down to a chocolate peanut butter cheesecake. I brainstormed some ideas – peanut butter flavored cheesecake with fudge, peanut butter cheesecake with peanut butter and chocolate swirl, cheesecake with peanut butter cups, etc. The only thing I was certain was that it would have an Oreo crust, as opposed to graham cracker or another type of cookie.

In recent months, I have become a fan of the mini peanut butter cups, the ones that are a bit larger in size than an M&M. It came to me that it would be fun to fold those into cheesecake, almost like chocolate chips, and in lieu of chopping up full sized peanut butter cups. So finally I had the cake narrowed down – vanilla flavored cheesecake with an Oreo crust, mini Reese’s mixed in, the top decorated with hot fudge and full sized peanut butter cups. Since, you know, nothing says love as much as making the most fattening cake imaginable.

And of course in doing so, everyone wanted the recipe, so here you go…

PEANUT BUTTER CUP CHEESECAKE

For the filling:
3 8-ounce blocks cream cheese, softened
1 cup sugar
3 eggs
3/4 cup sour cream
1 tablespoon vanilla extract
1 bag Reese’s Minis

For the crust:
20-24 Oreo cookies, crushed fine in a food processor
1 stick butter, melted
1/4 cup sugar

For topping:
1/2 cup hot fudge, room temperature or warmed slightly
About 8 full sized Reese’s Peanut Butter cups, cut in half

PREPARATION

  1. Preheat oven to 350 degrees.
  2. Grease a 9-inch spring form pan with a bit of cooking spray.
  3. Combine crushed Oreos, melted butter and sugar until well blended. Press mixture evenly into pan, both on bottom and about halfway up the sides of the pan. Bake about 10 minutes. Remove and cool. Lower oven temp to 325 degrees.
  4. Meanwhile, using a hand mixer, mix cream cheese and sugar until well incorporated. Add eggs and mix in thoroughly. Then blend in sour cream and vanilla.
  5. Fold in mini peanut butter cups. Add filling to pan with cooled crust, and bake for about 50 minutes to one hour. Top of cheesecake will crack slightly. Cheesecake is done when you can dip a toothpick in the center and it comes out mostly clean (do not over bake – if top of cheesecake is golden brown, it is overdone).
  6. Remove cheesecake from oven and allow to cool at room temperature for one hour. At this time, you can evenly spread the fudge in the center to decorate. After the hour, place the cheesecake in the refrigerator and chill for a minimum of three hours, up to overnight.
  7. When the cheesecake is cooled, decorate with the full sized peanut butter cups. Carefully remove from spring form pan and transfer to a plate – enjoy!

IMG_1521 IMG_1522 IMG_1523 IMG_1524 IMG_1525 IMG_1526 IMG_1527 IMG_1529 IMG_1530 IMG_1531 IMG_1532 IMG_1534 IMG_1537


“Breakfast” Grilled Cheese

chef's journalThis is a pretty simple and quick breakfast that you may make as little or as much of as you like. In this case, I used about 1/2 cup of pancake batter (from an add-water mix), two slices American cheese, and 2 slices bacon. I first cooked the bacon and reserved a little grease. I divided the batter for form three pancakes. Upon flipping over the pancakes, I added cheese to two cakes. Finally, I stacked up the pancakes with a slice of bacon between each stack (cut in half so it would cover the full pancake. A little messy for cooking, but damn tasty!

IMG_1079

Caramelized Onion and Bacon Mashed Potatoes

Another reason I love fall…mashed potatoes! True, you can enjoy them any time of year, but there is something particularly enjoyable about this comfort food in the colder months. When I used to cater, the company I worked for had a caramelized onion mashed potato that guests loved. I developed my own version, cutting back on the butter and cream and instead using BACON. This is one of my favorite fall side dishes, I made them for Thanksgiving last year and have served them at multiple dinner and dinner parties. Guests are hardly ever disappointed.

It’s hard for me to give you an exact recipe as I always wing this one, but I think I have pared it down for you to try and replicate in your own kitchens.

This slideshow requires JavaScript.

CARAMELIZED ONION AND BACON MASHED POTATOES
2 pounds Yukon Gold potatoes, peeled and cubed
4 ounces thick cut maple bacon, or any thick cut bacon
1 large Vidalia onion, chopped
1 cup milk
2 tablespoons butter
2 tablespoons sugar
Salt and pepper, to taste

  1. Boil potatoes in salted water until fork-tender, drain and set aside.
  2. Meanwhile, fry the bacon in a nonstick skillet, remove from heat when done. Using a set of tongs or a fork, remove the pieces and drain on a paper towel, reserving the bacon grease. Once cool enough to handle, crumble the bacon into pieces and set aside.
  3. Turn the heat back on the skillet with the bacon grease and add onions. Season with salt and pepper. Saute until browned, constantly moving the onions around, whether by hand flipping or with a spoon, careful not to burn.
  4. Add sugar to the onions and saute until sugar is incorporated and mixture is almost syrupy – the added sweetness is important to the dish. Remove from heat and set aside with bacon crumbles.
  5. Add milk, butter, and more salt and pepper to large sauce pan. Heat until butter is melted. Add potatoes and using a potato masher, start mashing by hand. Texture should have some pieces of potato – the desired effect is more rustic than whipped. Mix in bacon and onions, adjust seasonings as desired.
  6. Potatoes can be served immediately or cooled down and refrigerated. When reheating, additional milk may be needed to reconstitute potatoes to desired texture.

Remember this recipe is not an exact science – play around with more bacon, less bacon, more potatoes, more liquid, etc.

Apple Cheddar Empanadas

Fall is one of my favorite times of years to cook. I love all the flavors of the season – pumpkin, sage, butter, apples, pears, cinnamon, nutmeg, butternut squash, etc.

A couple of years ago I went apple picking up in Warwick, NY and I definitely overdid it. 25 pounds of apples later, I had to come up with fun and creative ways to use them so they would not spoil. This was also the first time I delved into canning.

Desserts and baking, with the exception of working with chocolate, have never been my forte. The past few years my capabilities have improved, but I cannot help but use cooking style improvisation in my baking, especially combining savory and sweet.

One of the recipes I developed was Apple and Cheddar Empanadas – a sweet and spicy apple pie filling enrobed in a cheddary empanada crust.

This week I revisited the recipe and forgot how much I liked it. I cannot take full credit for the dough part, as I used a recipe from Kraft, but I’m still proud to say it’s all from scratch.

This slideshow requires JavaScript.

APPLE CHEDDAR EMPANADAS
For the Dough:
Kraft Empanada Dough Recipe (consider substituting lard for shortening)
1 cup shredded cheddar cheese
Egg wash (one egg mixed with 1/4 cup water or milk)

For the Filling:
3 granny smith apples, peeled, cored, and cut into ~1″ cubes
1/4 cup butter
1/2 cup brown sugar
1/4 cup burbon or whiskey
1 teaspoon each – white pepper, cayenne pepper, cinnamon, nutmeg
Dash of salt
1 tablespoon flour

  1. Prepare dough according to recipe, set aside
  2. In a large saute or frying pan, melt the butter and add the apples, saute about two minutes as they start to brown
  3. Add brown sugar, bourbon, and spices. Continue to saute about five more minutes. Apples will start to decompose.
  4. Sprinkle flour over the apples, continue to heat and mix in about two more minutes. Remove from heat and allow to cool.
  5. Preheat oven to 400 degrees.
  6. Divide the dough equally into 12 pieces, roll into balls. Roll each ball into the shredded cheddar to coat, and knead the cheddar into each piece.
  7. Roll out each dough ball into 6 inch circles, add about 1 rounded tablespoon of filling to the center ( do not overfill).
  8. Fold each circle in half, seal the edges closed by crimping with a fork. Pierce the top of each empanada to allow filling to vent while baking.
  9. Arrange empanadas on a parchment paper lined cookie sheet. Brush the top of each empanada with the egg wash.
  10. Bake empanadas for 18 – 23 minutes or until golden brown in color. Enjoy hot or allow to cool. Empanadas can be stored at room temperature in a sealed bag for up to a week.

Roasted Tomato Sauce

My friend Jess is a big advocate for homemade tomato sauce. A few years ago we traveled down the Jersey shore together for a week with her husband and some other friends. A lot of the nights we cooked at home since we had a house with a full kitchen and supplies. Ever since that trip I have been a big fan of doing the same, especially as over time I have learned how easy it is.

One type of pasta sauce I like to make is my Roasted Tomato Sauce. I reduce down red wine, I roast tomatoes, roast garlic, and overall the sauce is full of intense, yet muted flavors. It serves well for baked pasta dishes, such as lasagna or ziti, where at times the filling is the main star of the dish.

ROASTED TOMATO SAUCE
Two pounds fresh tomatoes, cored and sliced
Six cloves garlic, peeled
Cooking spray
1 bottle red wine
1 large sweet or yellow onion, chopped
Olive oil, for sauteeing
2 tablespoons Italian seasoning
1 teaspoon crushed red pepper
1 tablespoon sugar
1/2 teaspoon ground nutmeg
Salt and pepper, as needed/to taste
Worcestershire sauce, to taste

  1. Preheat oven to 400 degrees
  2. Slice tomatoes, sprinkle with salt and pepper and arrange in a single layer on a baking sheet (more than one baking sheet may be necessary). Arrange the cloves of garlic on the baking sheet as well. Spray both sides of the tomatoes with cooking spray. Bake for about 1/2 an hour – tomatoes should be soft and falling apart, but not dry.
  3. Meanwhile, pour the wine into a sauce pan and bring to a boil. Reduce the liquid by 1/2 – 2/3, the texture should start becoming thicker, almost syrupy.
  4. In a large stock pot, coat the bottom with olive oil, about 1/4 to 1/3 a cup. Heat the oil for about a minute and add the onions. Cook for about 1 minute and add Italian seasoning, crushed red pepper, and nutmeg. Continue to cook the onions until soft and slightly translucent, about five minutes.
  5. Add the strained tomatoes, chopped tomatoes, and wine. Season sauce with salt and pepper.
  6. Remove the tomatoes from the oven, mash all together with the garlic – ingredients should mash easily. Add mixture to sauce.
  7. Add sugar and a few dashes of Worcestershire sauce. Simmer for one hour. Adjust seasonings as desired.
  8. Sauce can be refrigerated for two weeks or frozen to be used as needed. For best results, cool down and refrigerate overnight before using in your favorite recipe.

Late Night Snacks: Open Faced Bacon Grilled Cheese

It’s been mentioned a million times, my favorite food is cheese. There are always odds and ends in my fridge, thanks to my obsession with Maywood Marketplace, and now my employment with Whole Foods Market. I also usually have bacon in my fridge or freezer, both because I believe its effects on men in the art of seduction, and because it’s such a tasty, versatile ingredient.

Because of my cholesterol raising refrigerator stockpile, I’m usually prepared to put together a tasty late night snack. You can put together a pretty tasty grilled cheese sandwich with minimal effort by using your oven and not your frying pan – less mess to worry about in the morning.

Oven Baked Open Faced Grilled Cheese
Prepare bacon using your broiler setting. Arrange slices in a single layer on a lined cookie sheet (you can use parchment paper or aluminum foil). I like to brush the bacon with a bit of brown sugar and maple syrup to balance out the saltines of both the bacon and the cheese. Broil on low about 10 minutes or to your desired crispiness. Remember, you will be baking it once more for sandwiches, so you might want to leave it a bit chewier than normal as it will crisp up during the baking process. Meanwhile, spread a thin layer of butter on one side of each slice of bread you will be using, probably about a teaspooon per slice. As for cheese, I like to grate odds and ends of whatever is in my fridge that will melt well – I’ve used gouda, emmentaler, cheddar, manchego, robusto, UnieKaas, fontina, etc. When you’re ready, set the oven to 350 degrees, arrange bacon in a single layer on the dry, non-buttered side of the bread, and sprinkle with cheese. Bake sandwiches in the oven about 10 minutes, or until cheese is melted and bubbly. Eat open faced with a knife and fork, or just close those puppies up and enjoy as normal.

Roasted Brussels Sprouts with Bacon

Perhaps a phrase you hear few people utter, but Brussels sprouts are my favorite vegetable. I feel they get a bad rap because folks just don’t know how to prepare them properly. Boiled and steamed, they are nasty. Baked, roasted, sauteed, etc., methods that incorporate flavor while maintaining a nice bite, those are the ways you should enjoy them.

Last night I came up with a quick and easy recipe that only utilized five ingredients and only took about 10 minutes to prep. Even better, under 150 calories per serving!

ROASTED BRUSSELS SPROUTS WITH BACON

Makes 4 servings
1 12 oz. bag Brussels sprouts
8 strips bacon, raw
2 tablespoons olive oil
Ground black pepper
Ground nutmeg

  1. Preheat oven to 400 degrees.
  2. Layer strips of bacon into one equal stack. Cut into small squares, about 1/2 in in size. Place in bowl.
  3. Wash sprouts, dry thoroughly, and cut in halves. Place in bowl over bacon.
  4. Add olive oil and seasonings, mix ingredients thoroughly.
  5. Line a small baking sheet with either parchment paper or aluminum foil. Spread out sprouts in one layer. Roast until sprouts are slightly brown and semi-tender, about 1 hour.

This slideshow requires JavaScript.