Hot Fudge Brownie Sundaes

As highlighted in the video, this pantry project is an “oh, darn, I GUESS I’ll use these ingredients up.” Homemade hot fudge is embarrassingly easy to make and only requires a handful of ingredients. You can modify the recipe as you’d like – different types of chocolate, flavored liqueurs, salted or unsalted, etc. I only use 5 ingredients – chocolate, sweetened condensed milk, butter, espresso powder, and salt.

IMG_6926

For an indulgent treat –  layer brownie, hot fudge, ice cream, and toppings. My toppings include whipped cream and rainbow sprinkles


HOT FUDGE SAUCE

  • 2 tablespoons butter
  • 1 can (14 oz) sweetened condensed milk
  • 8 ounces chocolate (can use baking chocolate, chocolate chips, chocolate bars, etc)
  • 1/4 teaspoon espresso powder
  • Pinch of Salt

In a medium nonstick saucepan or nonstick saute pan, melt butter and heat sweetened condensed milk over low to medium heat – do not crank the heat on this recipe – ingredients can all burn easily. Stir in chocolate, espresso powder, and salt. Heat and stir until chocolate is fully melted and incorporated, about five minutes.  Sauce and be served immediately or cool and store in the refrigerator for up to 3 months.

Advertisement

Strawberry Hand Pies

IMG_3955Speaking of summer, another one of my loves for the summer is berries – strawberries, blueberries, blackberries, raspberries, etc. They are so versatile and can be used in countless ways – salads, sauces, cocktails, crumbles, gallettes, etc.

One thing I like to make, which is a cousin to my empanada obsession, is hand pies. I find strawberries fall apart too much when you prepare them as a filling, making a really slopping and unattractive traditional pie. But for a hand pie, they are a great consistency.


I was at the grocery store yesterday and found a good deal on strawberries. I often freeze and reserve for smoothies, but I decided to go the sweet route. I also had some Dancing Deer Flaky Pie Crust mix, and as always, some butter in my freezer, so I was good to go.

Preparation is really easy, especially using a pie crust mix. You can go an extra step with laziness by using refrigerated pie crust or frozen puff pastry for turnovers. I do not suggest cheating on the strawberries – keep them fresh.

STRAWBERRY HAND PIES
Makes 8 Pies
1/2 package Dancing Deer Flaky Pie Crust Mix (7.2 ounces)
1 stick Butter, cold
2 ounces water

2 cups fresh Strawberries, cleaned and halved or quartered
1/4 cup Sugar or Maple Syrup
2 tablespoons Corn Starch, dissolved in 2 tablespoons water

Extra Butter or Coconut Oil

  1. Prepare pie crust according to package directions. Roll into a large, thick disc and cut into 8 equal pieces. Refrigerate until ready to prepare pies.
  2. In a heavy bottomed nonstick pan, add the strawberries and sugar. Boil until some of the liquid is reduced. Add the corn starch mixture and cook until well incorporated and mixture starts to thicken. Remove from heat and allow too cool. If filling is too hot, it will melt the butter in the pie crust and the crust will fall apart, or you will have soggy pies.
  3. When ready to assemble, preheat oven to 350 degrees.
  4. Roll dough out, one piece at a time, to about 1/4 inch thick. Add about 2 tablespoons of filling in the center and fold the hand pie over, sealing the edges by hand. Too much filling will spill out. Score the top of the pie to allow ventilation during baking.
  5. Line a cookie or baking sheet with parchment paper. Line the pies on the sheet, about 1 -2 inches apart. Baste the top of each pie with a bit of butter or coconut oil. Bake for 25 minutes or until crust starts to turn a light golden brown.
  6. Serve warm with ice cream, whippped cream, or all alone 🙂


Five Ingredient Iced Chocolate Loaf Cake

AC_PANTRYPROJECT

My fascination with canned pumpkin and baking continues. And my love affair with butterscotch chips and their versatility is unwavering. The shitty winter weather we have been experiencing in the Northeast is making me churn out recipes like a workhorse. There’s not much else to do with my spare time that won’t cost me much money. Luckily I have plenty of friends ready to come over and be taste testers!

Today I wanted to up the ante from the simple Pinterest-esque pumpkin and cake mix recipes. The goal was tasty and elegant, but still simple and streamlined. Thus a nice pound cake-like loaf cake with a butterscotch icing fit the bill.

IMG_1032

What you’ll need:

  • Standard sized Chocolate Cake Mix (I used Arrowhead Mills)
  • Can of Pure Pumpkin (14-16 ounces)
  • Butterscotch Chips (1 cup for cake, 1/4 cup for icing)
  • Salt
  • Coconut Oil

Preheat oven to 350 degrees. Lightly grease a standard loaf pan with a bit of cooking spray. Using a wooden spoon, mix together cake mix and pumpkin until well incorporated. If mixture is too thick for your liking, mix in up to 1/3 cup water.

Stir in butterscotch chips. Bake at 350 degrees for about 40-45 minutes, or until the cake passes the toothpick test and pick comes out clean. Set allow to cool completely before icing. To make icing, use a small saucepan to melt the remaining chips with about 1 teaspoon of coconut oil and a 1/2 teaspoon of salt. Set the burner on low – chips melt super fast – faster than chocolate – and the icing only takes a minute. Drizzle or frost the top of the cake. Allow time for icing to set, and slice and serve.

Cake is cooling

Cake is cooling

Icing takes no time to make, about a minute!

Icing takes no time to make, about a minute!

In Case of PMS, Break Glass – Edible Cookie Dough

AC_PANTRYPROJECT

Actually, in case of PMS, break open glass. Now sometimes we women have cravings. Tonight I was in the mood for cookie dough. Luckily, thanks to my Accidental Pantry Project, I knew I had all the ingredients, and this snack took little more effort than me running to the store for ready made dough. Plus, even though it’s not a low-cal snack, by making it myself I know exactly what is in it. And anything in a mason jar is just fun. (Thanks, Pinterest.)

IMG_3800

Thanks to my microwave, that I used to soften the butter and the rock hard brown sugar, this was put together in about 10 minutes. And thanks to no egg, no salmonella!

I used milk chocolate and butterscotch chips, both because I have them on hand, and because I love butterscotch chips/flavoring in many desserts. Definitely feel free to experiment with your mix-ins.

SNACKING COOKIE DOUGH
1 stick (1/2 cup) butter, softened
1/2 cup brown sugar
1/4 cup white sugar
2 tablespoons milk
1 teaspoon vegetable oil
1 teaspoon vanilla extract
pinch of salt
1 1/2 cups flour
1/4 cup milk chocolate chips
1/4 cup butterscotch chips

  1. Using either a hand mixer or stand mixer set to low, cream together butter and sugars until smooth.
  2. Add milk, oil, vanilla extract, and salt. Mix until well incorporated.
  3. Slowly mix in flour, keep beating with the mixer until smooth. Taste and adjust any flavoring (e.g., more vanilla or salt).
  4. Fold in chips.
  5. Dough is now ready to eat. If you have the willpower, store in the container of your choice in the fridge for up to two weeks (though it is doubtful it will last that long).

S’Mores Cheescake Bars

what's cooking

Since I recently have not been working as much, I had my girlfriends over for dinner as a late Christmas present. Rather than buying gifts, I cooked for them. For dessert, I winged this S’mores Cheesecake Bar recipe and I was overall happy with the results. I made a couple of tweaks to the recipe to improve it for future use and for you, my dear 5 or 6 readers 🙂

When I made this I used an 8×10 glass pan, but I recommend doing this in an 8×8 square pan instead.

IMG_3757 IMG_3761

S’MORES CHEESECAKE BARS

For crust:
12 graham crackers, crushed
3 tablespoons butter, melted
2 tablespoons sugar
pinch of salt

For cheesecake and topping:
8 ounces cream cheese, softened (1 block)
1 cup marshmallow fluff
1/4 cup sugar
1 tablespoon vanilla extract
1 egg
pinch of salt
1 cup chocolate chips, optionally divided
1 1/2 cups marshmallows (or enough to cover top layer of bars)

  1. Preheat oven to 350 degrees
  2. Grease an 8×8 baking pan
  3. Mix graham crackers, butter, sugar, and pinch of salt. Texture should resemble wet sand
  4. Pour cracker mixture into pan. Using wax paper, firmly press it down into one uniform layer on bottom of pan
  5. Bake for 10 minutes or until golden brown. Allow to cool while you prepare filling
  6. Using a hand or stand mixture, beat the cream cheese about one minute. Add marshmallow fluff and sugar and mix until well blended
  7. Add egg, vanilla extract and salt, beat until smooth
  8. Fold in chocolate chips. You may choose to reserve some for the top
  9. Pour batter into pan. Add layer of marshmallows on top, enough to fully cover the mixture
  10. Bake for 15-20 minutes until cheesecake is set, but do not over bake
  11. Marshmallows should have a golden brown color. For a deeper, toastier look, switch your oven to the broiler setting and brown marshmallows for approximately one minute. You may do this with the door open so you may monitor and pull the pan before marshmallows burn
  12. Remove from oven. While still hot, you may add extra chocolate chips on top, if desired
  13.   Allow bars to cool before cutting. You may also refrigerate for up to a week

Peanut Butter Cup Cheesecake

what's cooking

My boyfriend just celebrated his birthday this past week. Like many men, getting an answer out of him in terms of what he wanted for a birthday cake and what he wanted to do to celebrate his birthday was like pulling teeth. Through a painful text message conversation, I narrowed down that he’s not a big cake person, is anti fruit flavored cakes, not a big ice cream fan, likes cheesecake, and said that anything that combines chocolate with peanut butter is good.

So I narrowed it down to a chocolate peanut butter cheesecake. I brainstormed some ideas – peanut butter flavored cheesecake with fudge, peanut butter cheesecake with peanut butter and chocolate swirl, cheesecake with peanut butter cups, etc. The only thing I was certain was that it would have an Oreo crust, as opposed to graham cracker or another type of cookie.

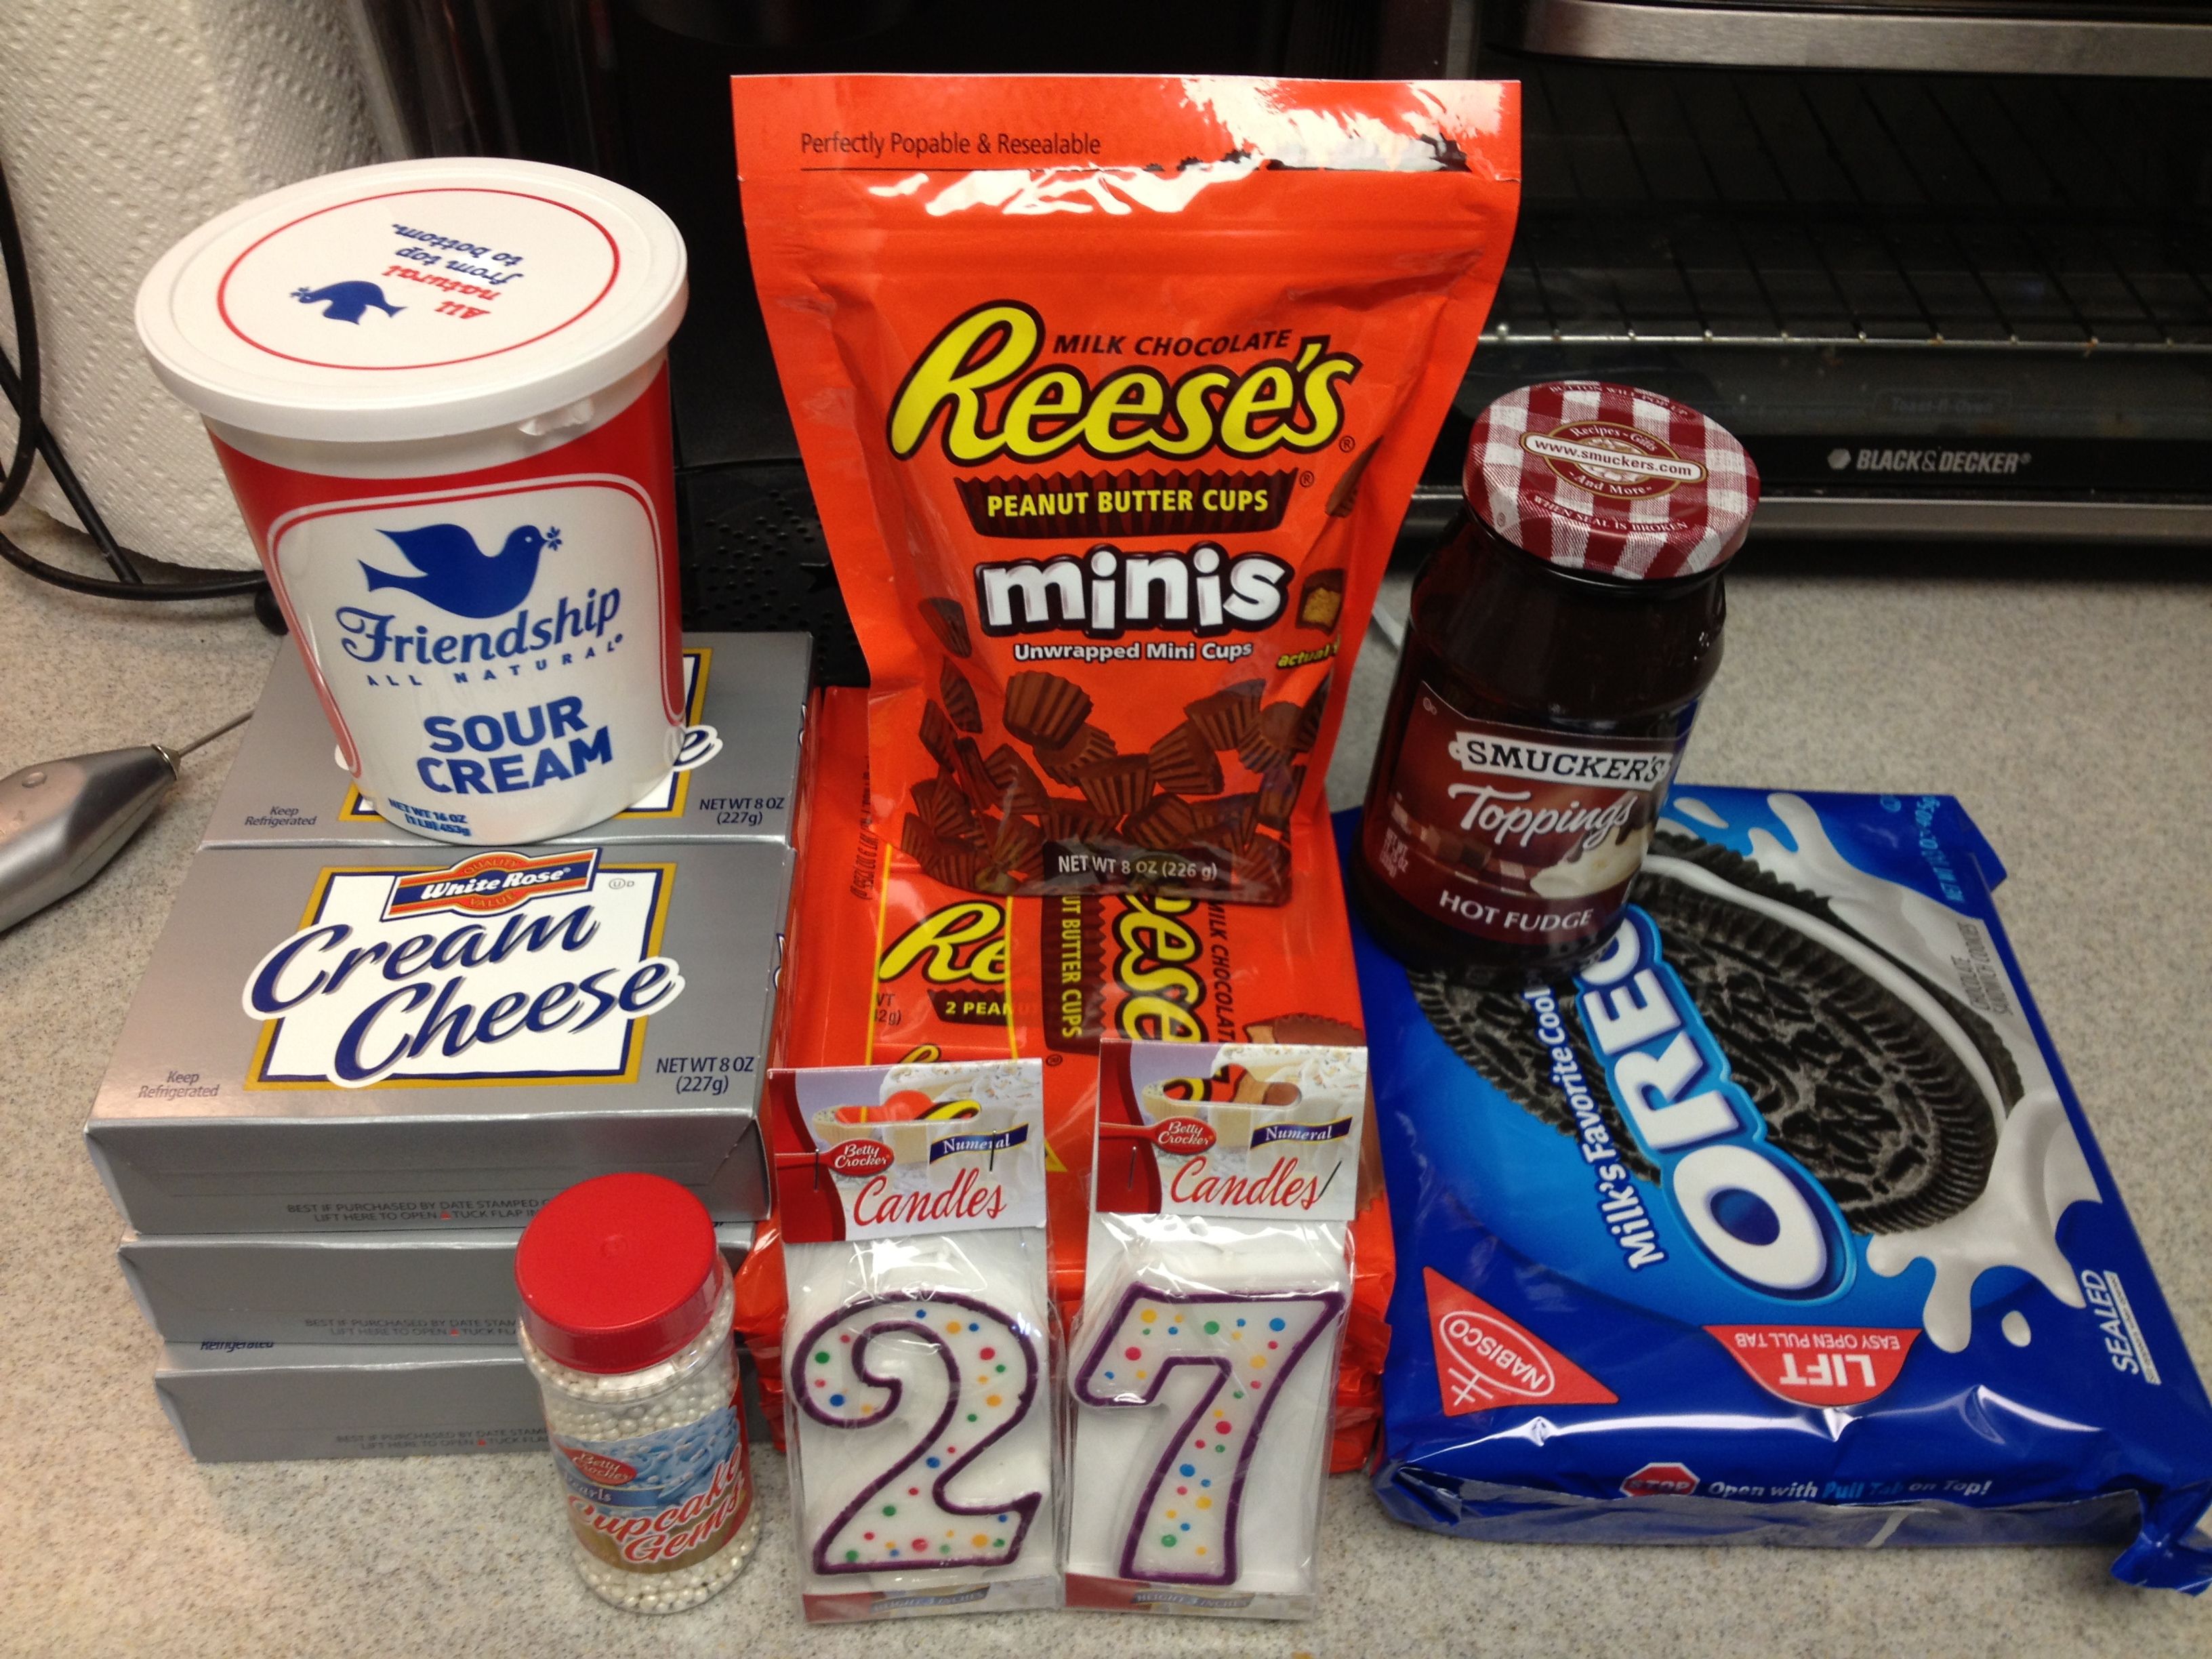
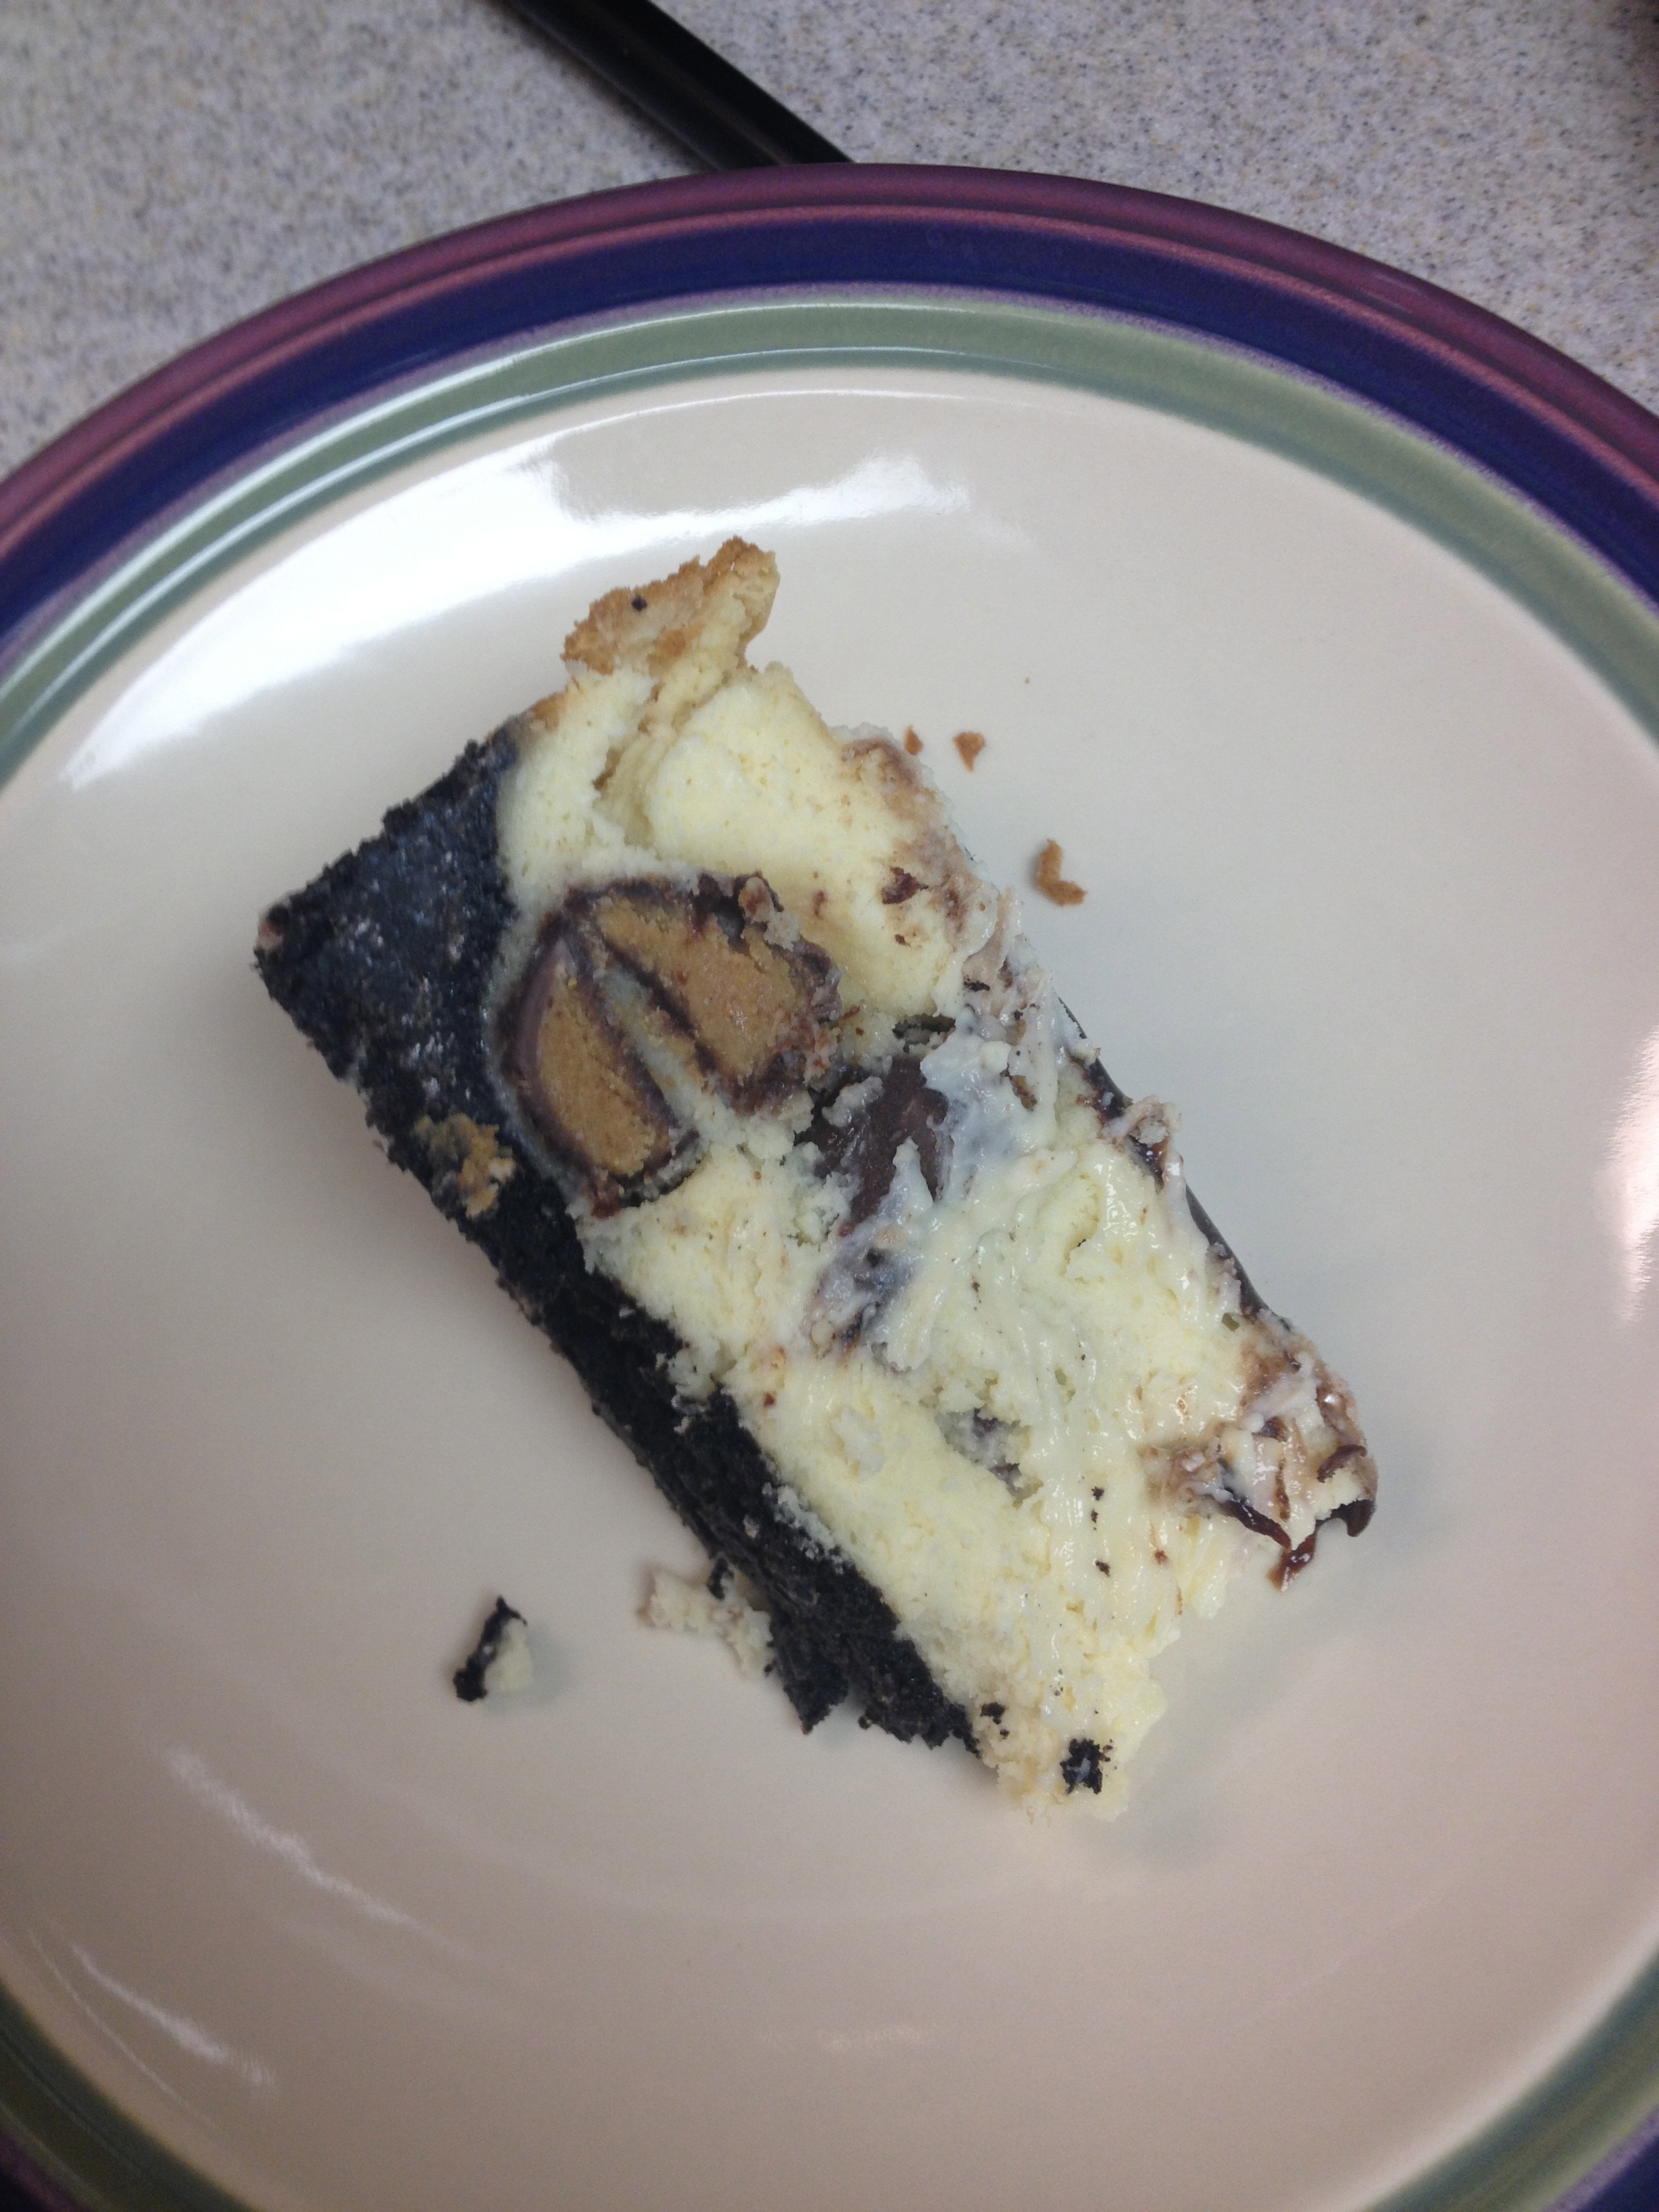
In recent months, I have become a fan of the mini peanut butter cups, the ones that are a bit larger in size than an M&M. It came to me that it would be fun to fold those into cheesecake, almost like chocolate chips, and in lieu of chopping up full sized peanut butter cups. So finally I had the cake narrowed down – vanilla flavored cheesecake with an Oreo crust, mini Reese’s mixed in, the top decorated with hot fudge and full sized peanut butter cups. Since, you know, nothing says love as much as making the most fattening cake imaginable.

And of course in doing so, everyone wanted the recipe, so here you go…

PEANUT BUTTER CUP CHEESECAKE

For the filling:
3 8-ounce blocks cream cheese, softened
1 cup sugar
3 eggs
3/4 cup sour cream
1 tablespoon vanilla extract
1 bag Reese’s Minis

For the crust:
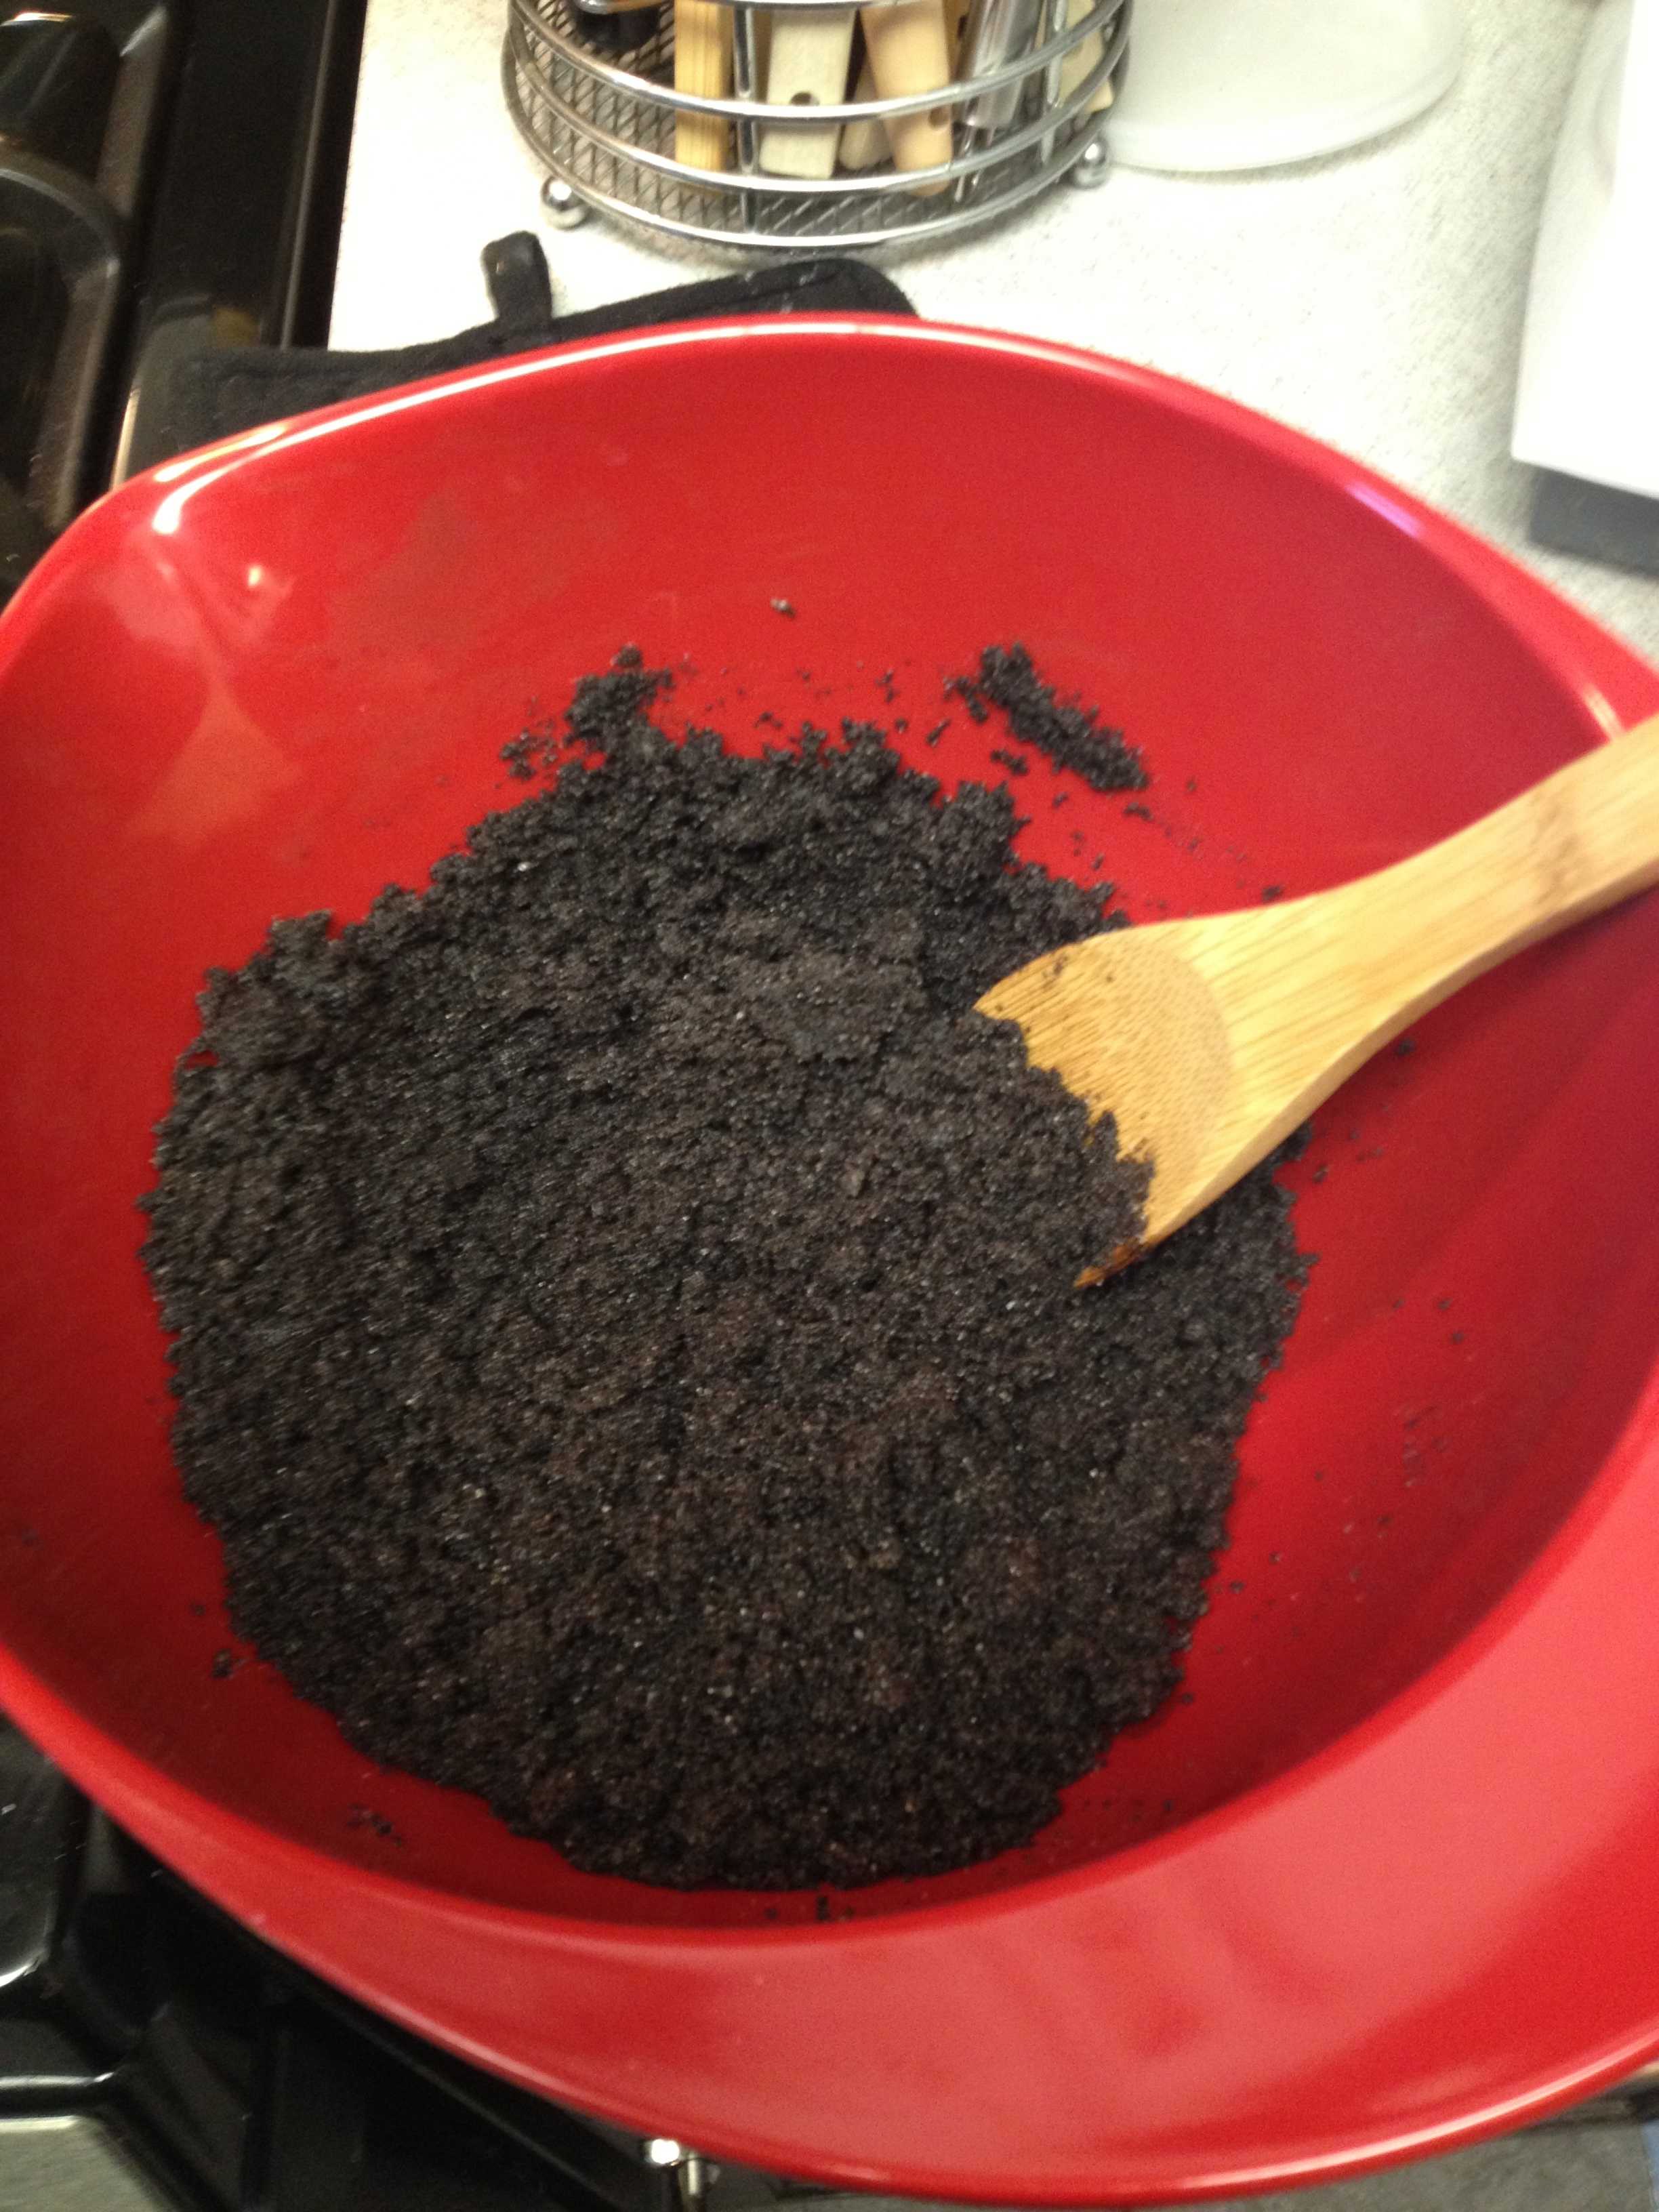
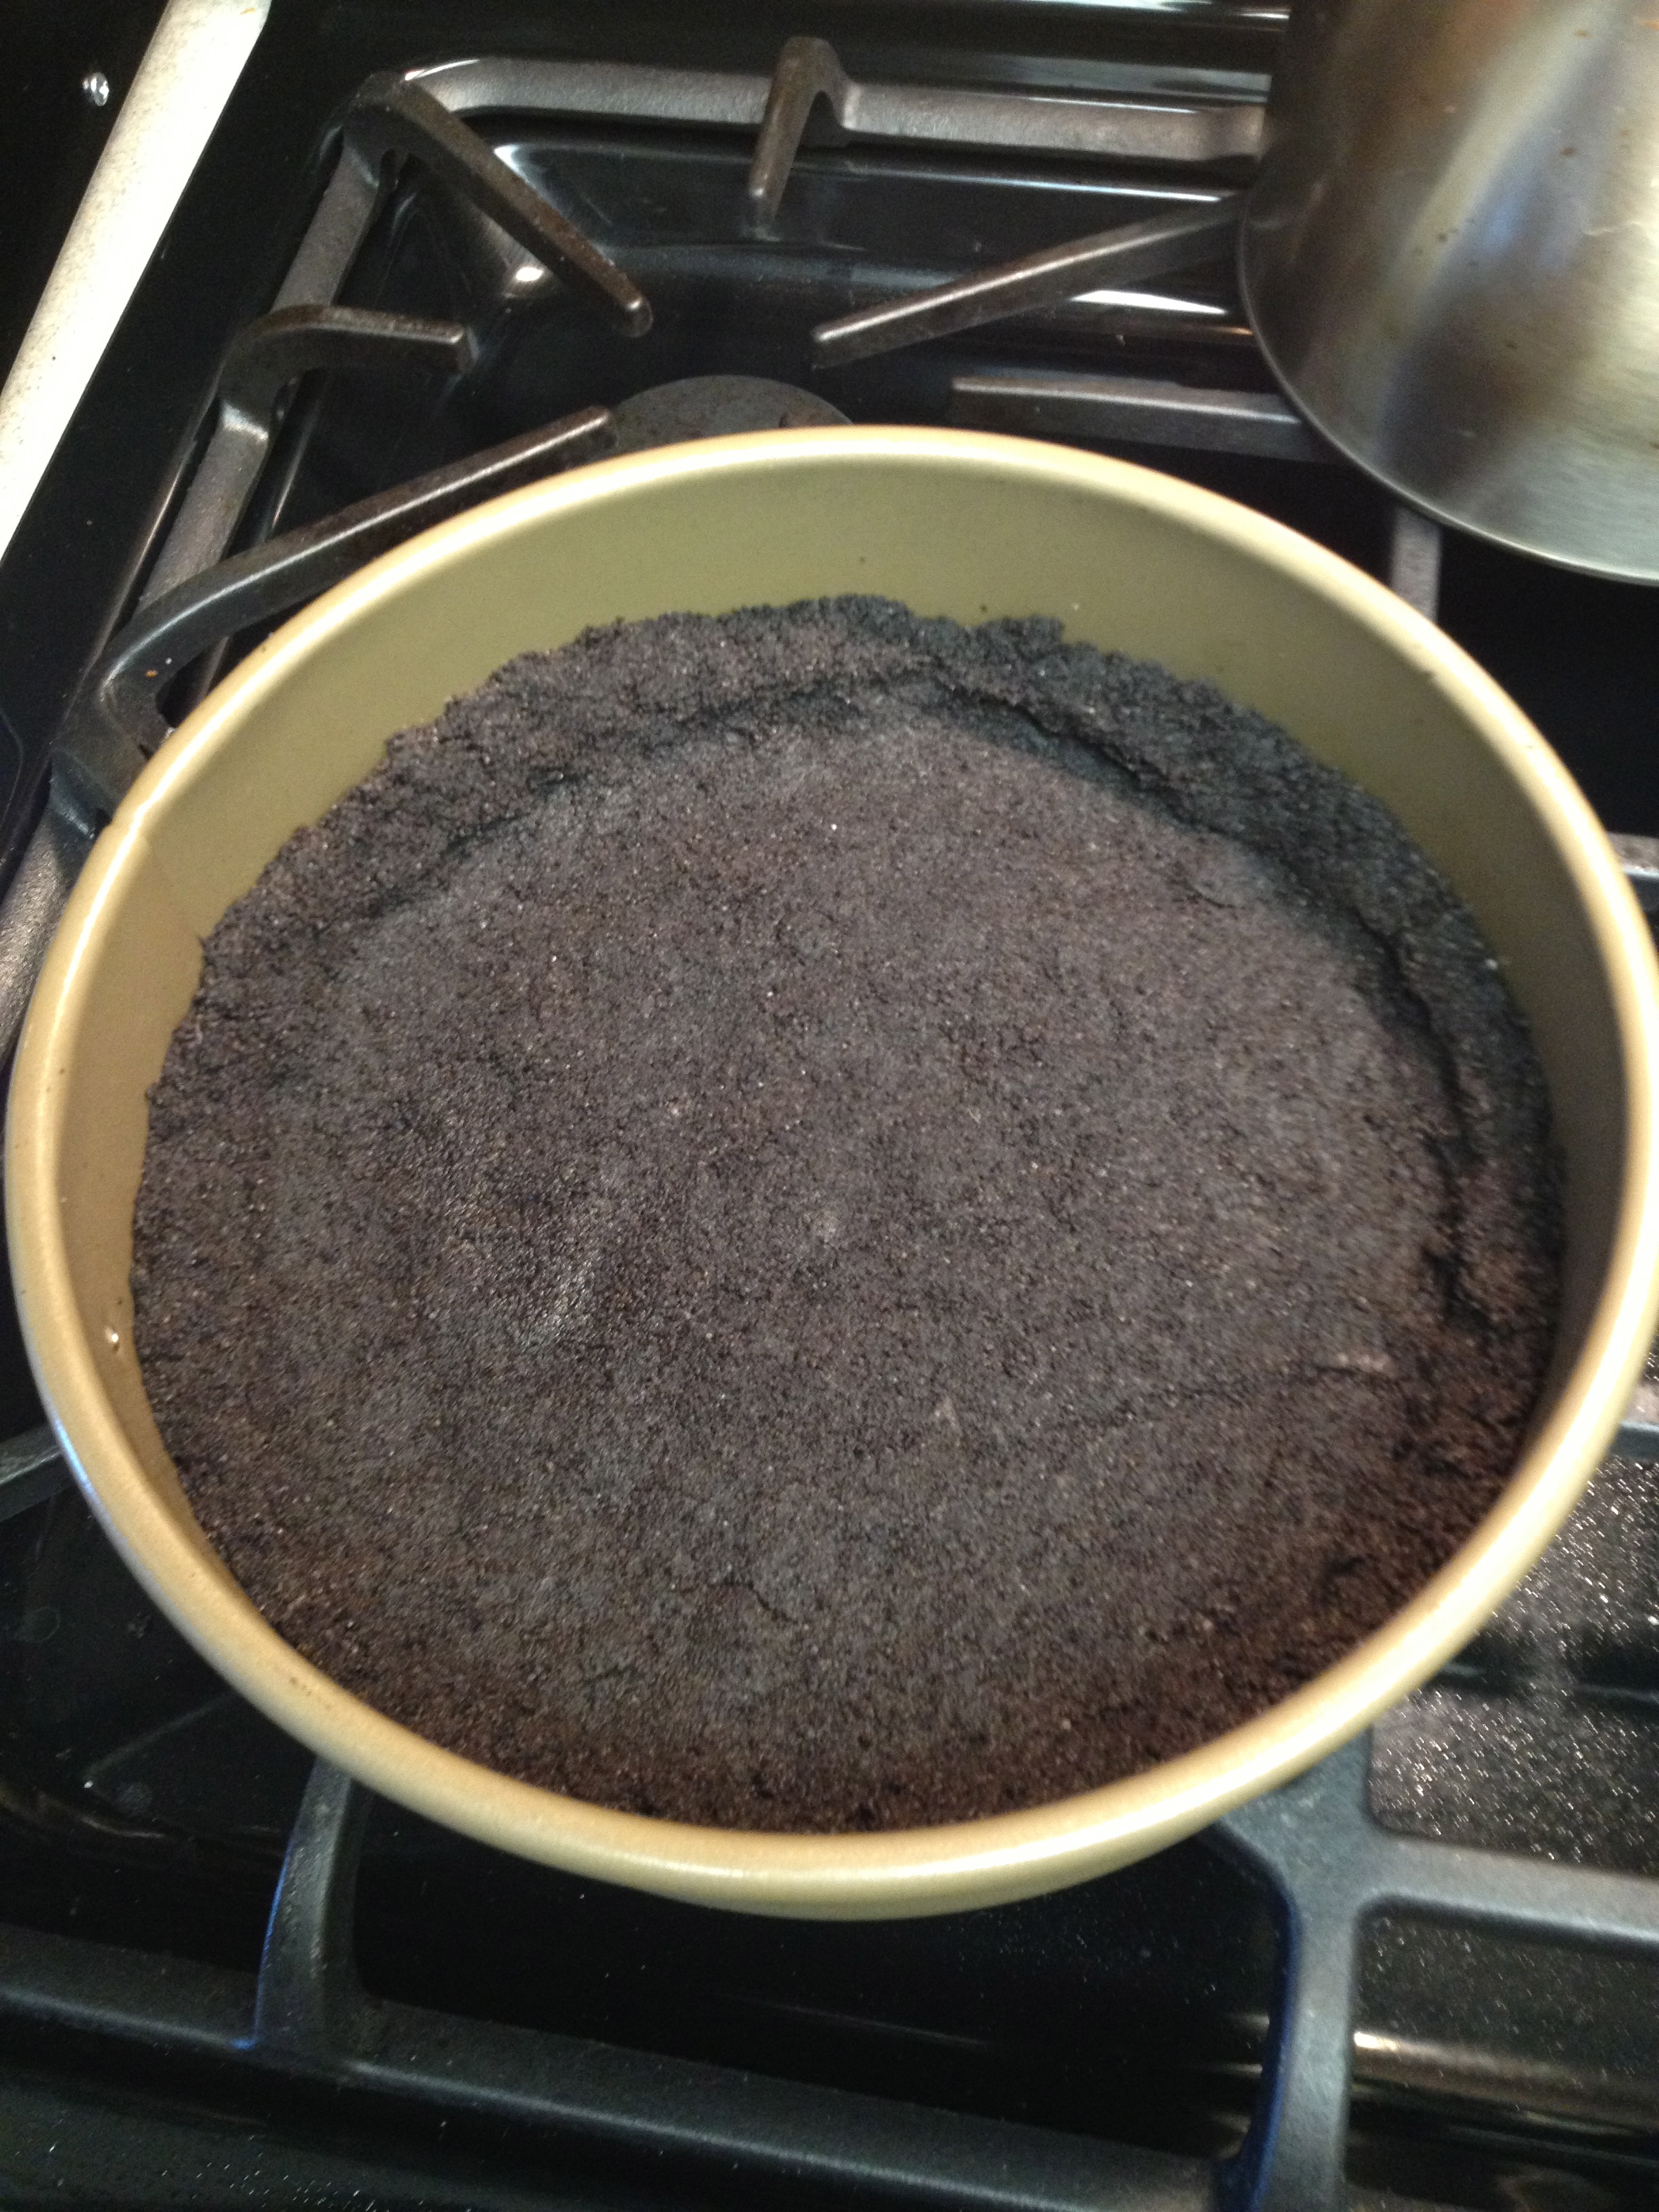
20-24 Oreo cookies, crushed fine in a food processor
1 stick butter, melted
1/4 cup sugar

For topping:
1/2 cup hot fudge, room temperature or warmed slightly
About 8 full sized Reese’s Peanut Butter cups, cut in half

PREPARATION

  1. Preheat oven to 350 degrees.
  2. Grease a 9-inch spring form pan with a bit of cooking spray.
  3. Combine crushed Oreos, melted butter and sugar until well blended. Press mixture evenly into pan, both on bottom and about halfway up the sides of the pan. Bake about 10 minutes. Remove and cool. Lower oven temp to 325 degrees.
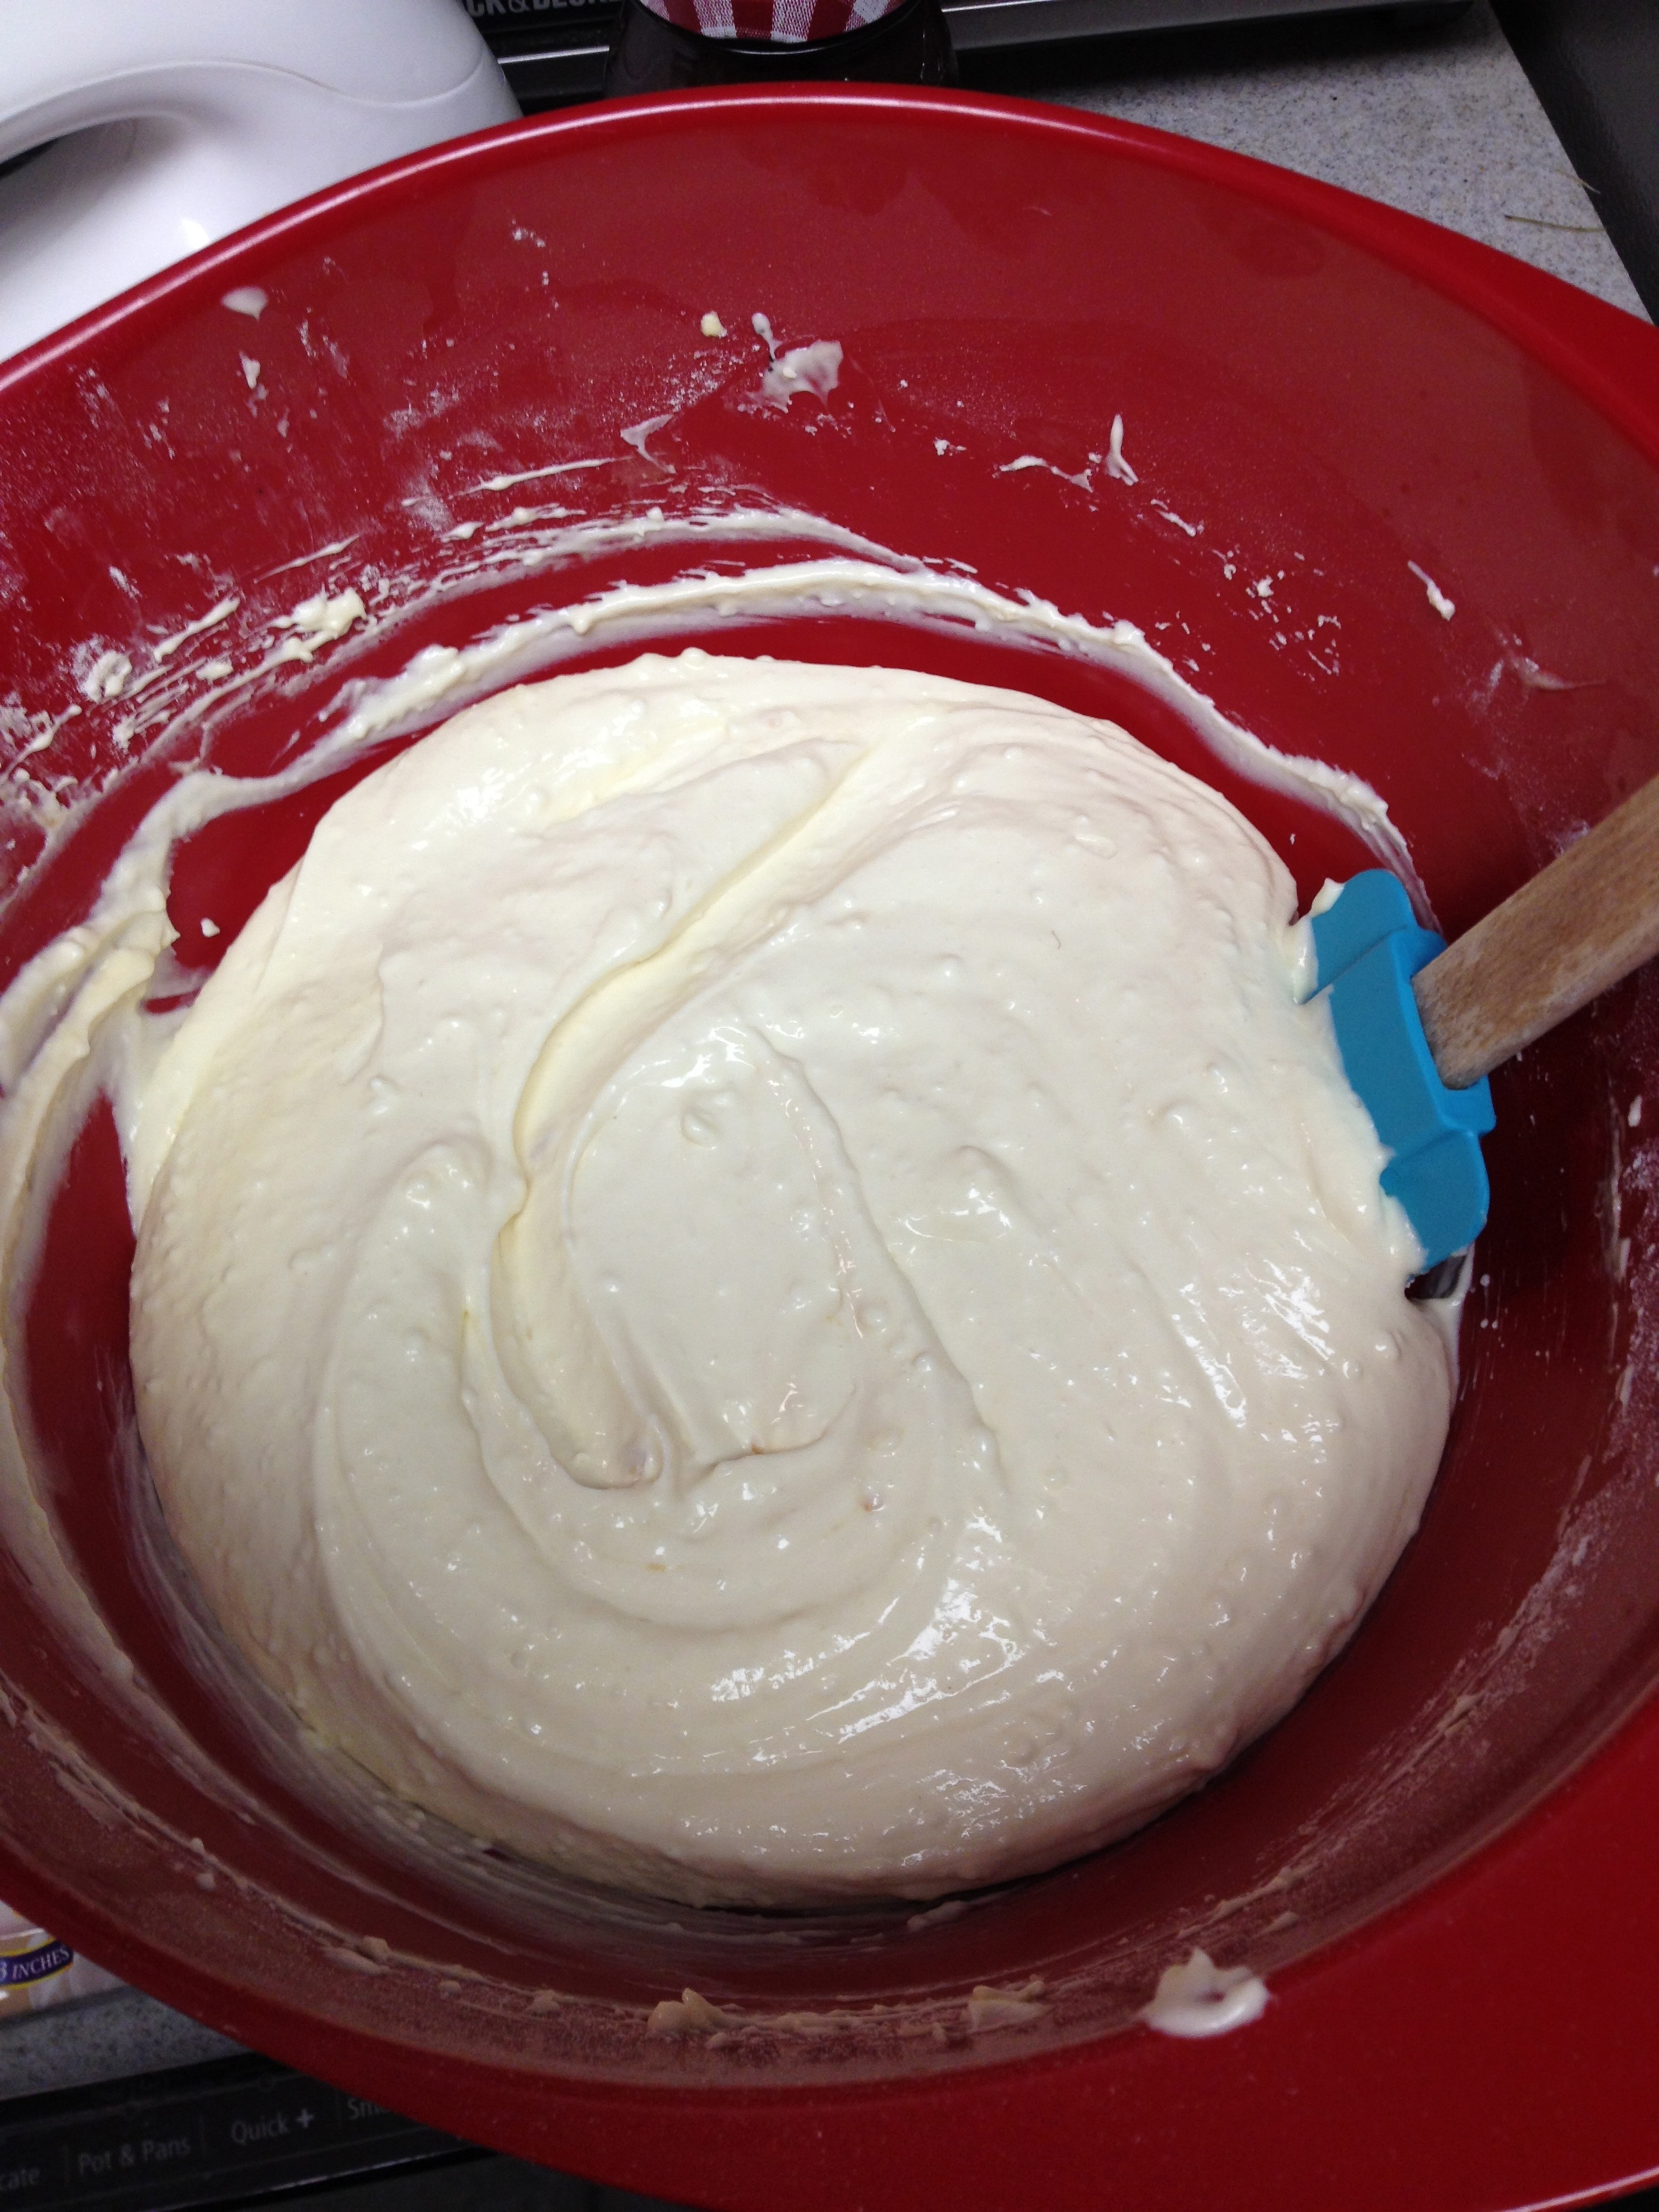
  4. Meanwhile, using a hand mixer, mix cream cheese and sugar until well incorporated. Add eggs and mix in thoroughly. Then blend in sour cream and vanilla.
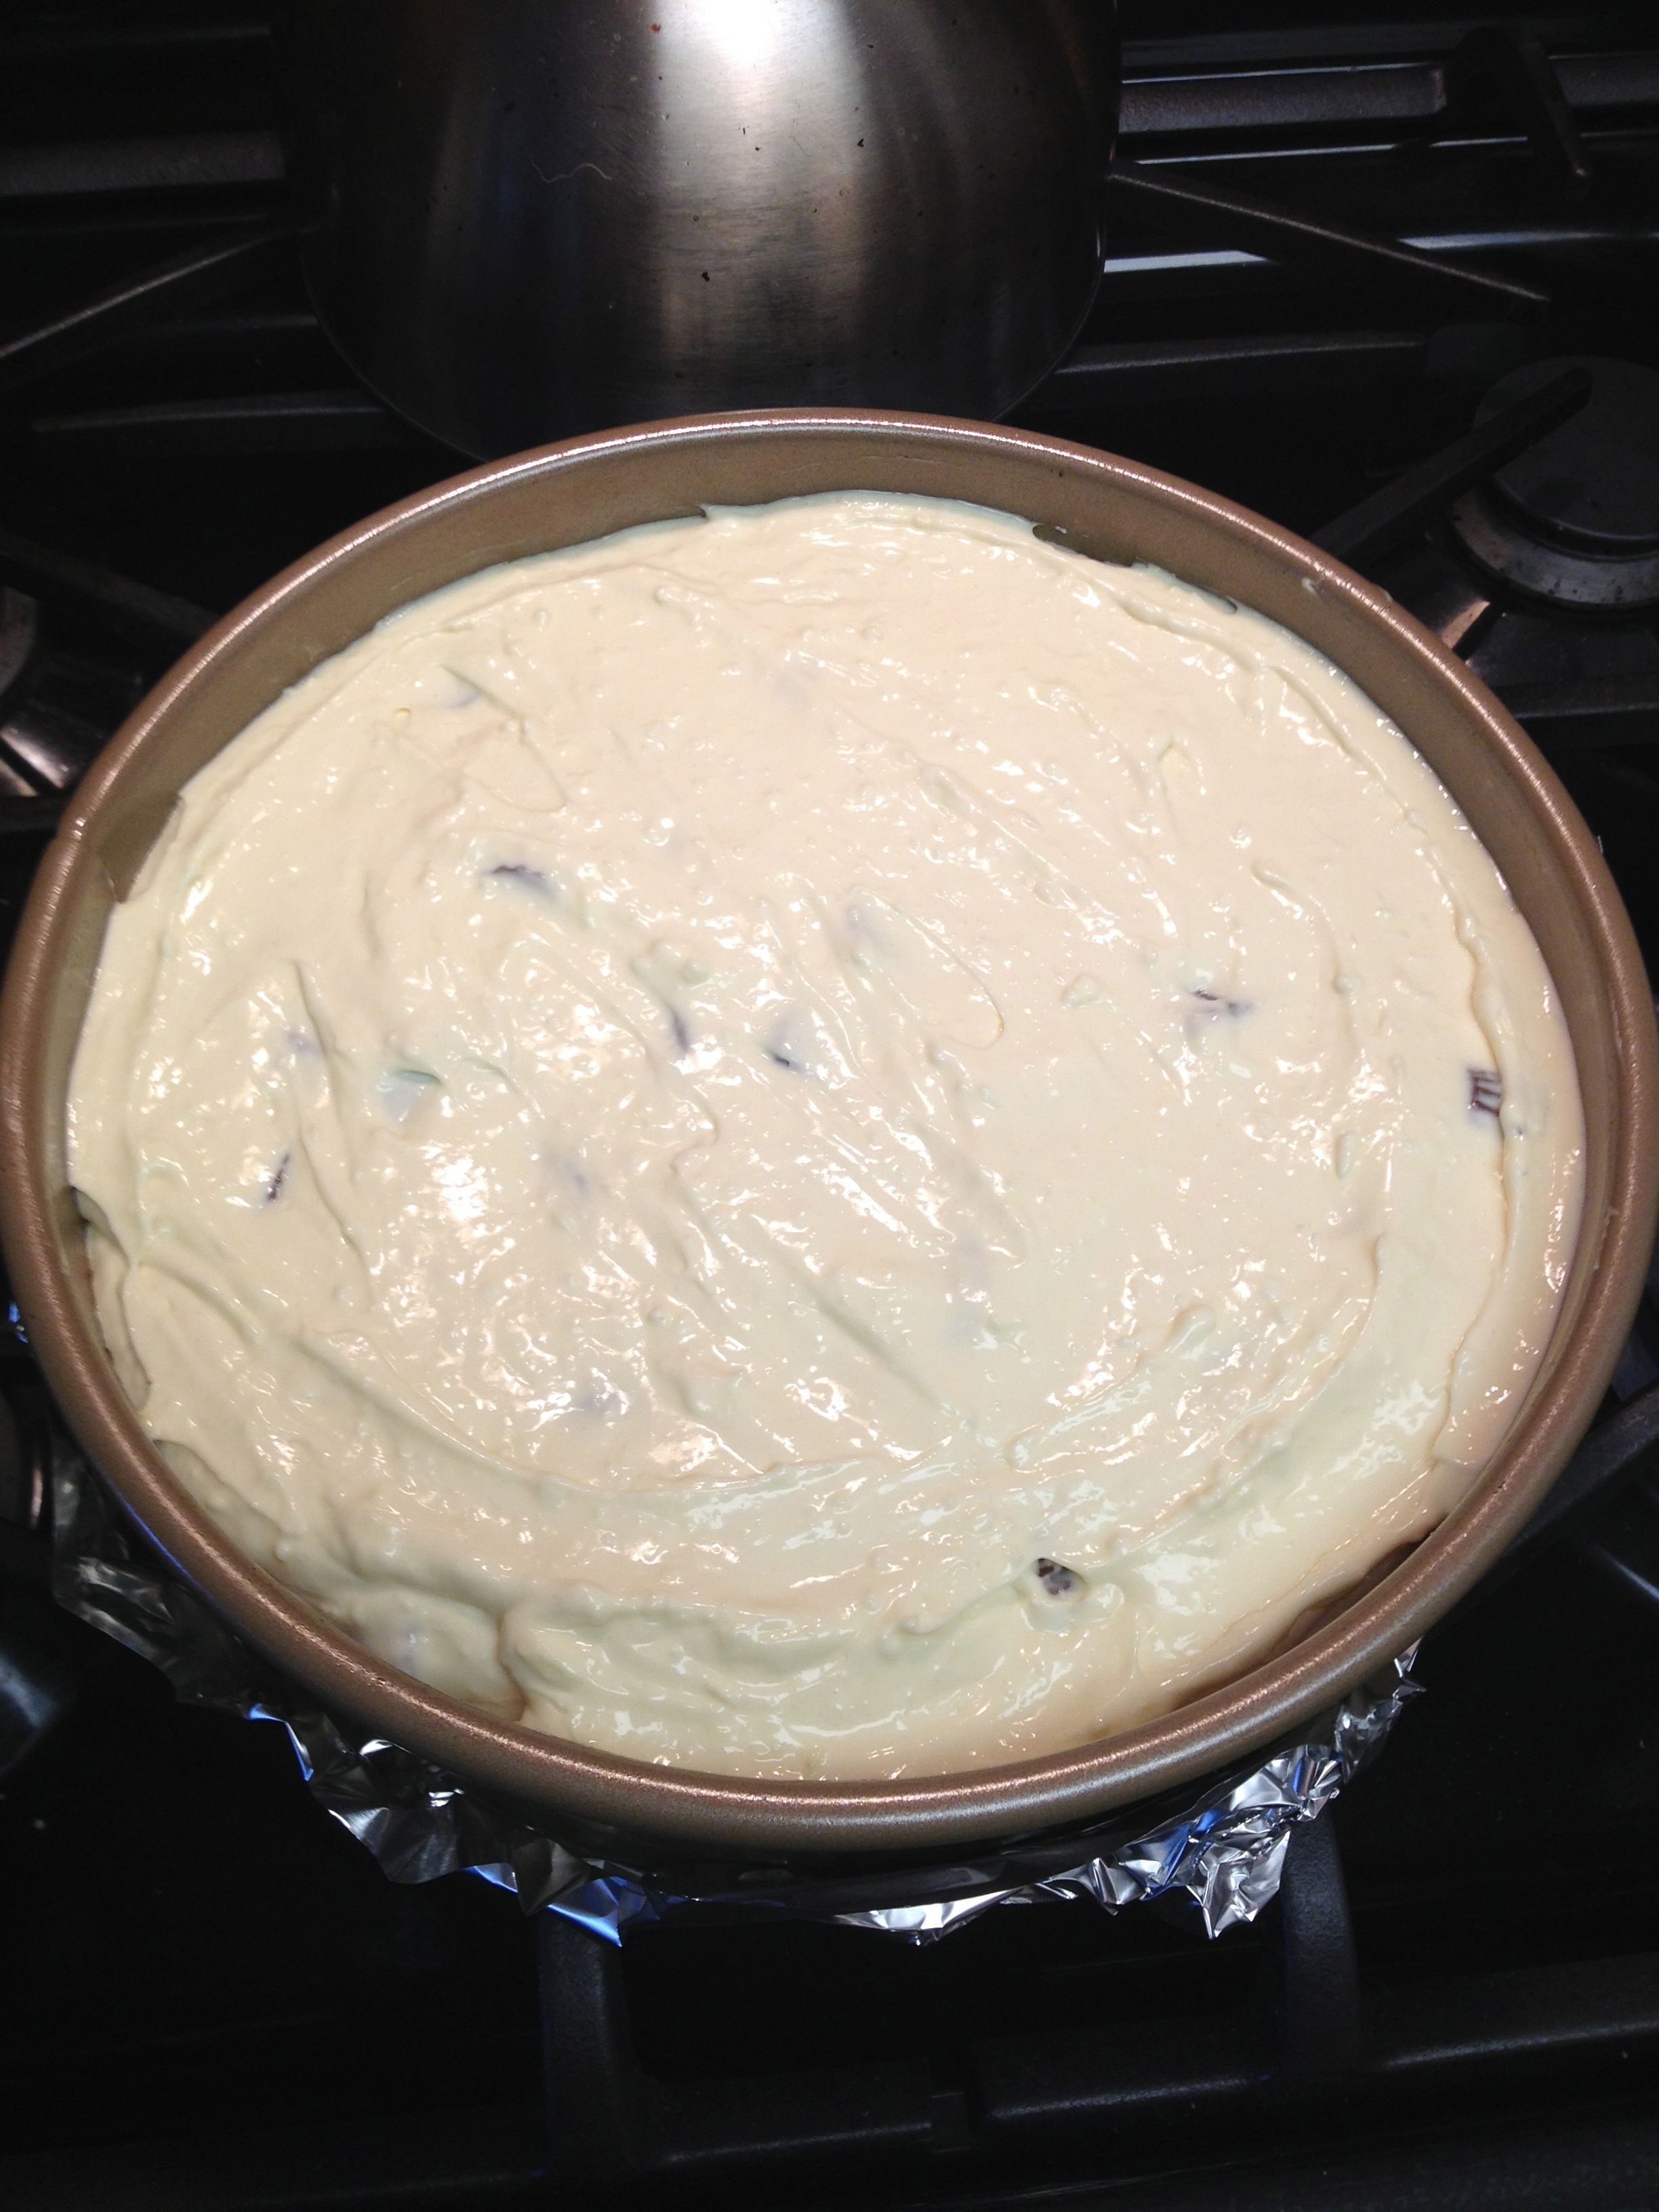
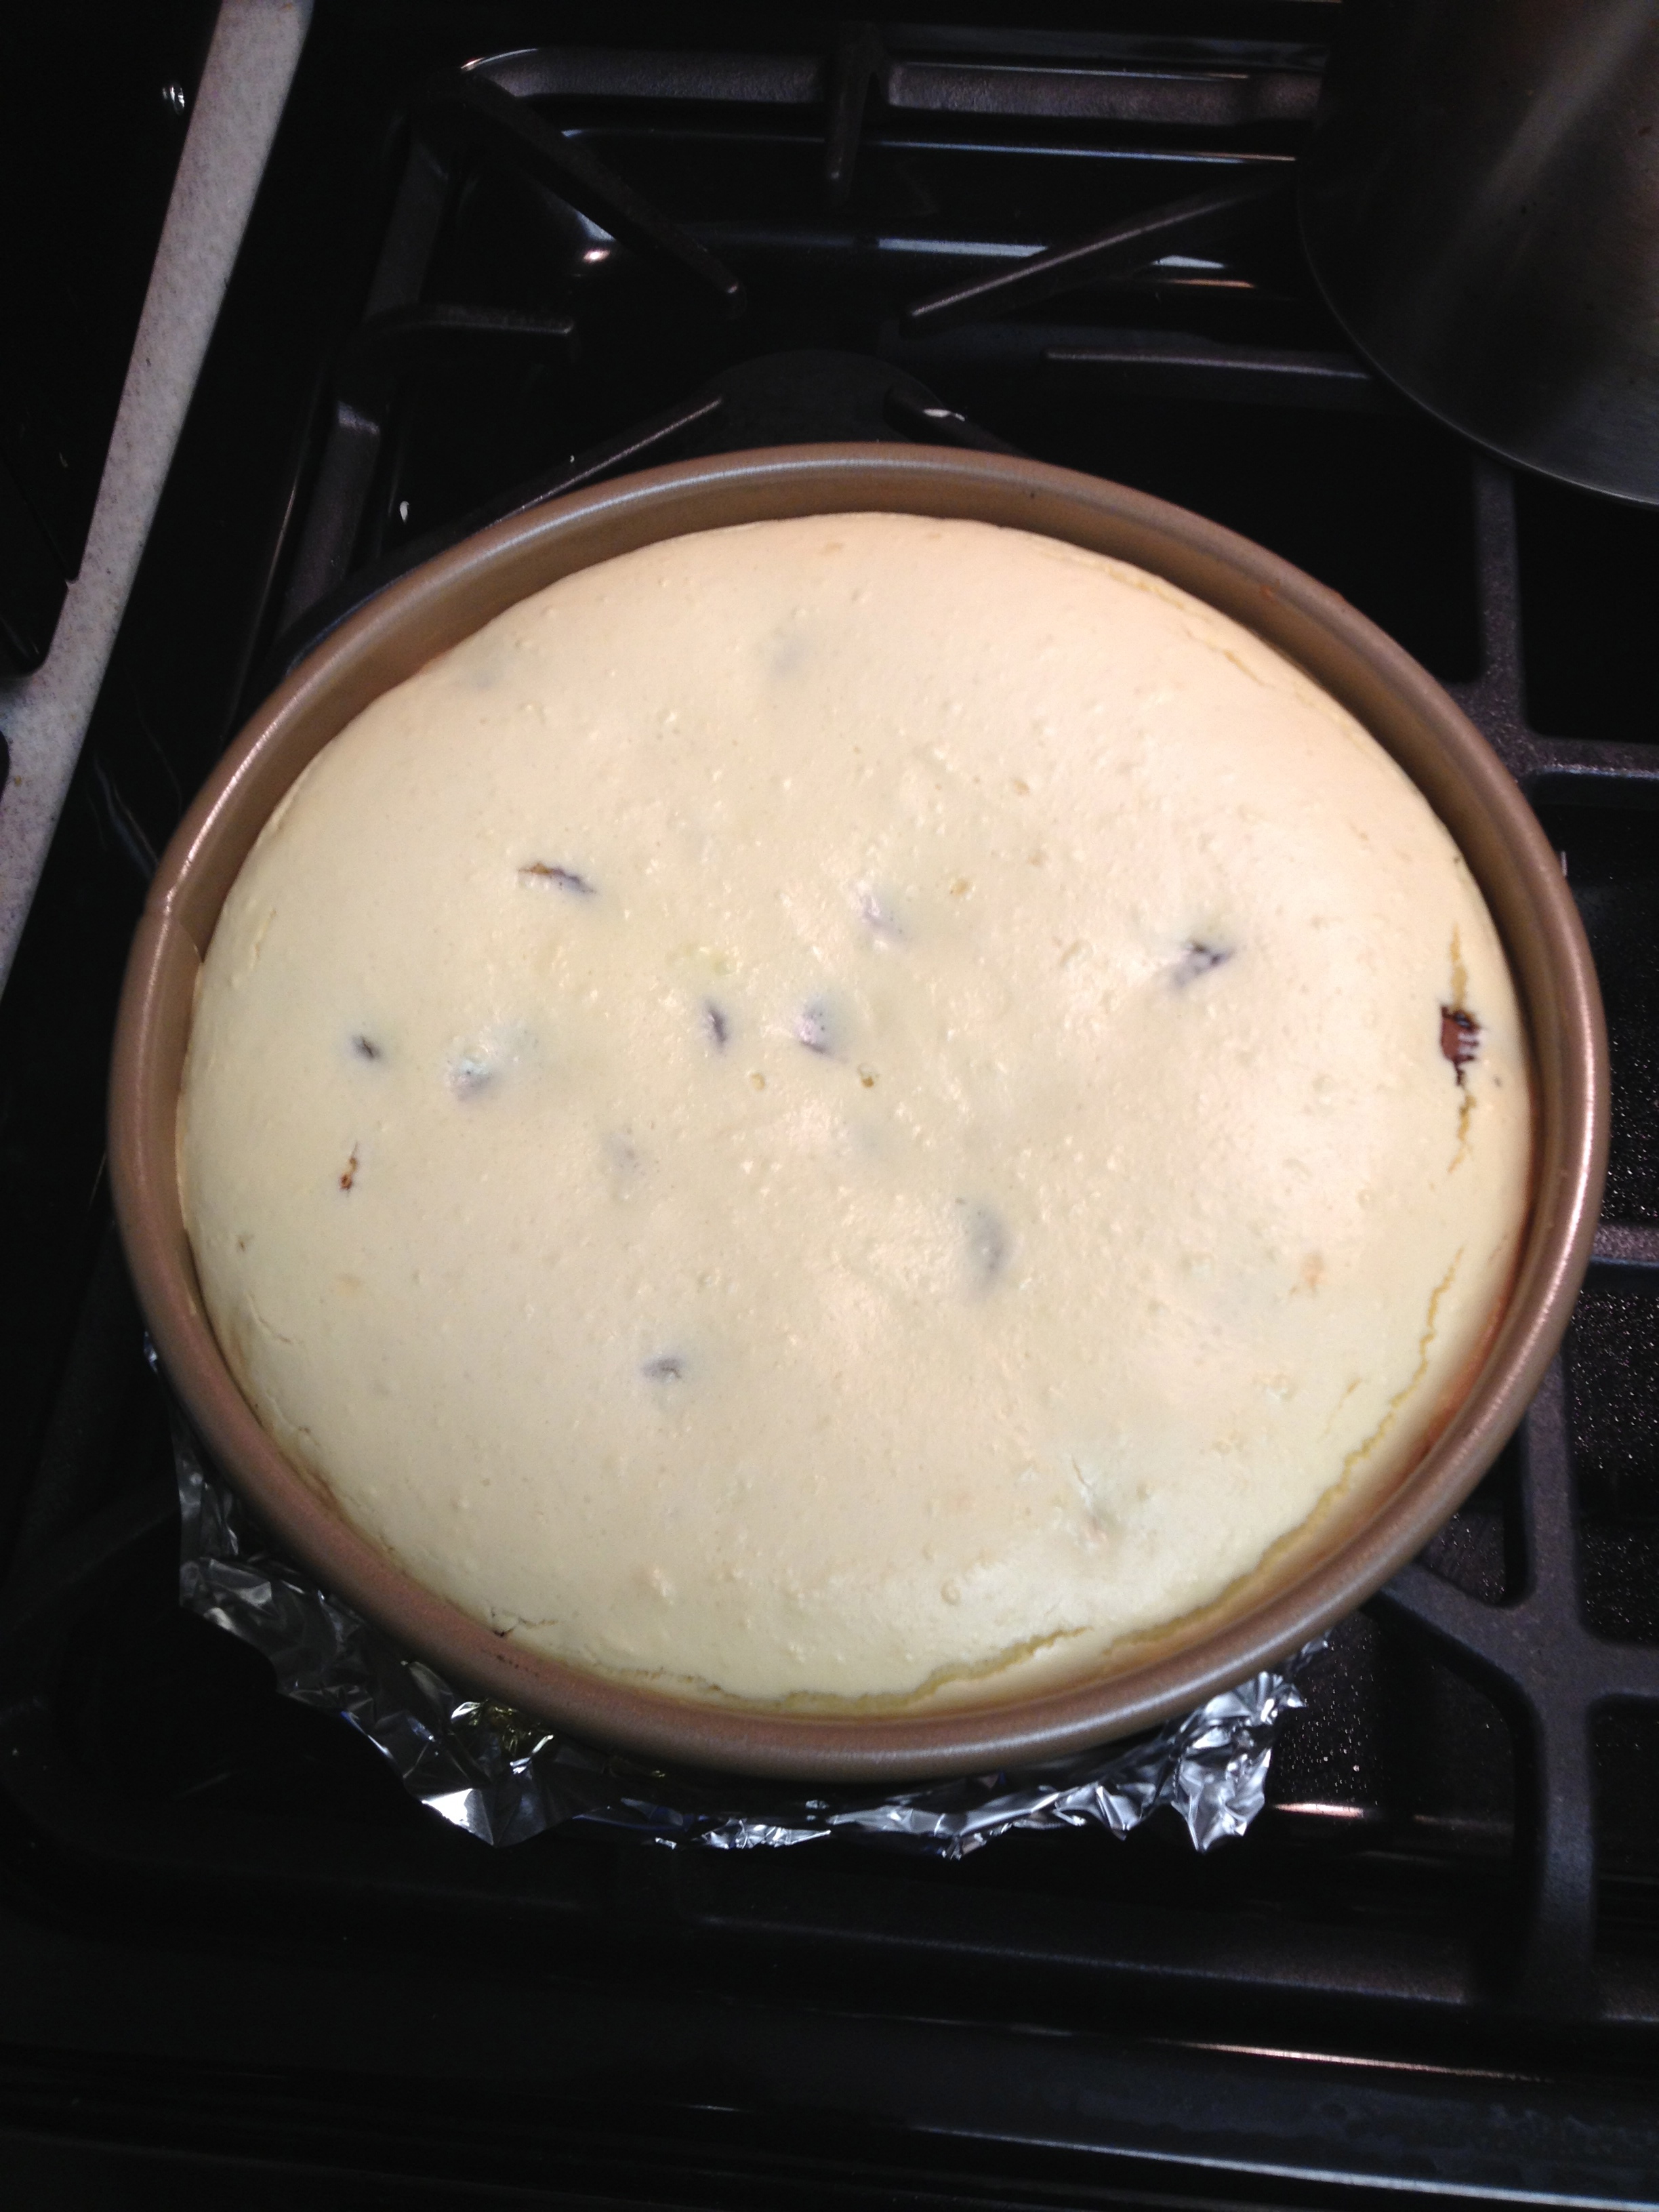
  5. Fold in mini peanut butter cups. Add filling to pan with cooled crust, and bake for about 50 minutes to one hour. Top of cheesecake will crack slightly. Cheesecake is done when you can dip a toothpick in the center and it comes out mostly clean (do not over bake – if top of cheesecake is golden brown, it is overdone).
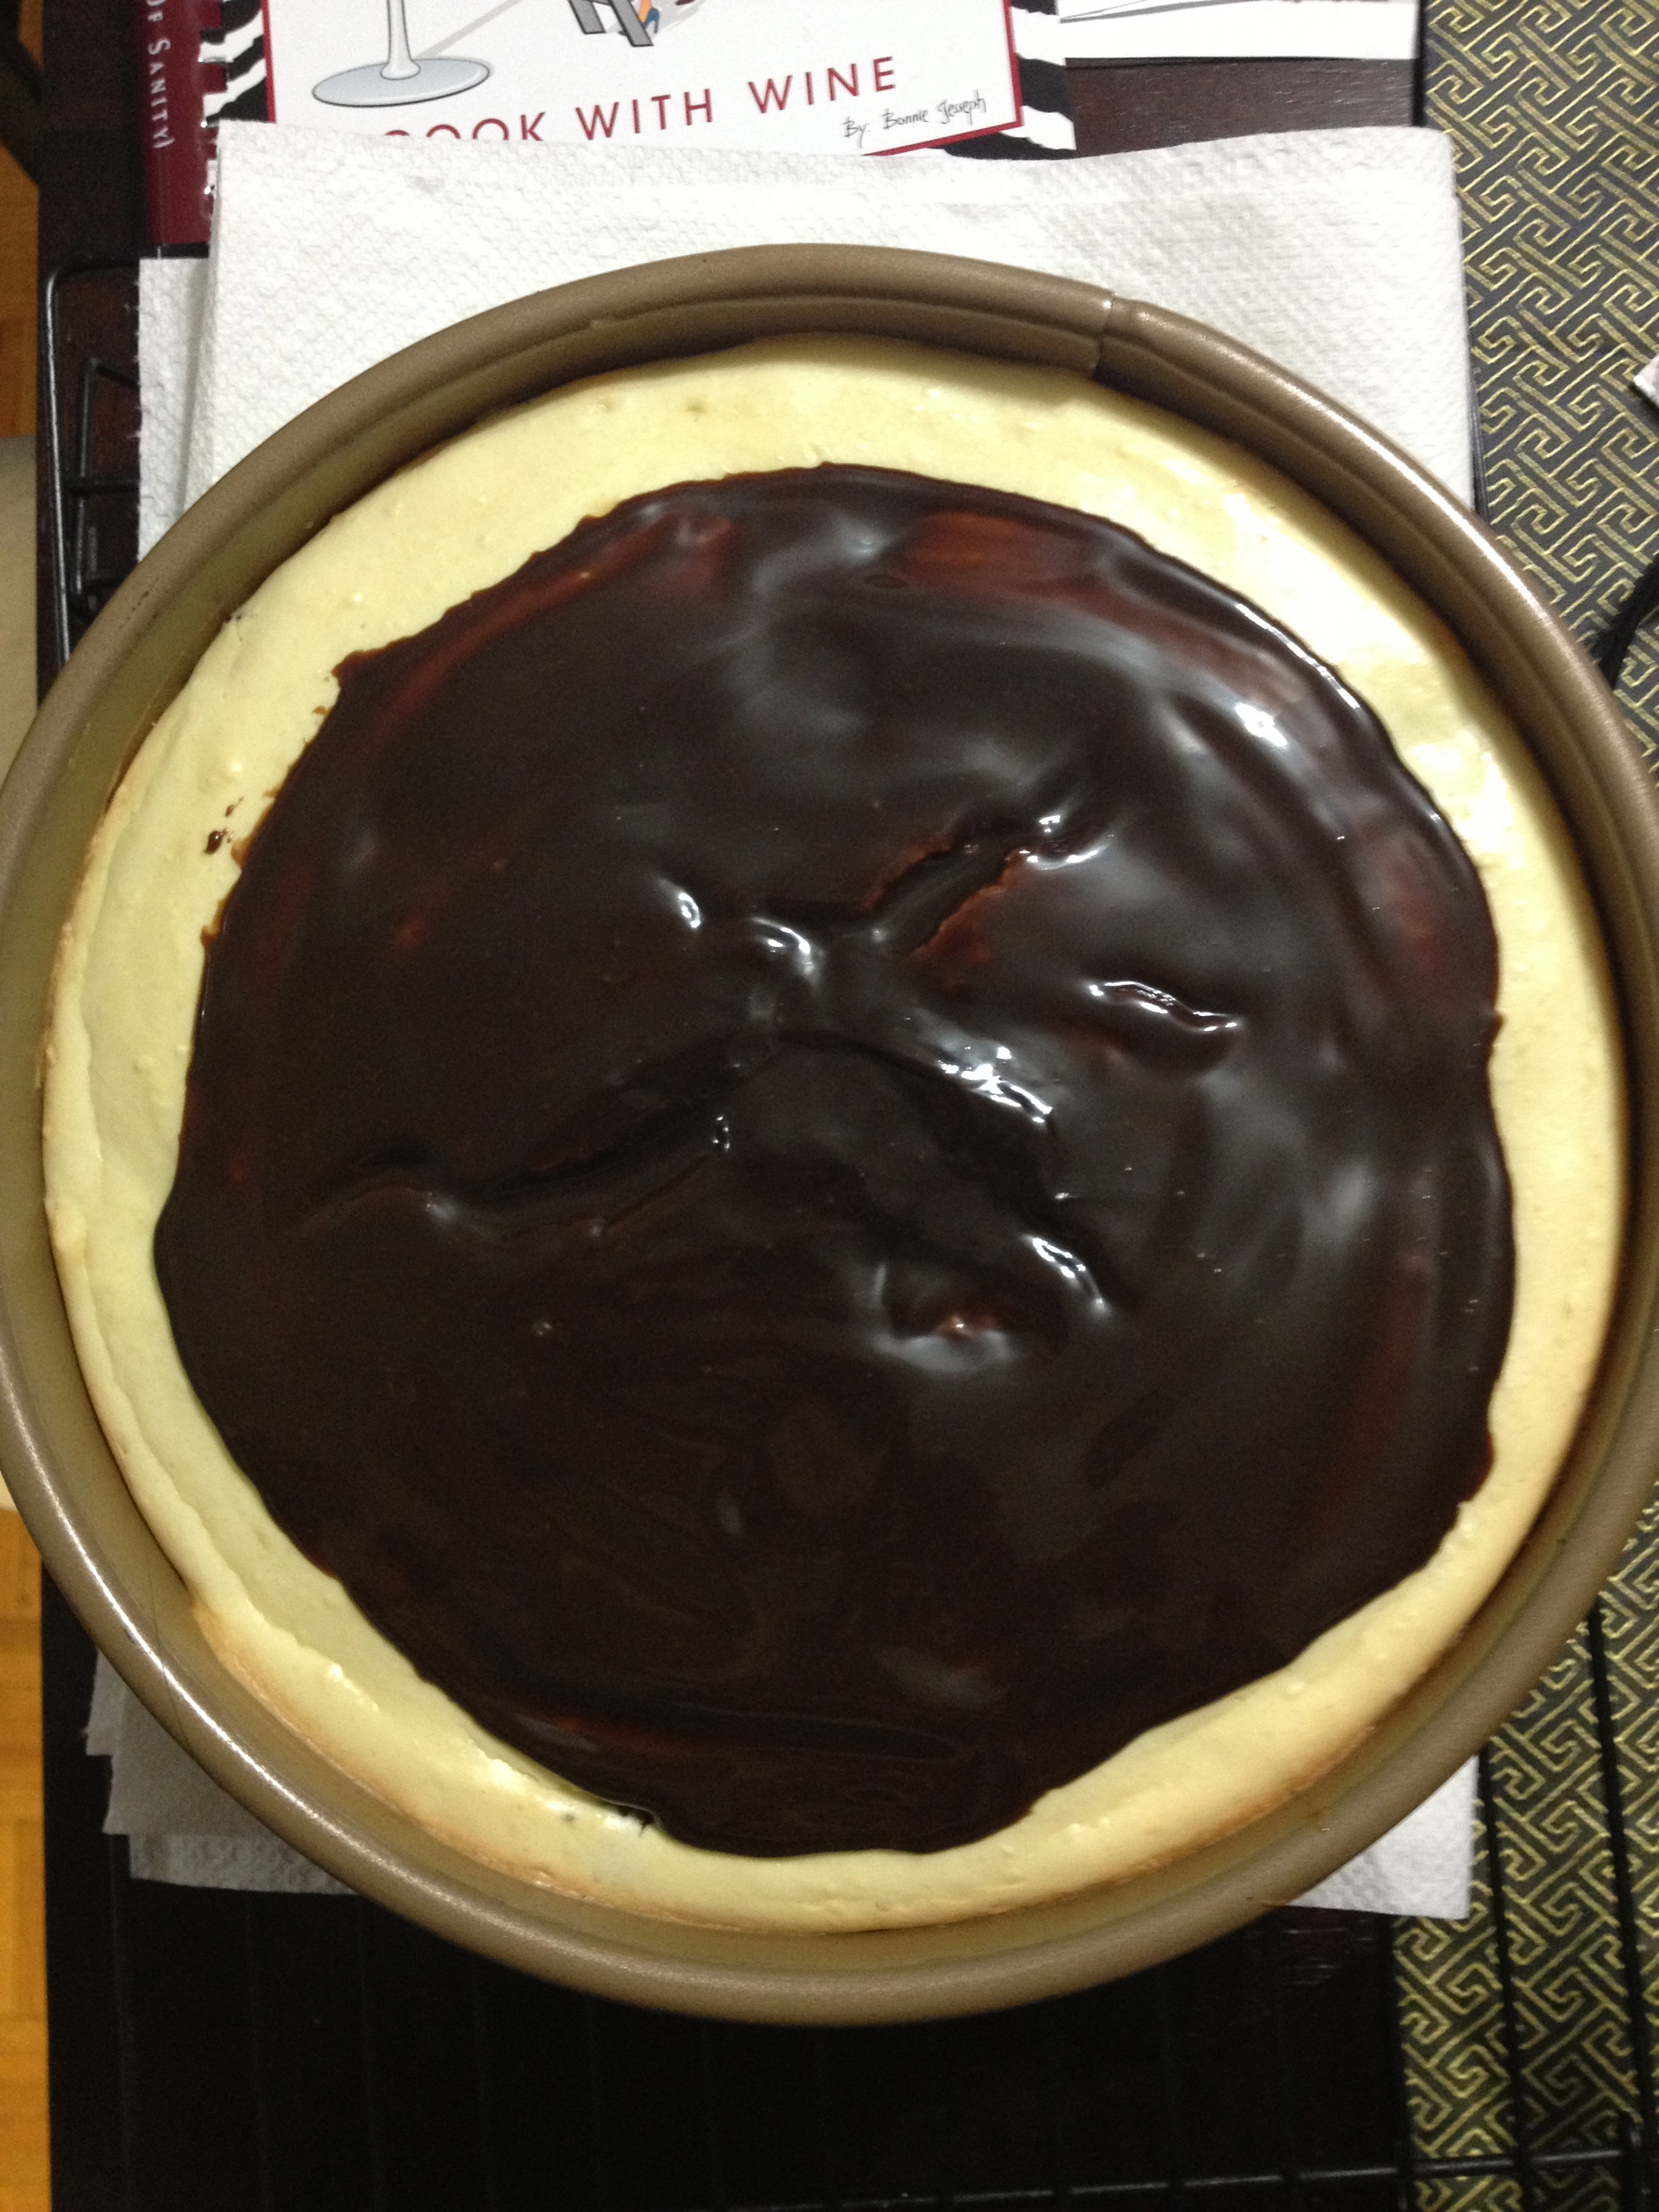
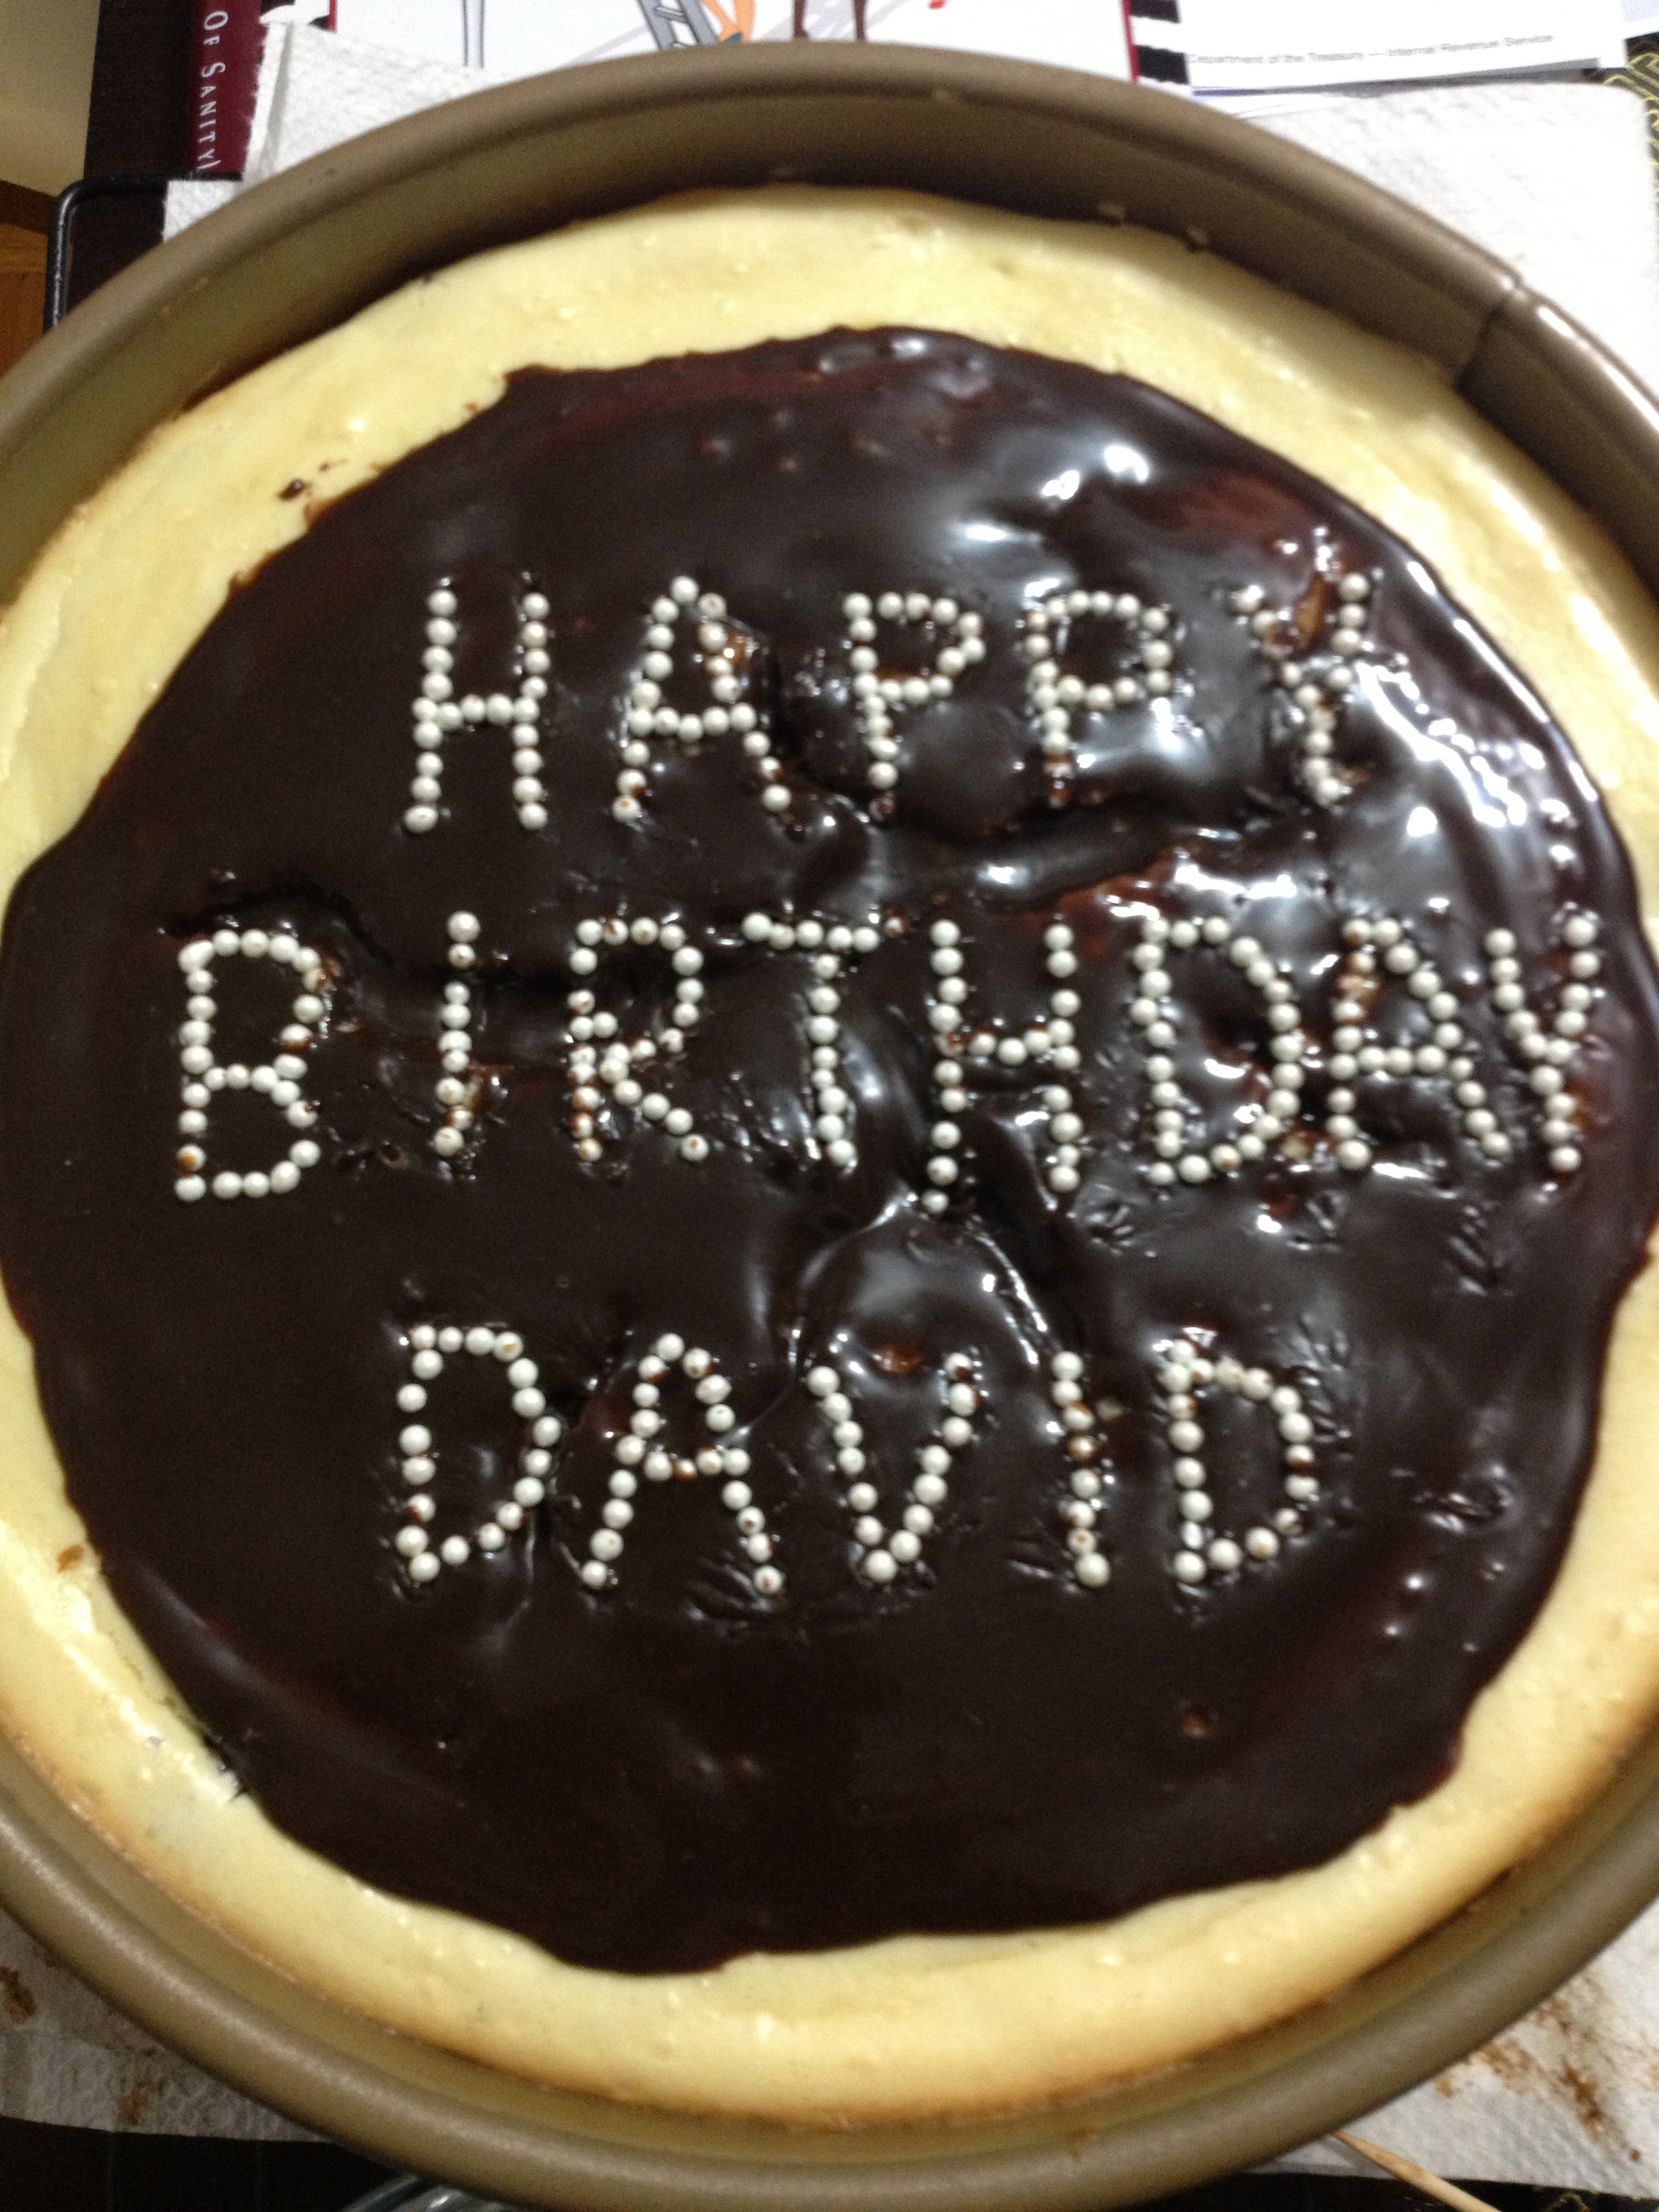
  6. Remove cheesecake from oven and allow to cool at room temperature for one hour. At this time, you can evenly spread the fudge in the center to decorate. After the hour, place the cheesecake in the refrigerator and chill for a minimum of three hours, up to overnight.
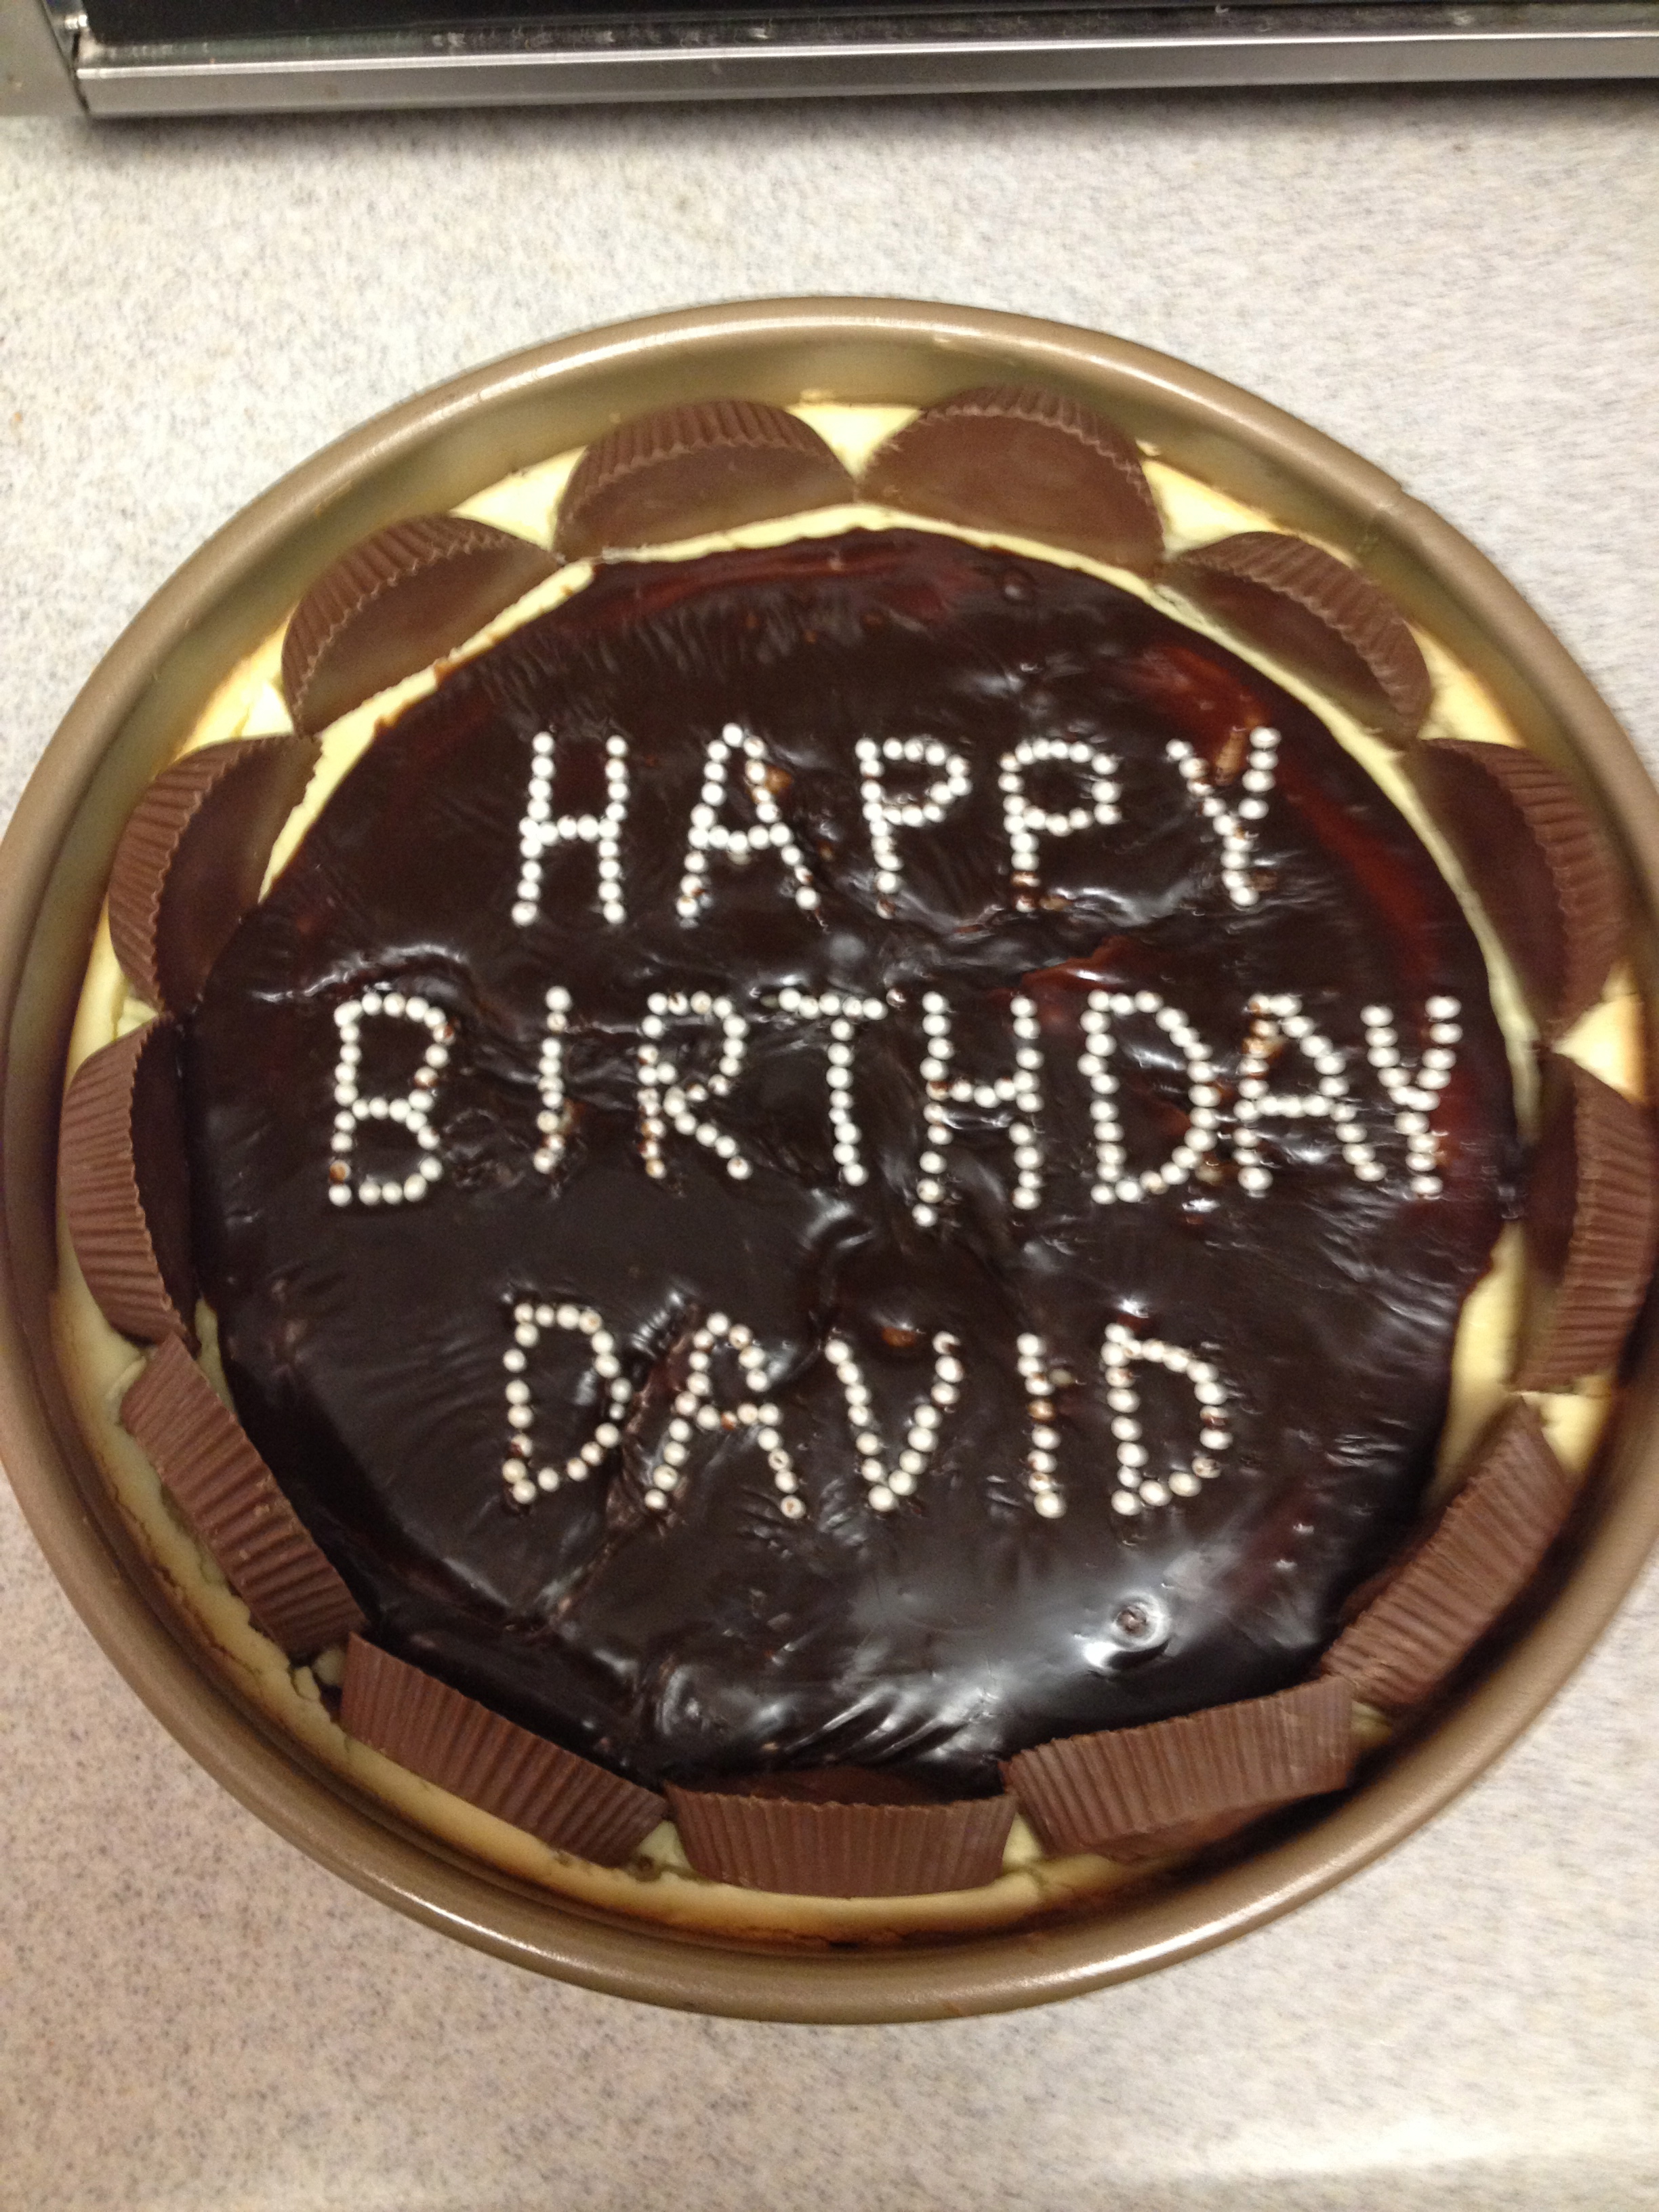
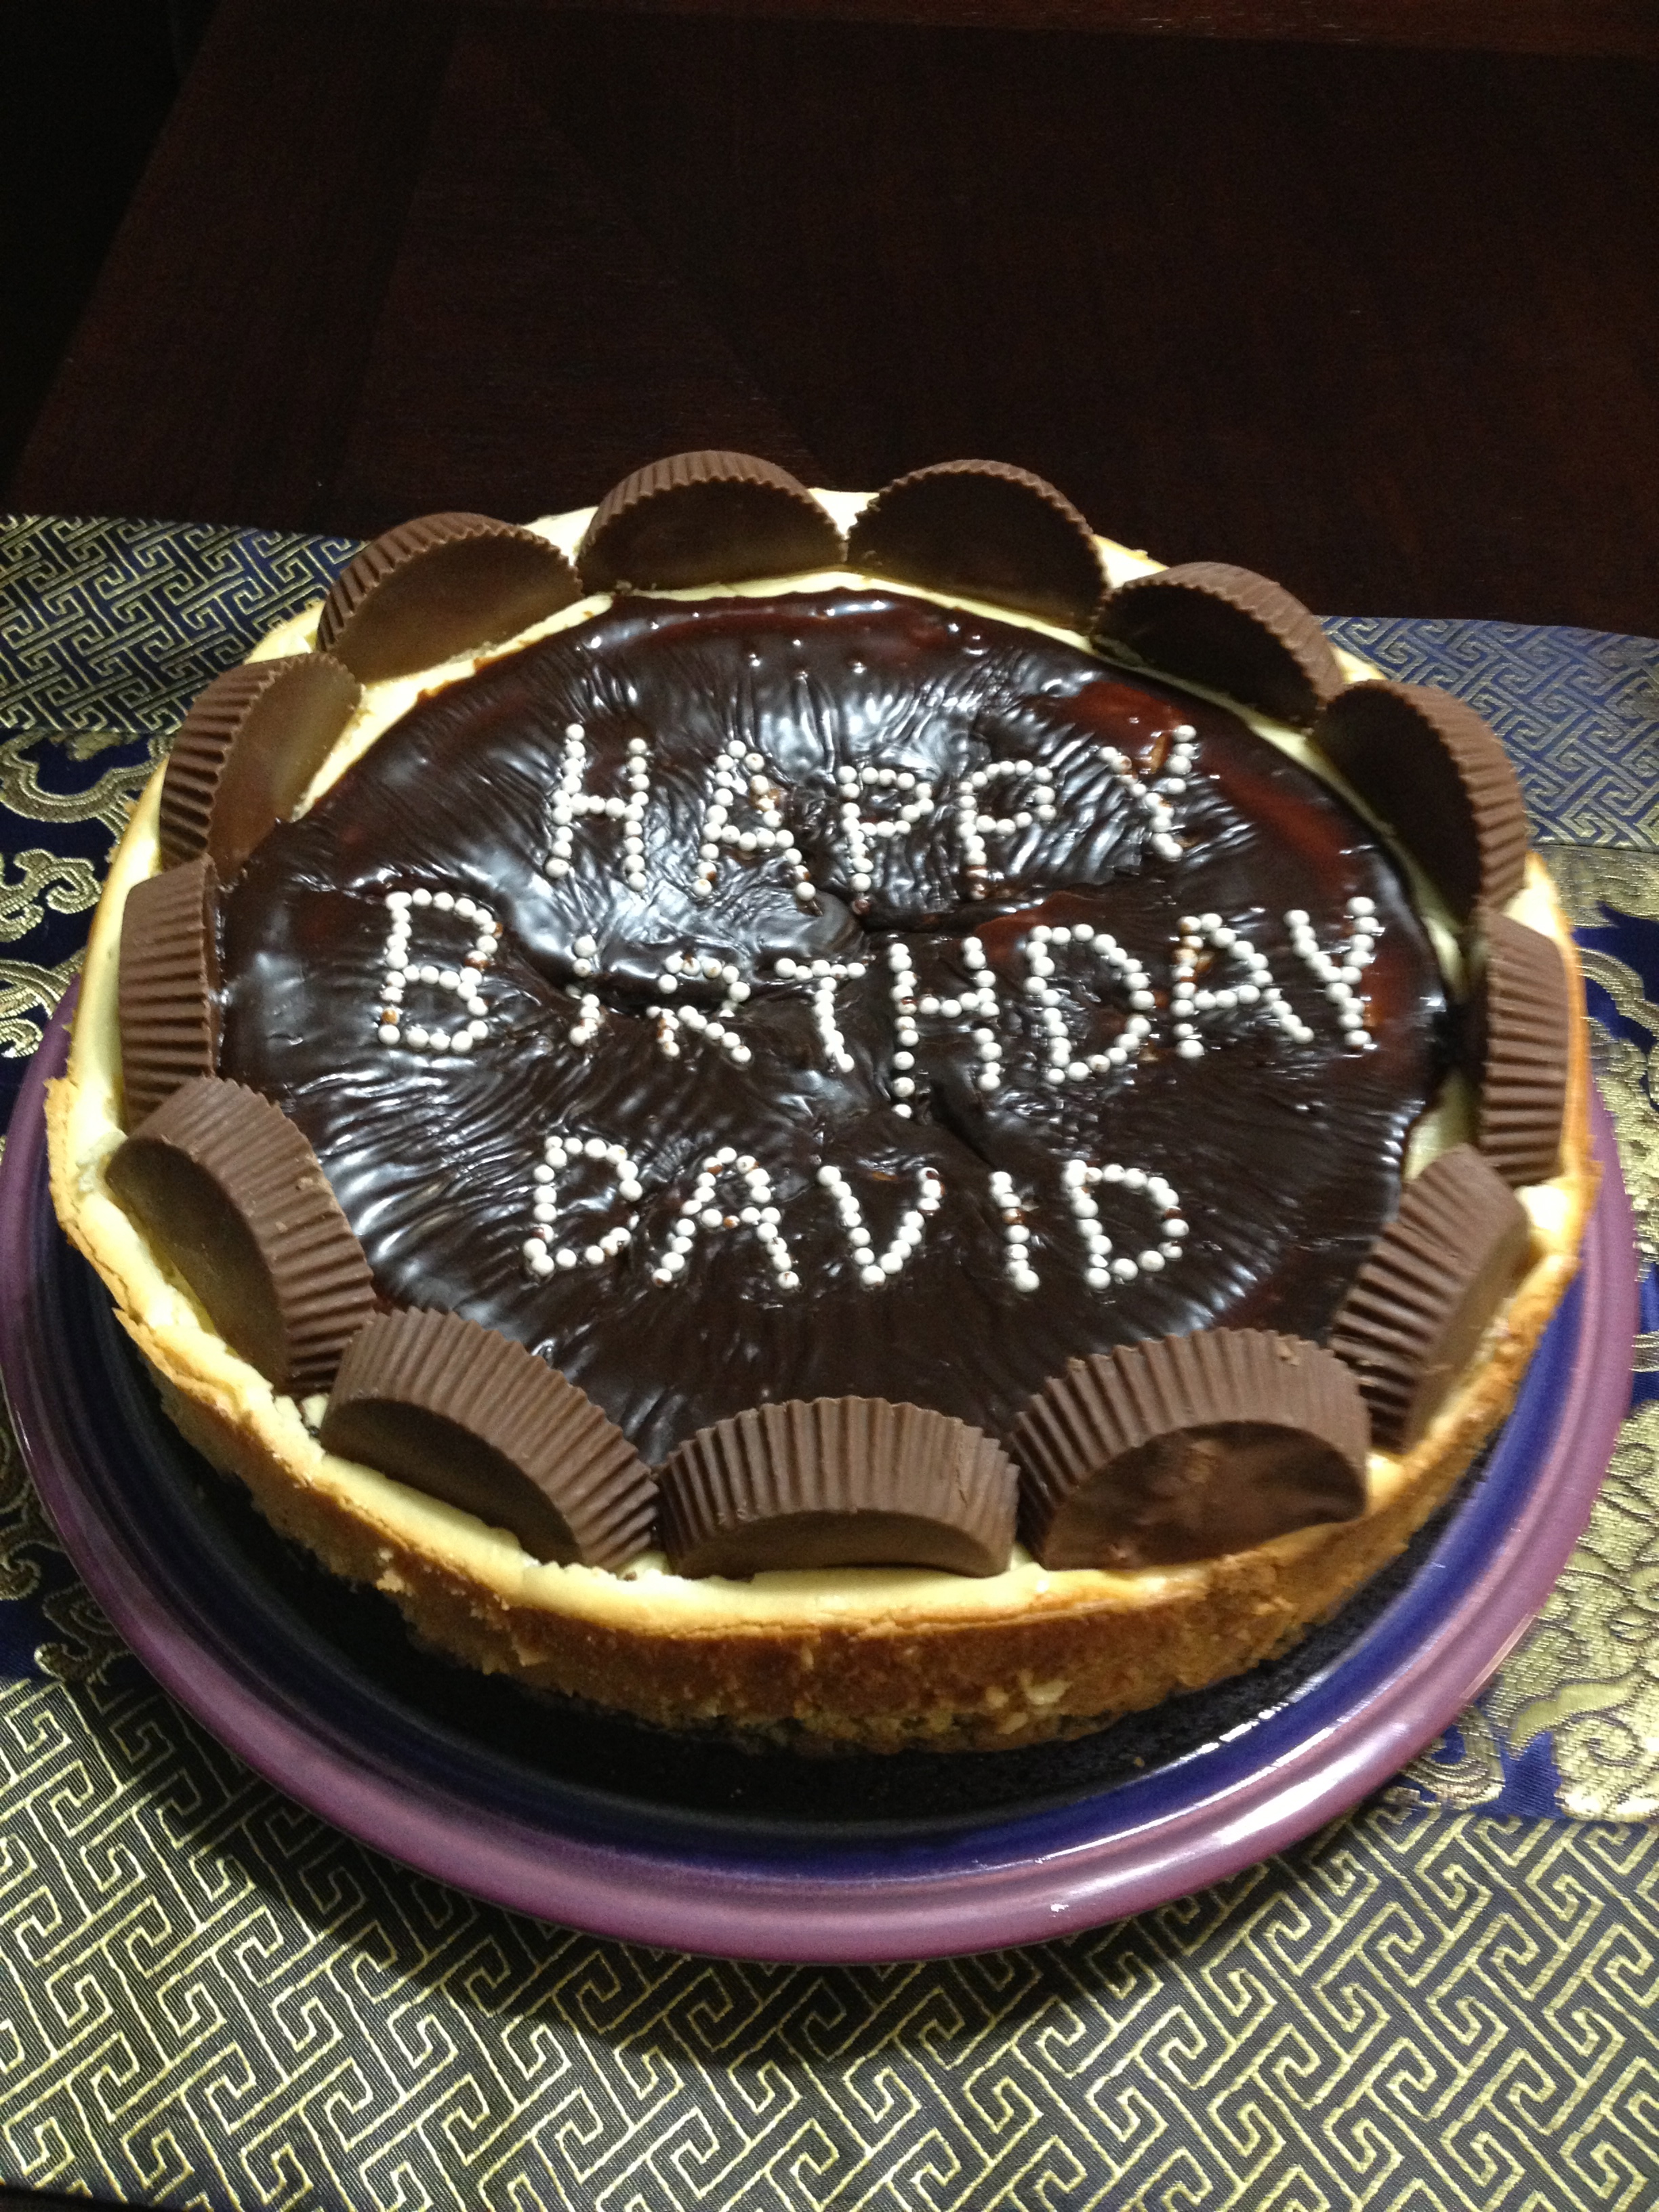
  7. When the cheesecake is cooled, decorate with the full sized peanut butter cups. Carefully remove from spring form pan and transfer to a plate – enjoy!

IMG_1521 IMG_1522 IMG_1523 IMG_1524 IMG_1525 IMG_1526 IMG_1527 IMG_1529 IMG_1530 IMG_1531 IMG_1532 IMG_1534 IMG_1537