Unknown's avatar

About Anna Papoutsakis

Chef. Writer. Cater. Editor. Culinary Badass.

In Case of PMS, Break Glass – Edible Cookie Dough

AC_PANTRYPROJECT

Actually, in case of PMS, break open glass. Now sometimes we women have cravings. Tonight I was in the mood for cookie dough. Luckily, thanks to my Accidental Pantry Project, I knew I had all the ingredients, and this snack took little more effort than me running to the store for ready made dough. Plus, even though it’s not a low-cal snack, by making it myself I know exactly what is in it. And anything in a mason jar is just fun. (Thanks, Pinterest.)

IMG_3800

Thanks to my microwave, that I used to soften the butter and the rock hard brown sugar, this was put together in about 10 minutes. And thanks to no egg, no salmonella!

I used milk chocolate and butterscotch chips, both because I have them on hand, and because I love butterscotch chips/flavoring in many desserts. Definitely feel free to experiment with your mix-ins.

SNACKING COOKIE DOUGH
1 stick (1/2 cup) butter, softened
1/2 cup brown sugar
1/4 cup white sugar
2 tablespoons milk
1 teaspoon vegetable oil
1 teaspoon vanilla extract
pinch of salt
1 1/2 cups flour
1/4 cup milk chocolate chips
1/4 cup butterscotch chips

  1. Using either a hand mixer or stand mixer set to low, cream together butter and sugars until smooth.
  2. Add milk, oil, vanilla extract, and salt. Mix until well incorporated.
  3. Slowly mix in flour, keep beating with the mixer until smooth. Taste and adjust any flavoring (e.g., more vanilla or salt).
  4. Fold in chips.
  5. Dough is now ready to eat. If you have the willpower, store in the container of your choice in the fridge for up to two weeks (though it is doubtful it will last that long).

Inventory, Part 2

AC_PANTRYPROJECT

Oh man…still have to figure out cost factor, but I have put together what I have one hand. Quantities are listed in a system I understand, I do not have exact weights and measurements, so it not going to necessarily be foolproof for someone who may look at my list and cross reference it to what I have on hand.

I have copied and pasted this from an excel sheet, so it can be searched and filtered in a bunch of different ways. This is just my dry goods. I still have to go through my fridge condiments (i.e., items with a long shelf life) and my freezer. Continue reading

Inventory

AC_PANTRYPROJECT

I’m not feeling well today, so I’m not moving very fast. I have gotten through about 60% of my dry goods storage and have filled five pages in my journal. I still have baking goods, spices, and condiments to go through. This is a pretty eye-opening exercise, but I think I’m drained from it!

Oh crap, I have my freezer, too.

Oh well, this is why I described it as one of the phases of the project.

Thai Chicken and Pineapple Fried Rice

AC_PANTRYPROJECTIMG_3795

As I get the Accidental Pantry Project underway, I made my first dish tonight with stuff in my pantry and fridge. Recently I went  a Thai restaurant with some girlfriends and fell in love with the Pineapple Fried Rice. I tried to recreate the same at home. Overall I am pleased with the dish, but the rice turned out stickier than I would have liked. Next time I am going to cook the rice itself (meaning single ingredient, not whole dish) with a bit more oil and let it cool before mixing it into the stir fry.

My project is still in its early phases, and I have not taken full inventory of the food I have here at home, but I will add the food cost/savings at a later date.

THAI CHICKEN AND PINEAPPLE FRIED RICE

1 cup Thai-style Jasmine rice
1 pound chicken, cut into strips or cubes
2 cups frozen pineapple chunks, thawed and chopped into smaller chunks
1/2 onion, diced
3 scallions, chopped – white divided from green
2 tablespoons minced garlic
1/2 cup unsalted cashews
1 tablespoon red curry paste
2 tablespoons ginger paste
1/4 cup sesame oil, divided
1/4 cup liquid aminos or soy sauce
2 eggs, raw

  1. Prepare rice according to package directions, set aside to cool
  2. In a wok or large skillet, heat about 1 tablespoon of sesame oil, add chicken and stir fry until browned and about 75% cooked (do not overcook because it will get cooked again later). Remove from skillet and set aside
  3. In same wok, heat about another tablespoon of sesame oil. Add onions, white scallions, and garlic. Cook until lightly browned
  4. Add cashews, ginger paste, and curry paste. Cook about another minute
  5. Add rice, rest of oil, liquid aminos, and chicken. Stir fry mixture about 3-4 minutes until rice starts to take on a golden brown color. Adjust seasonings to your preference
  6. Crack eggs above mixture and stir into the rice, cooking about one more minute
  7. Garnish with green scallions. Dish serves 4

INTRODUCING….The Accidental Pantry Project

AC_PANTRYPROJECT

The Accidental Pantry Project!!! This project is going to be more of a practice than a project, and it will take a few phases to really get it going. Bear with me because as I get my thoughts out, this may read a bit more stream of conscious than a regimented program.


MY FOOD ADDICTION

First things first…I have an addiction to food and food shopping. I have worked in some form of a food based business for nearly 19 years, and most recently I work for Whole Foods Market. One of my favorite things to do is to go to a store and just pore over everything in the aisles. I love seeing what is trendy, what is new, and getting inspiration for my next or future meals. I loved when business is a little slow and I can explore what was new and different. Through my obsession (and employee discount and knowledge of the best sales), I built quite the pantry. Translation – I am a borderline food hoarder. There is food in several different nooks and crannies throughout my condo. Continue reading

S’Mores Cheescake Bars

what's cooking

Since I recently have not been working as much, I had my girlfriends over for dinner as a late Christmas present. Rather than buying gifts, I cooked for them. For dessert, I winged this S’mores Cheesecake Bar recipe and I was overall happy with the results. I made a couple of tweaks to the recipe to improve it for future use and for you, my dear 5 or 6 readers 🙂

When I made this I used an 8×10 glass pan, but I recommend doing this in an 8×8 square pan instead.

IMG_3757 IMG_3761

S’MORES CHEESECAKE BARS

For crust:
12 graham crackers, crushed
3 tablespoons butter, melted
2 tablespoons sugar
pinch of salt

For cheesecake and topping:
8 ounces cream cheese, softened (1 block)
1 cup marshmallow fluff
1/4 cup sugar
1 tablespoon vanilla extract
1 egg
pinch of salt
1 cup chocolate chips, optionally divided
1 1/2 cups marshmallows (or enough to cover top layer of bars)

  1. Preheat oven to 350 degrees
  2. Grease an 8×8 baking pan
  3. Mix graham crackers, butter, sugar, and pinch of salt. Texture should resemble wet sand
  4. Pour cracker mixture into pan. Using wax paper, firmly press it down into one uniform layer on bottom of pan
  5. Bake for 10 minutes or until golden brown. Allow to cool while you prepare filling
  6. Using a hand or stand mixture, beat the cream cheese about one minute. Add marshmallow fluff and sugar and mix until well blended
  7. Add egg, vanilla extract and salt, beat until smooth
  8. Fold in chocolate chips. You may choose to reserve some for the top
  9. Pour batter into pan. Add layer of marshmallows on top, enough to fully cover the mixture
  10. Bake for 15-20 minutes until cheesecake is set, but do not over bake
  11. Marshmallows should have a golden brown color. For a deeper, toastier look, switch your oven to the broiler setting and brown marshmallows for approximately one minute. You may do this with the door open so you may monitor and pull the pan before marshmallows burn
  12. Remove from oven. While still hot, you may add extra chocolate chips on top, if desired
  13.   Allow bars to cool before cutting. You may also refrigerate for up to a week

Lobster and Asparagus with creamy Prosecco Cheddar Polenta

what's cooking

Whole Foods was having a national one-day sale on lobster tails. I have never been the biggest fan of lobster because of the work involved, but I appreciate it. I am also intrigued by what a lean protein it is. Since with the sale the tails were only $4.99 each, I decided to buy some and play around. My first instinct was lobster rolls, but I wanted something a bit more hearty. Instead I played around with what I had in my fridge and pantry already – asparagus, polenta, and this yummy prosecco cheddar. Yes, cheddar made with the tasty bubbly wine. It’s super creamy and melts like butter – no grating required.

My vision for the dish was surprisingly easy to execute. The whole meal maybe took half an hour to prepare, including baking time. I prepared this just for me, but feel free to up the quantities for guests.

Here is what you’ll need:
2 3-4 ounce lobster tails, thawed
5 ounces asparagus (about 10 sprigs), cleaned and trimmed
2 tablespoons olive oil
salt and pepper, to taste
1/2 teaspoon herbs de provence
1/3 cup De La Estancia organic polenta
3/4 cup chicken broth
1/2 cup nonfat milk
2 ounces Somerdale prosecco cheddar
white pepper and cayenne pepper, to taste

  1. Preheat oven to 350 degrees
  2. Line a baking sheet with foil. Mix 1 tablespoon olive oil with the asparagus, sprinkle with salt and pepper – rub the spears with the seasoning to fully incorporate. Line up spears on half of the baking sheet.
  3. Flip the thawed lobster tails over. Using a paring knife, slice down the middle of the cartilage. Crack open the tail and gently remove the meat from the shell, leaving intact. Repeat this process for both tails. Mix the tails with the olive oil, salt, and pepper just as you did with the asparagus, and lay on the other half of the baking sheet.
  4. Bake asparagus and lobster for about 10 minutes. The lobster should be firm and opaque, but not stiff. Asparagus should be slightly browned and tender. It is possible the lobster may be cooked before the asparagus. Simply remove from oven using tongs, and place on a plate until asparagus is cooked through.
  5. Meanwhile, prepare the polenta. I used the De La Estancia brand because it is quick-cooking. In a small non-stick saucepan, simmer the chicken broth and milk over a low flame until very hot, but not boiling (you do not want to scald the milk). Slowly whisk in the polenta and stir frequently. Mixture should start to thicken in about a minute to two minutes. Remove from heat and mix in cheddar until well incorporated. Add white pepper and cayenne pepper to desired flavor/heat.
  6. This dish is best served immediately. To serve – cut the asparagus into 1-2″ pieces, reserving the tops of the spears for garnish. Mix the remainder into the polenta and pour into a shallow bowl. Slice the lobster meat into 1/2 slices and shingle the meat over the polenta – garnish with the spears.

IMG_2456

IMG_2457

Salmon Cakes with Lemon-Chimichurri Aoli

what's cooking

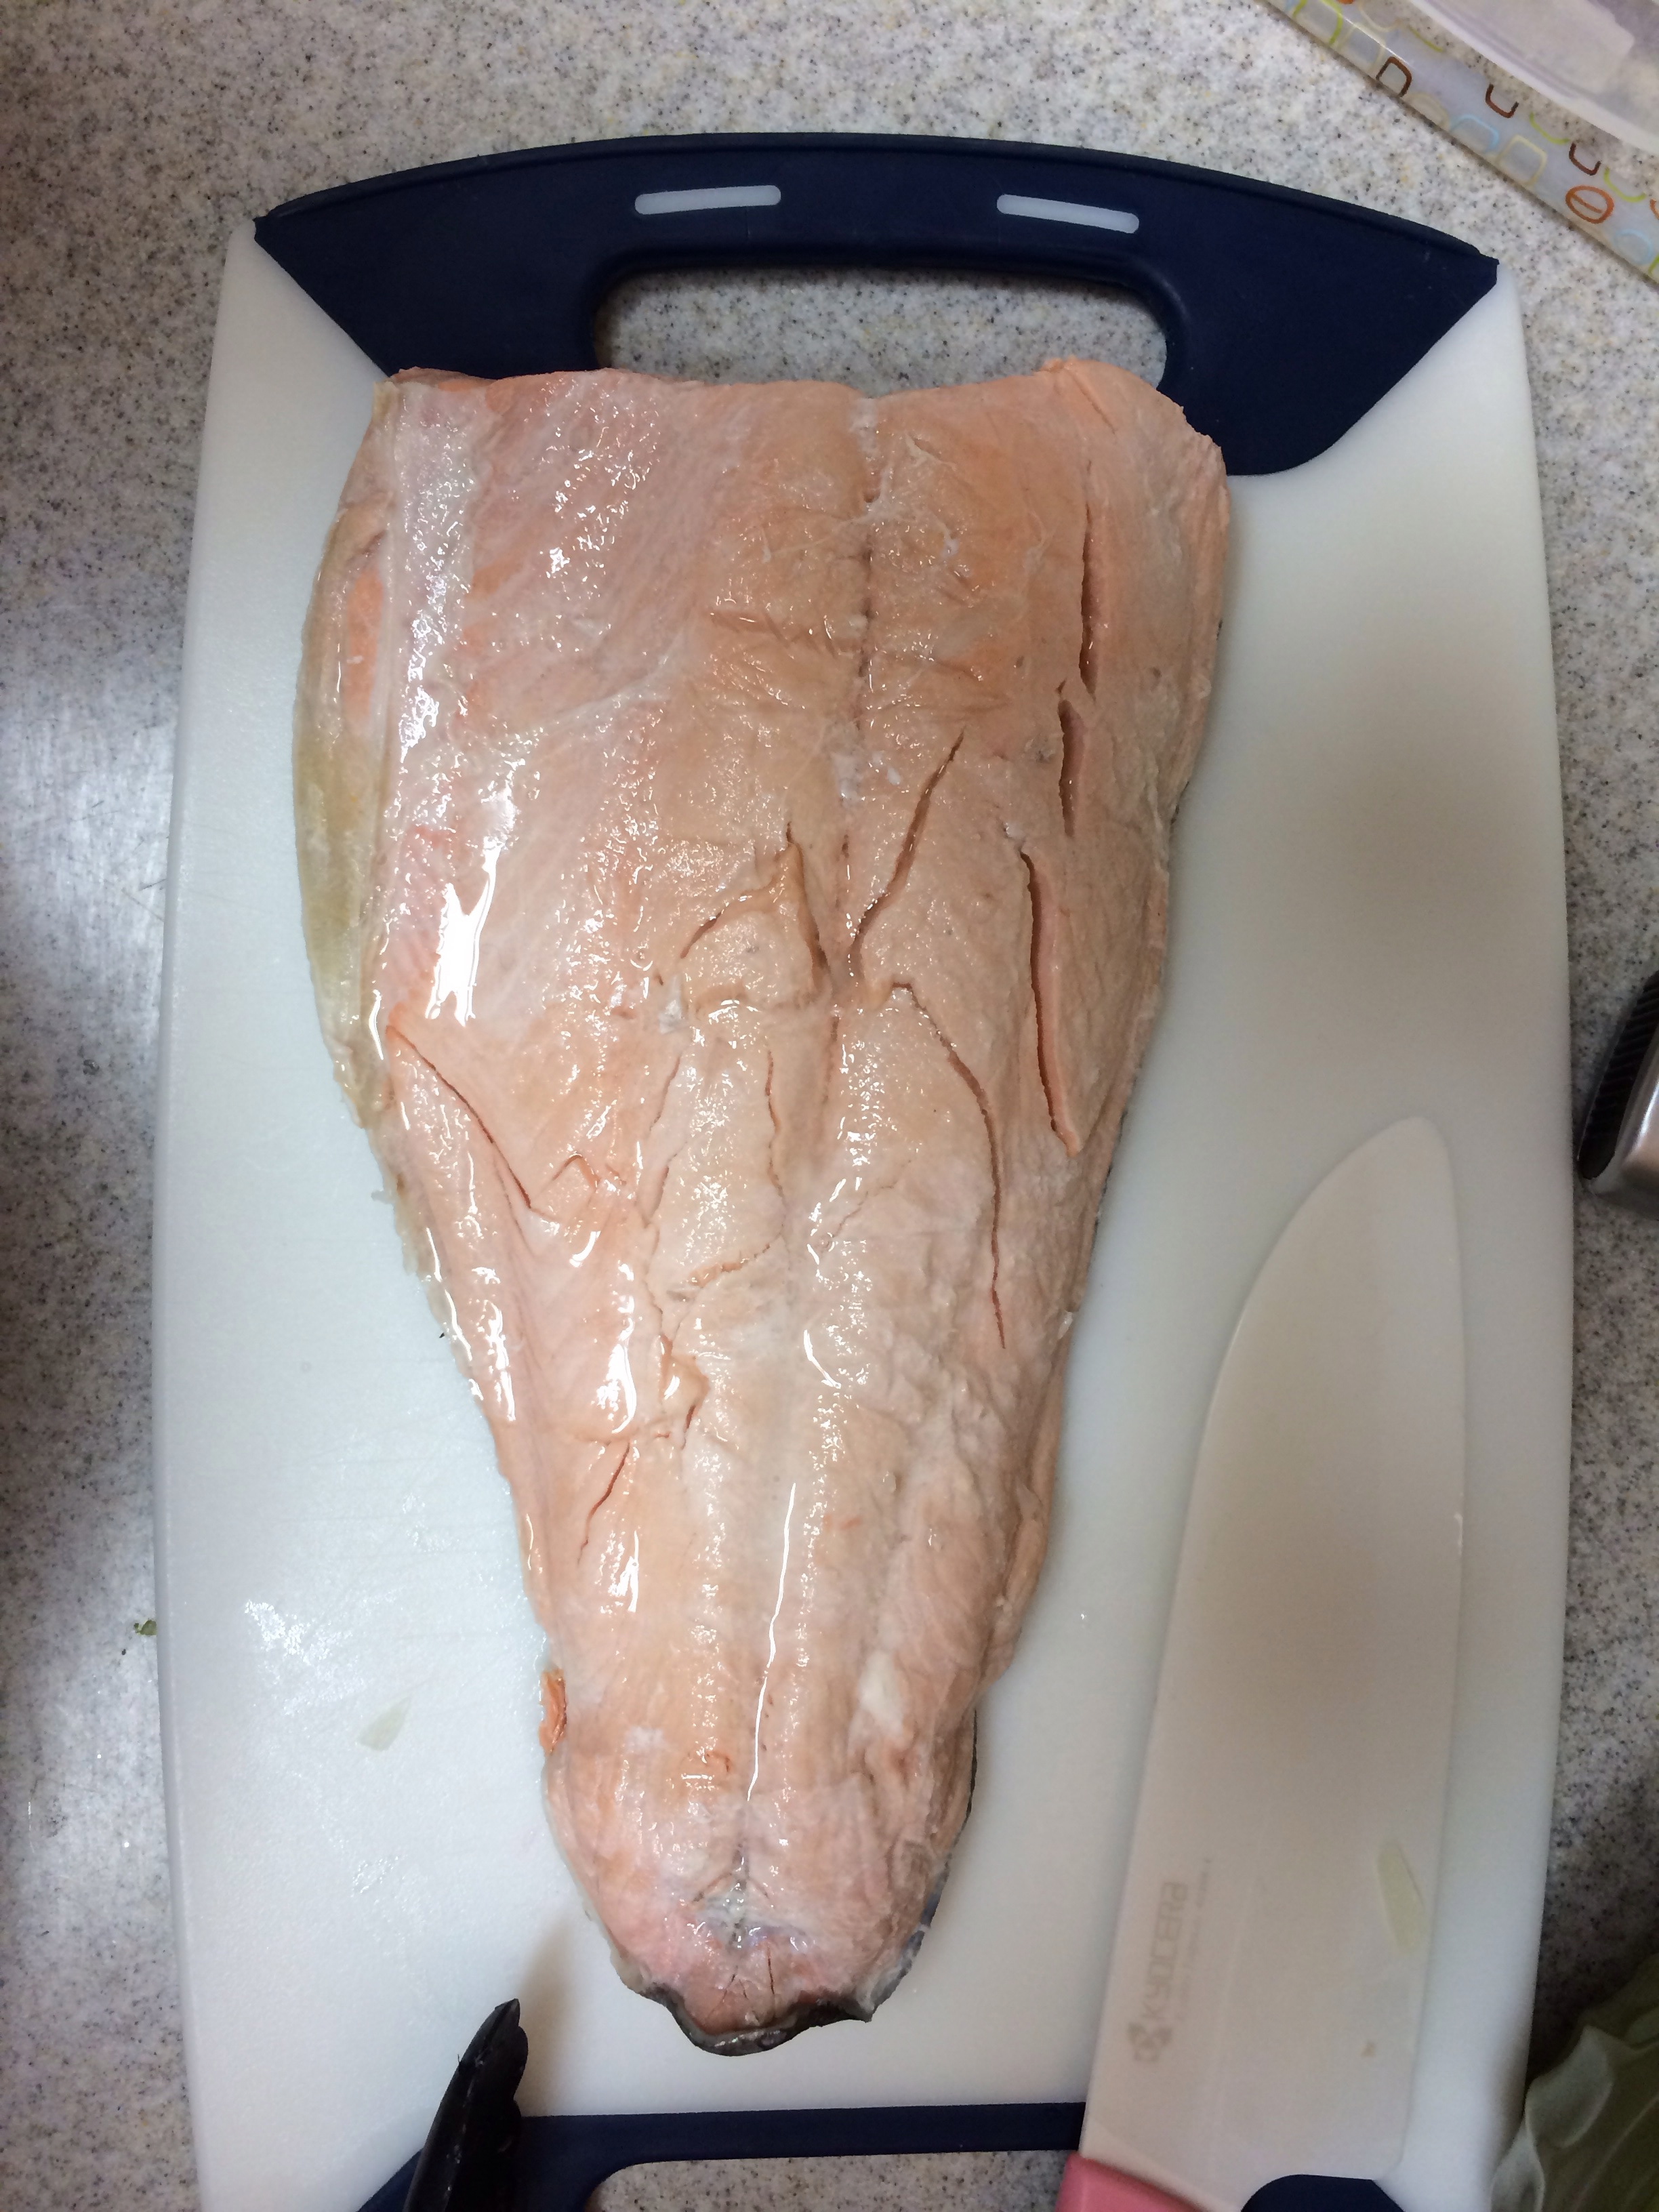
At work we have a lot of One Day Sales. I often find myself taking advantage. This past weekend we had a ODS on Coho Salmon, so I bought close to two pounds of filet. After I got home to cook one of my favorite recipes (Salmon with Mustard-Dill crust), I inspected the package more closely. It had a use-by date of today (January 27) but then I didn’t realize that when I made my purchase the product had been previously frozen. I reserved half of the package and decided I would figure out today what I was going to make.

I thought of all the ways I enjoy salmon, such as smoked, sushi, broiled, etc., but half those options I cannot feasibly do at home safely or affordably. I started tinkering around some websites and saw a photo of salmon cakes. Duh! Why didn’t I think of that sooner? I played around with ingredients in my fridge and pantry and came up with this recipe.

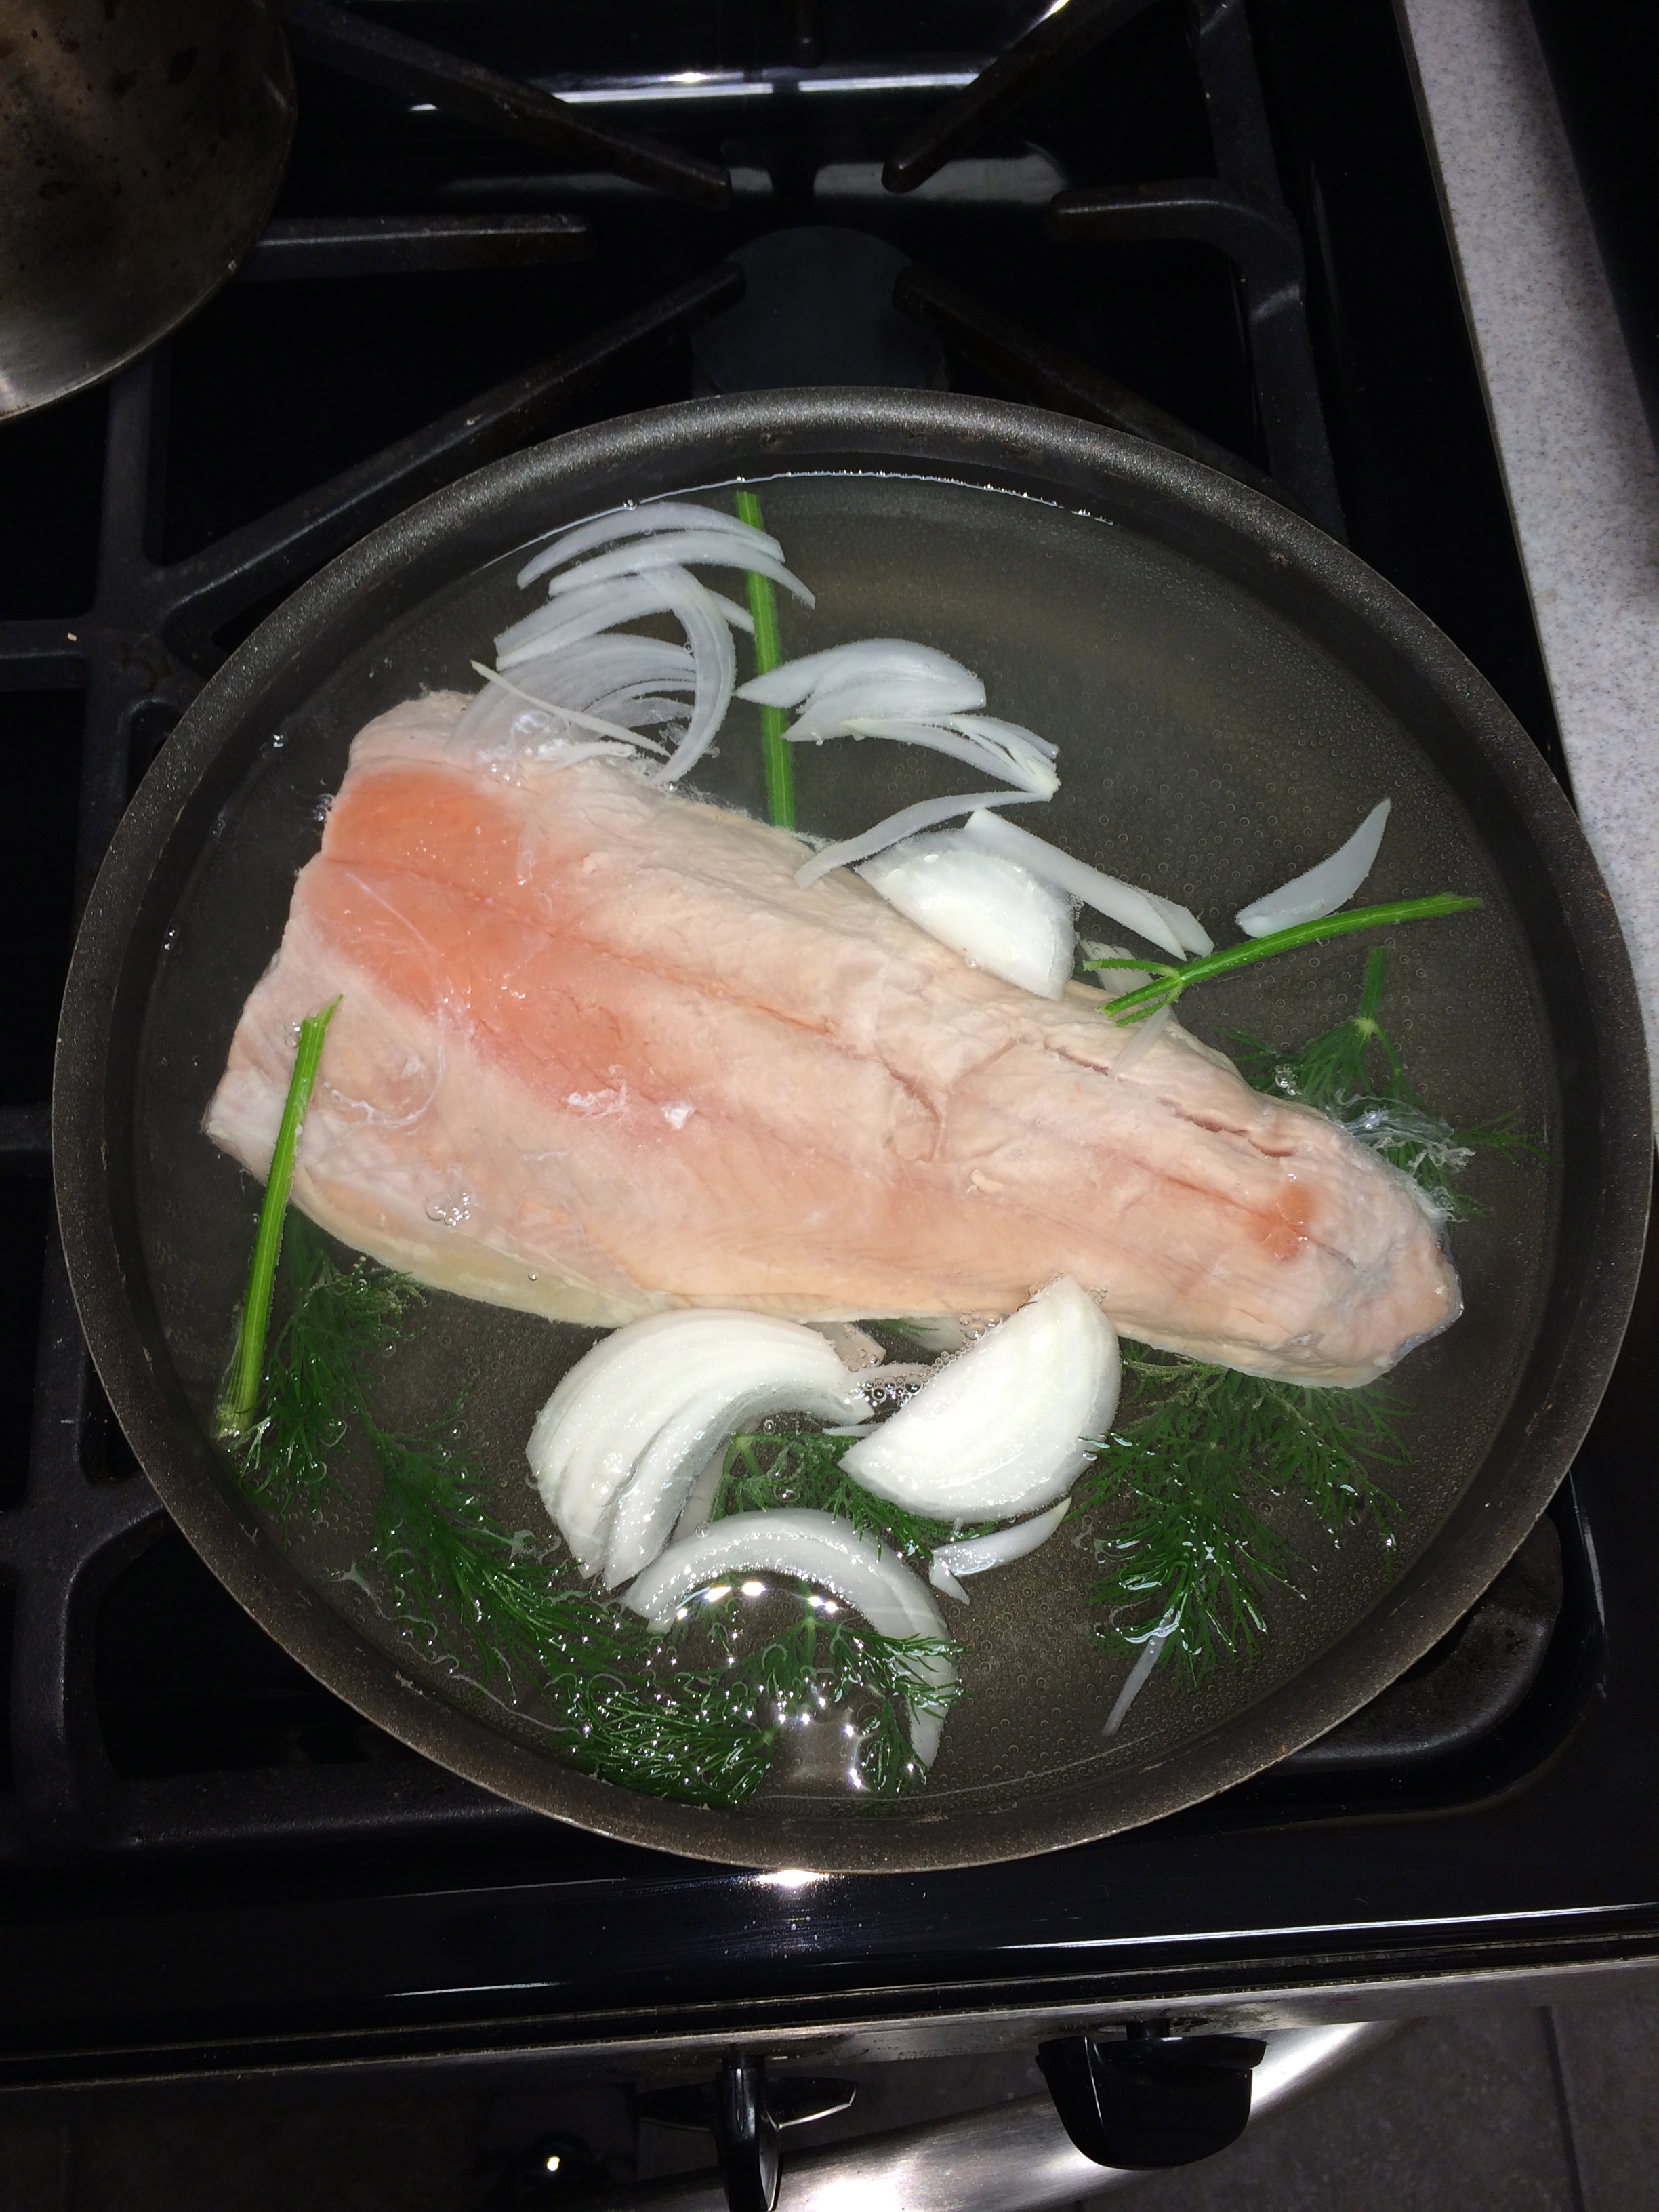
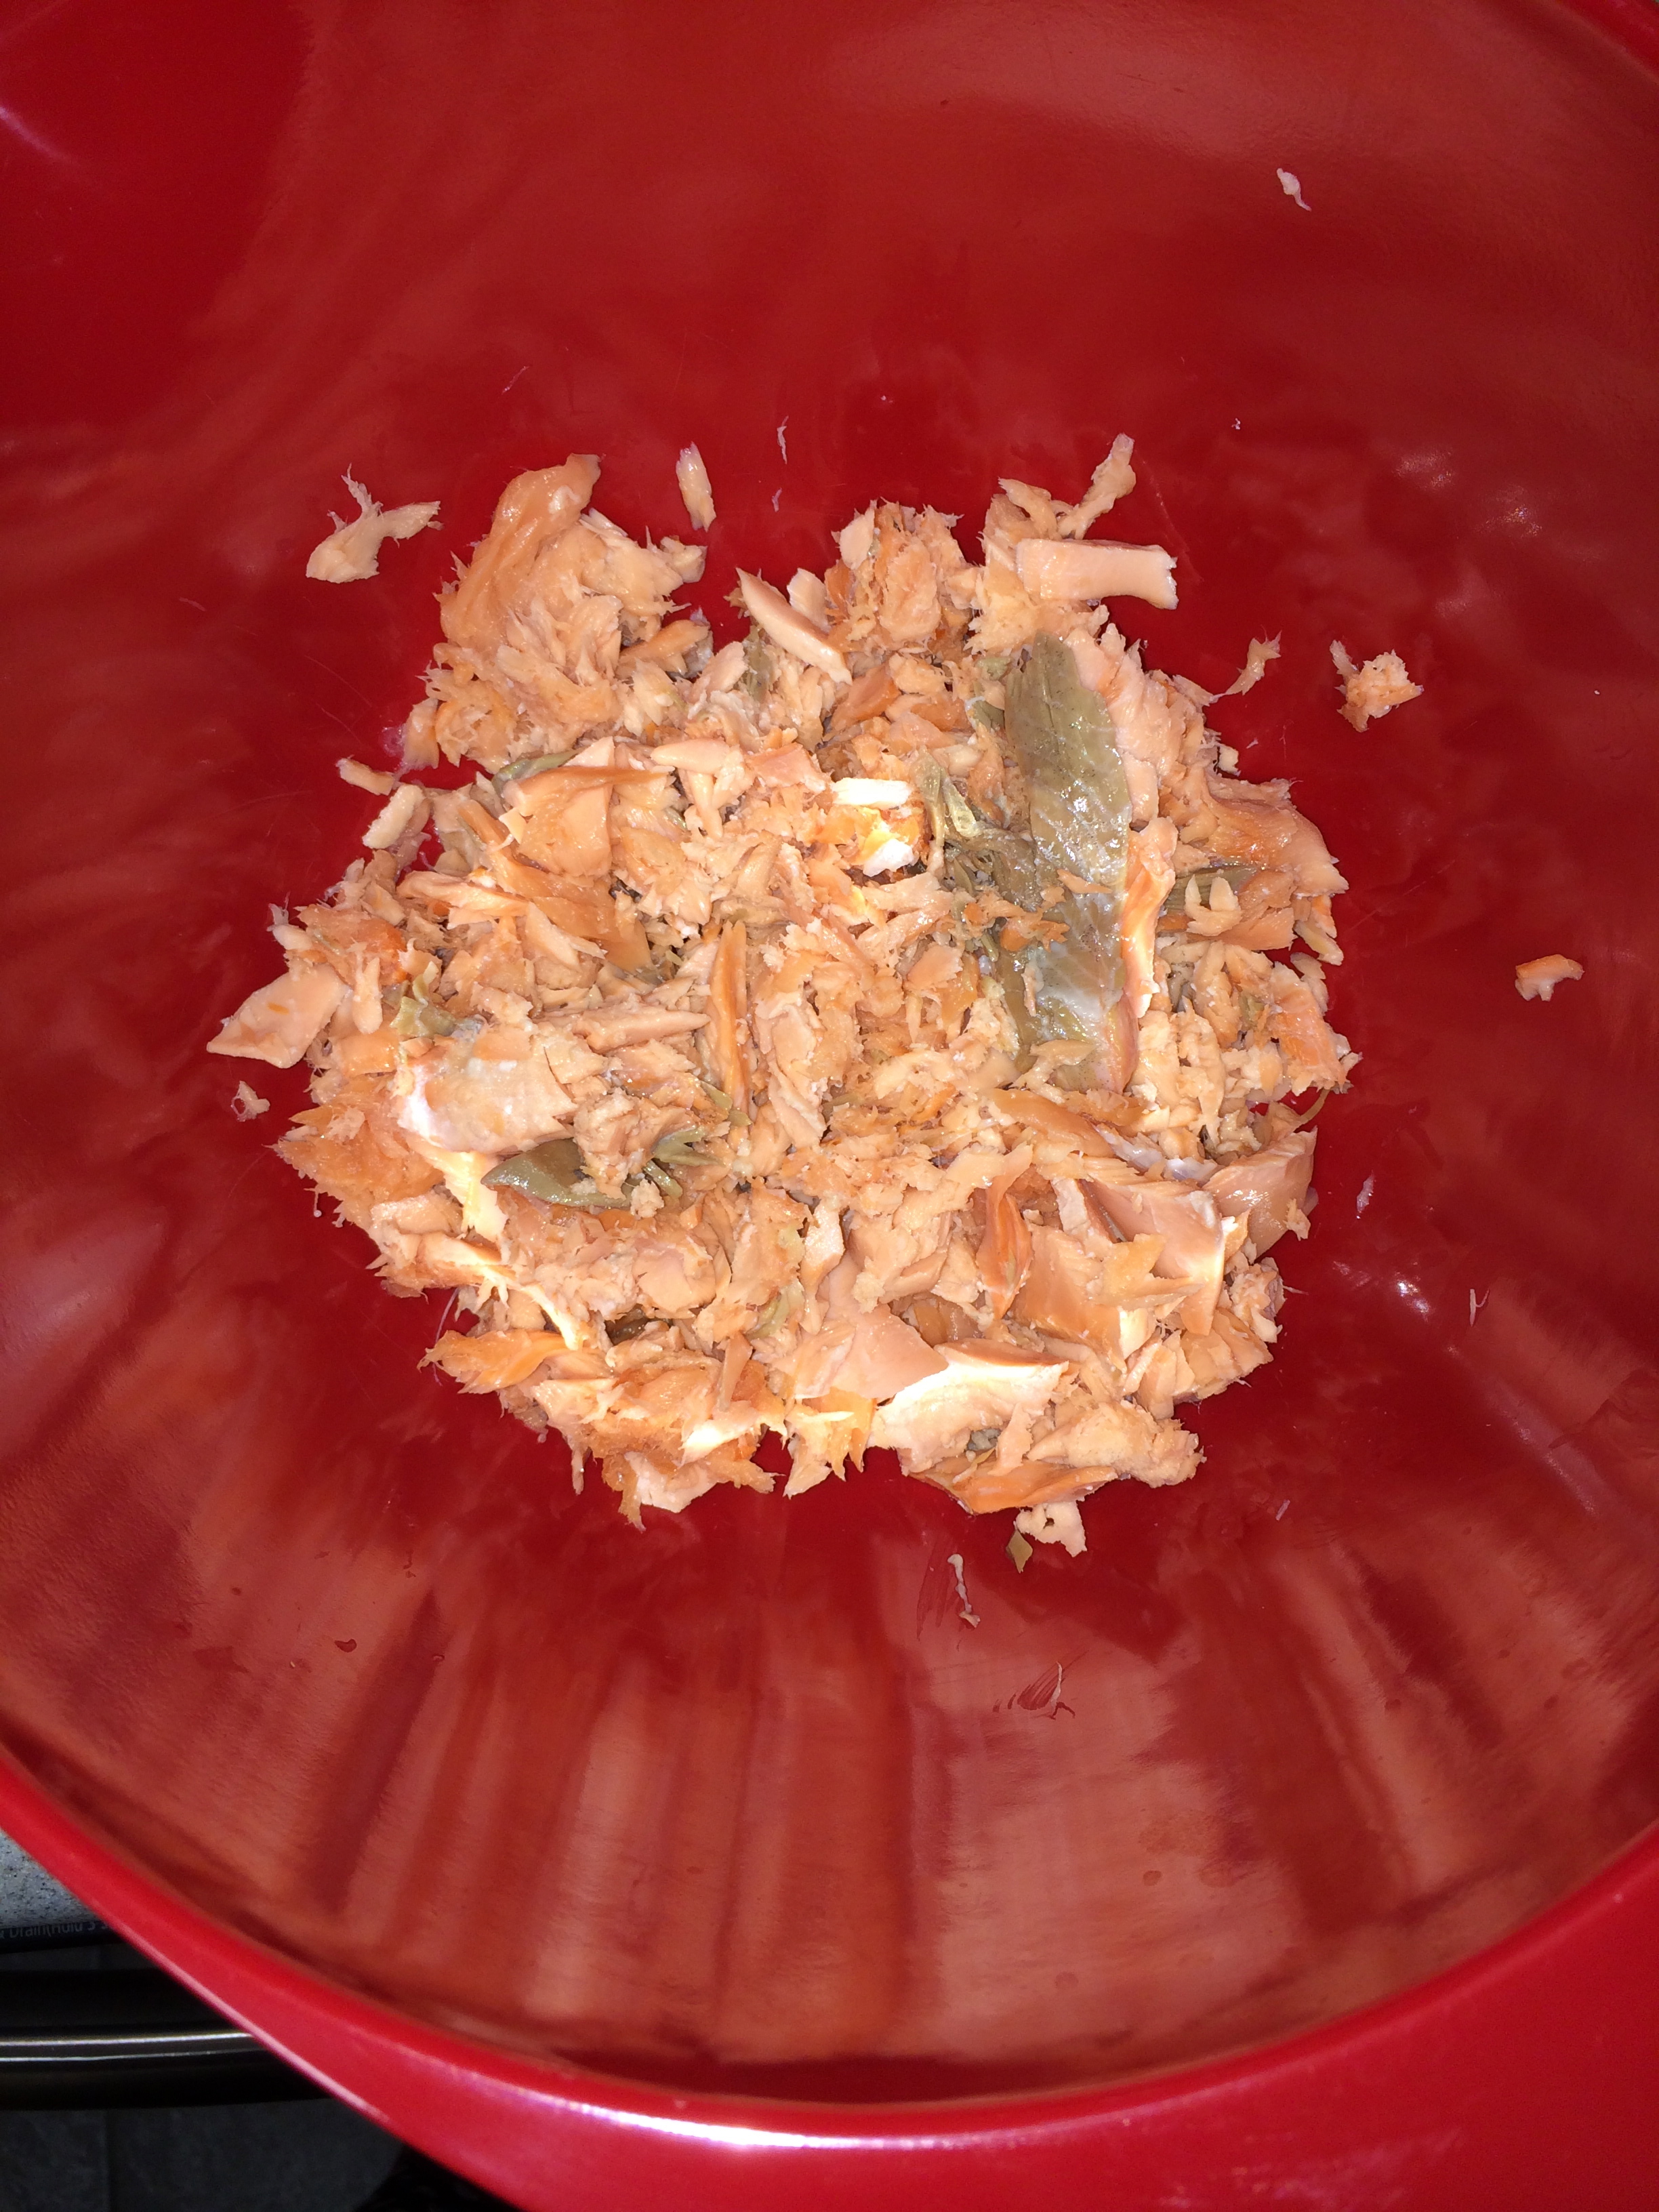
The first thing I decided to do was cook the salmon. Whenever I have made crab cakes, the crab meat is always ready-to-eat, so I felt it wise to do the same with the salmon. I decided steamed or poached would be best in keeping the fish moist and flaky. Poaching seemed smarter.

To poach I used some water, dry white wine (Pinot Grigio), dill, and onion. I brought the liquid to a low boil and then reduced to barely a simmer and then added the fish filet, whole. I poached the fish about 10 minutes, to the point it was opaque but had a little give.

IMG_2083

Poached salmon cooling on cutting board

Poached salmon cooling on cutting board

For the rest of the recipes…

SALMON CAKES
12 ounces salmon, poached and cooled
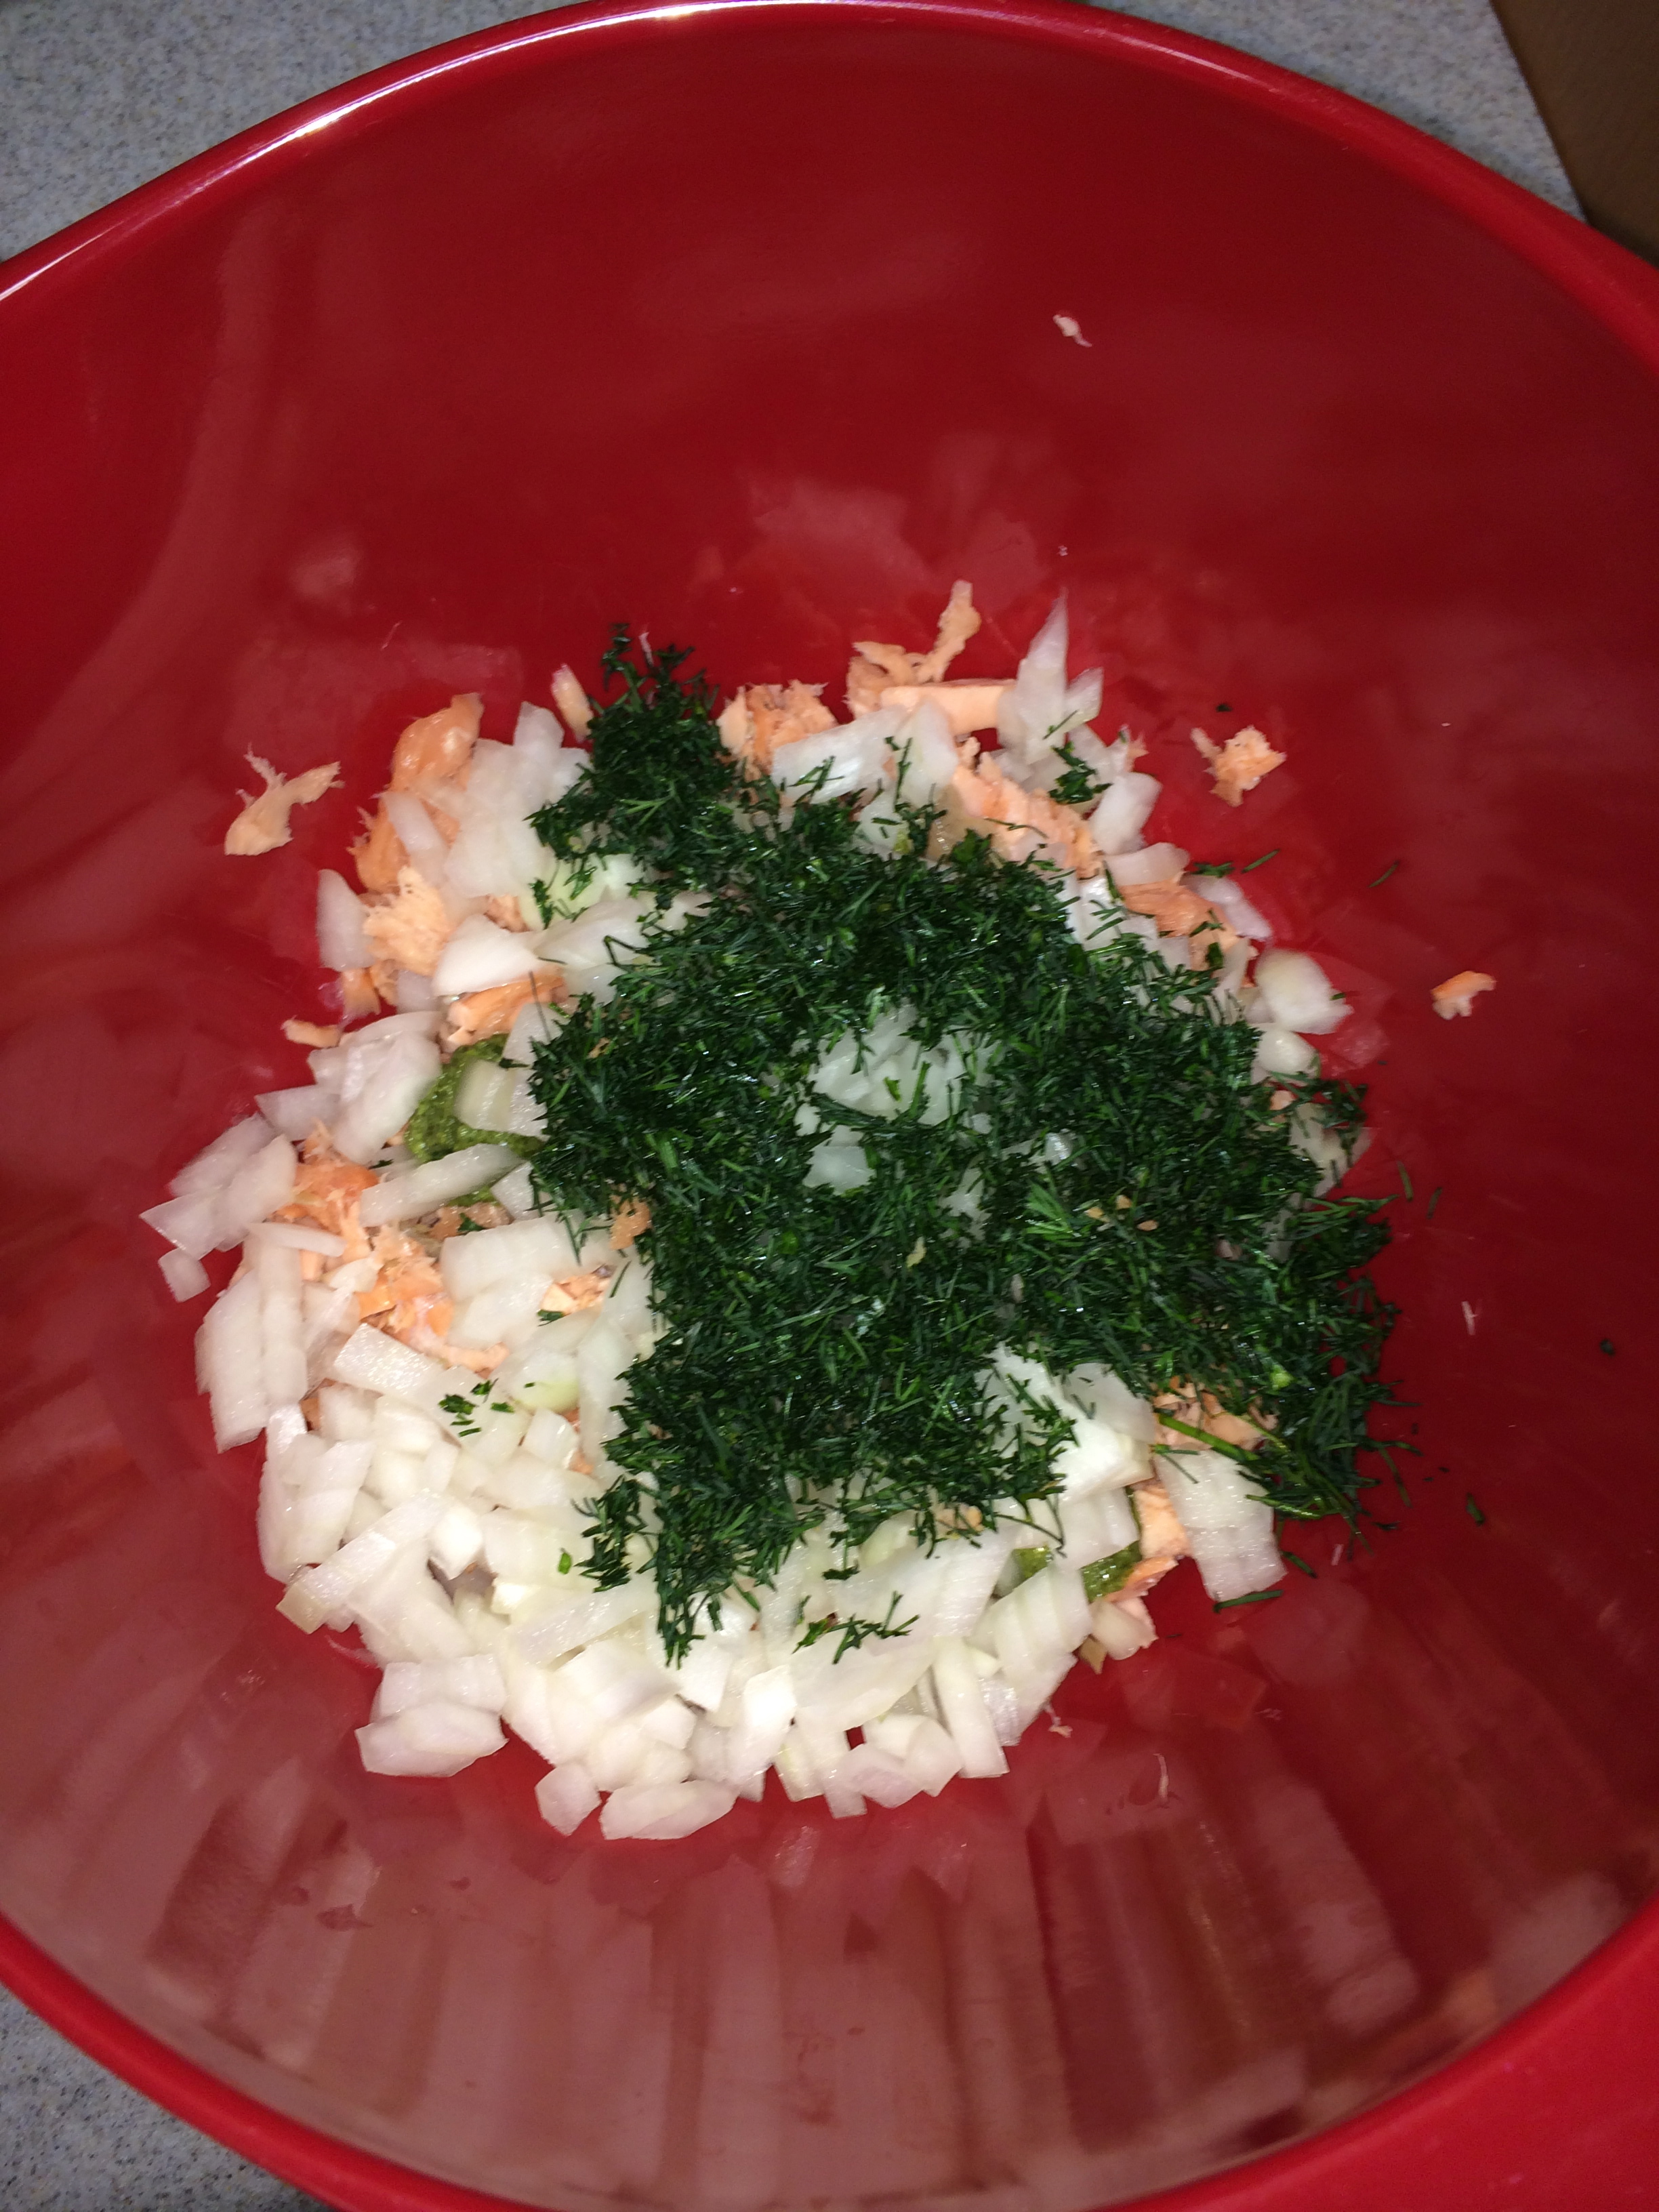
1 medium onion, chopped
1/4 cup dill, chopped
1 heaping teaspoon Colman’s mustard powder
1 heaping tablespoon paprika
1 tablespoon Worcestershire sauce
Juice of 1/2 lemon
Salt and Pepper, to taste
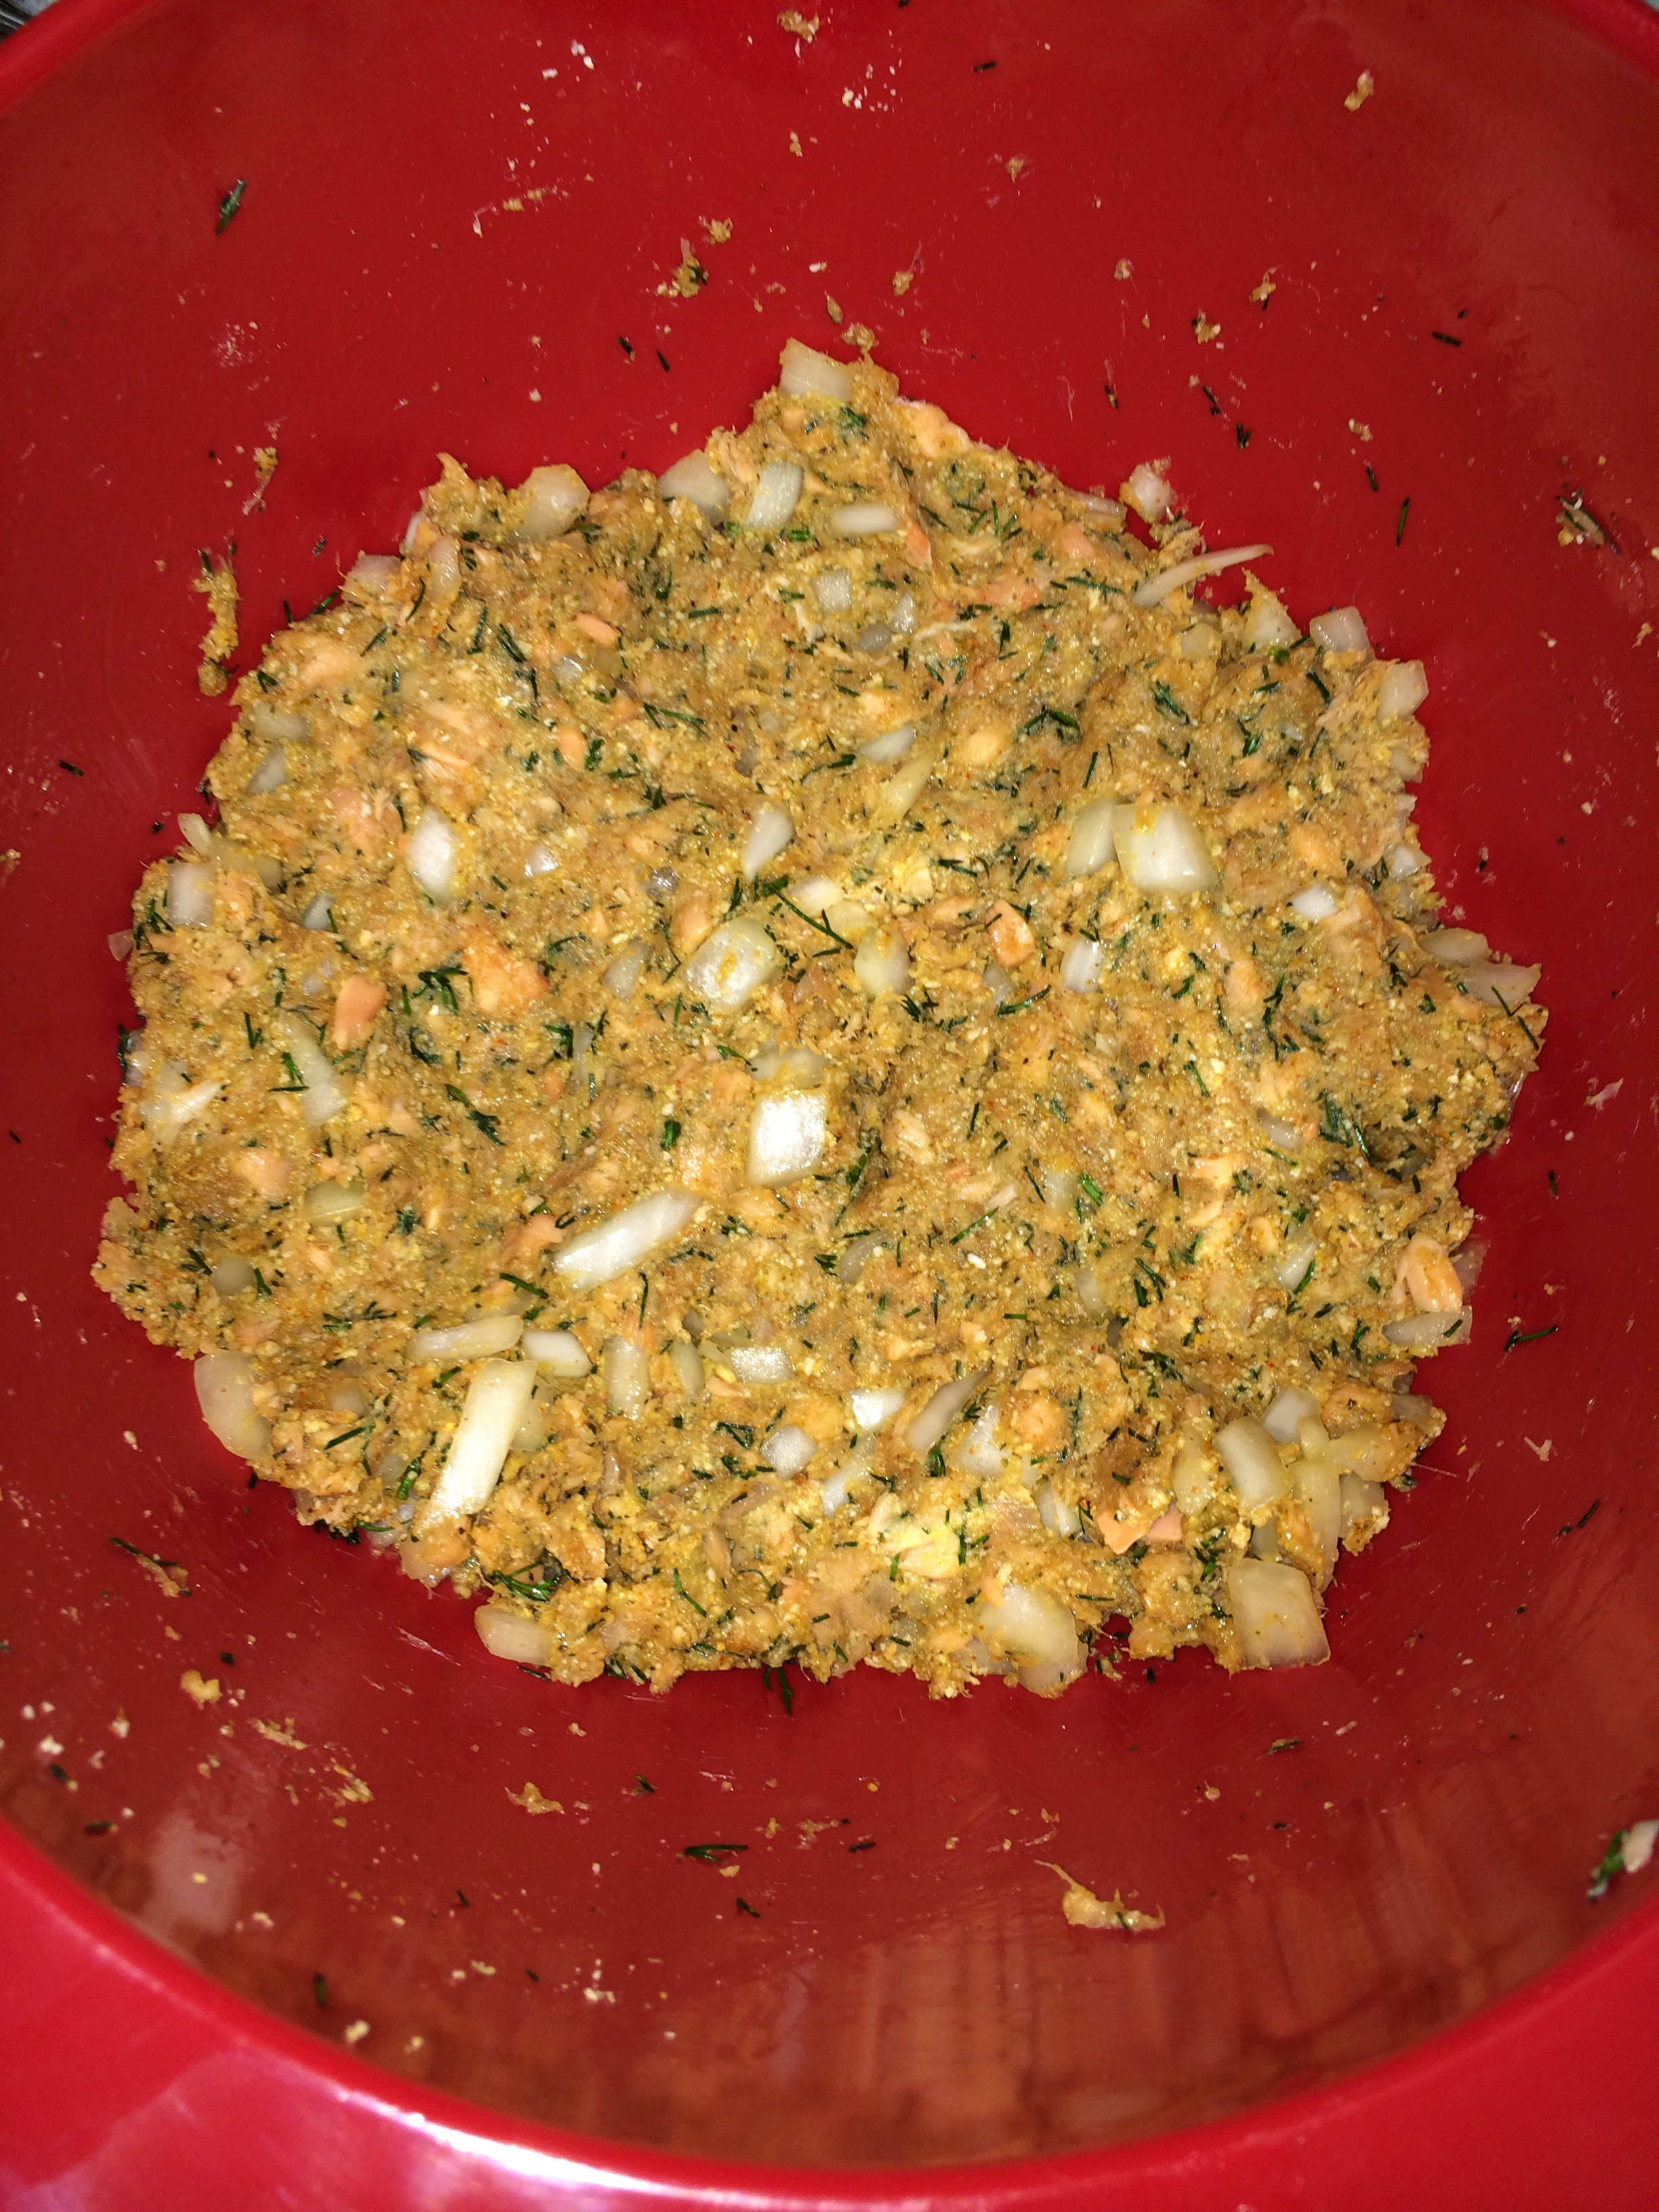
1/2 cup plain bread crumbs
2 eggs, raw
Vegetable oil for pan frying

  1. Remove skin from salmon and discard. Crumble the meat into a bowl.
  2. Add onion, dill, mustard powder, paprika, Worcestershire sauce, and lemon juice. Stir ingredients until well incorporated. Add salt and pepper to taste.
  3. Add bread crumbs and mix thoroughly. Taste the mixture and adjust any seasonings. The mustard powder may make the mixture taste very hot/spicy, but that heat will be muted in the cooking process.
  4. Add eggs and knead the mixture with your hands. If it seems a little dry, you can add more lemon juice.
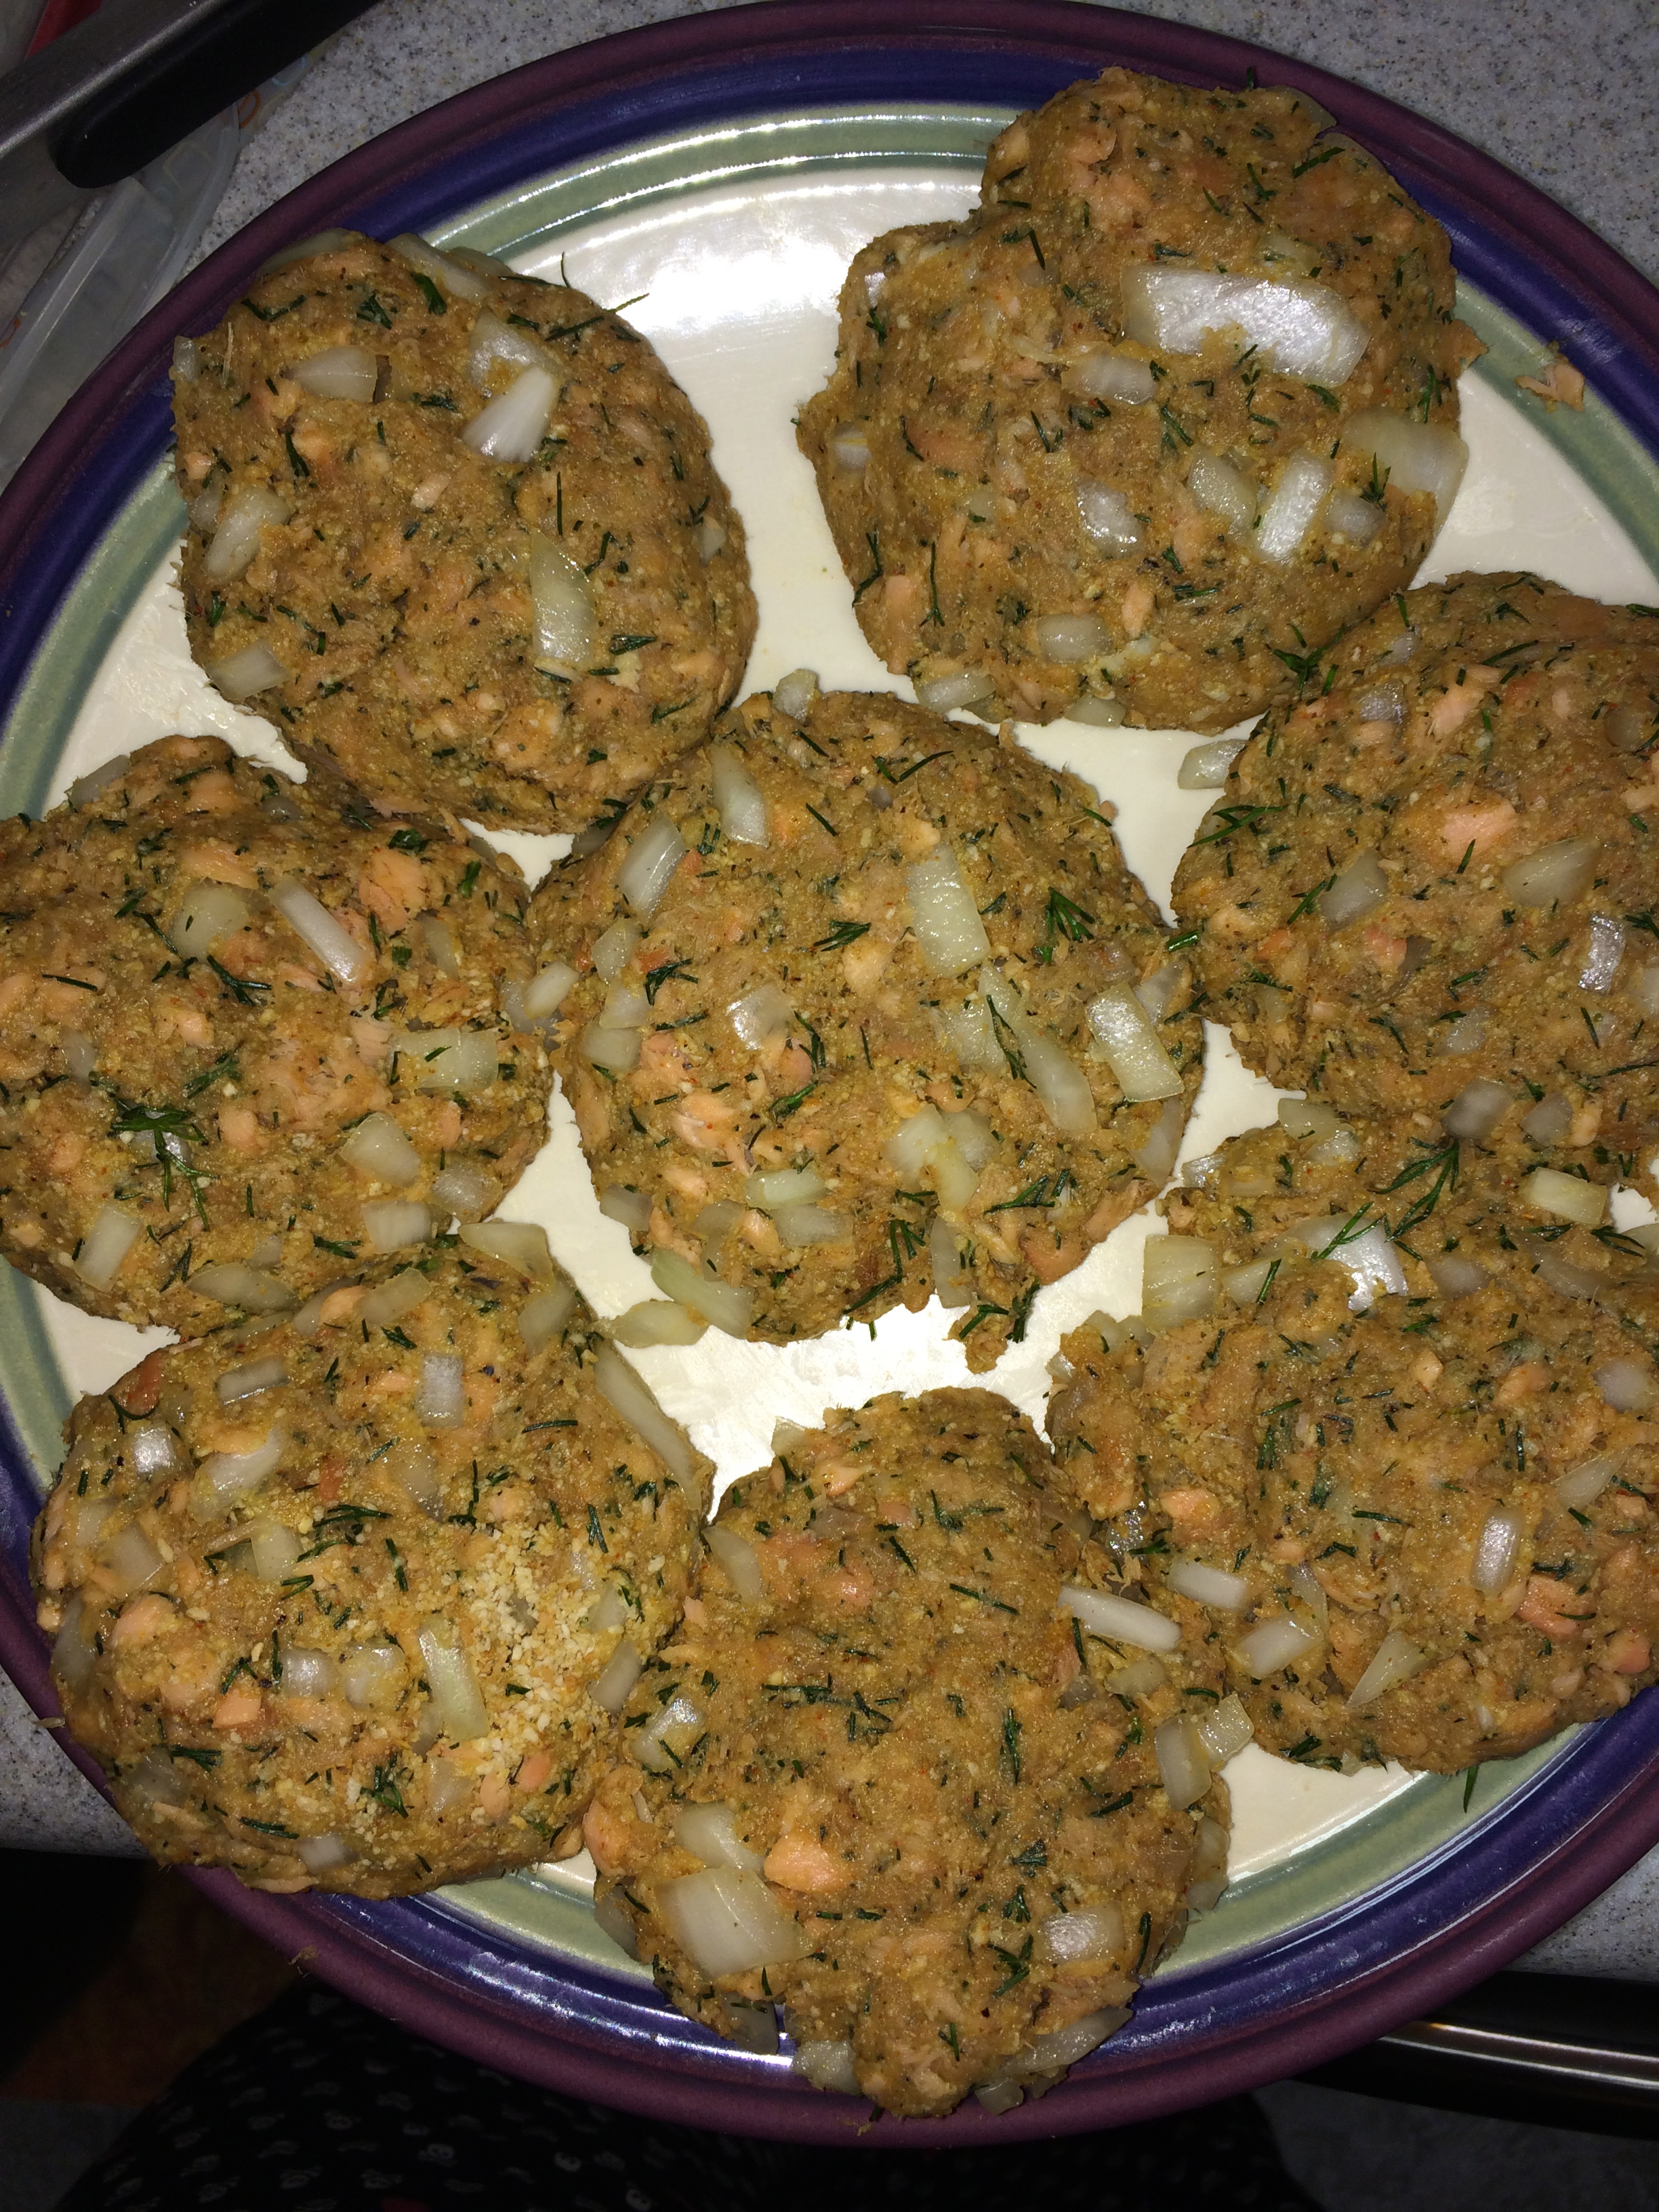
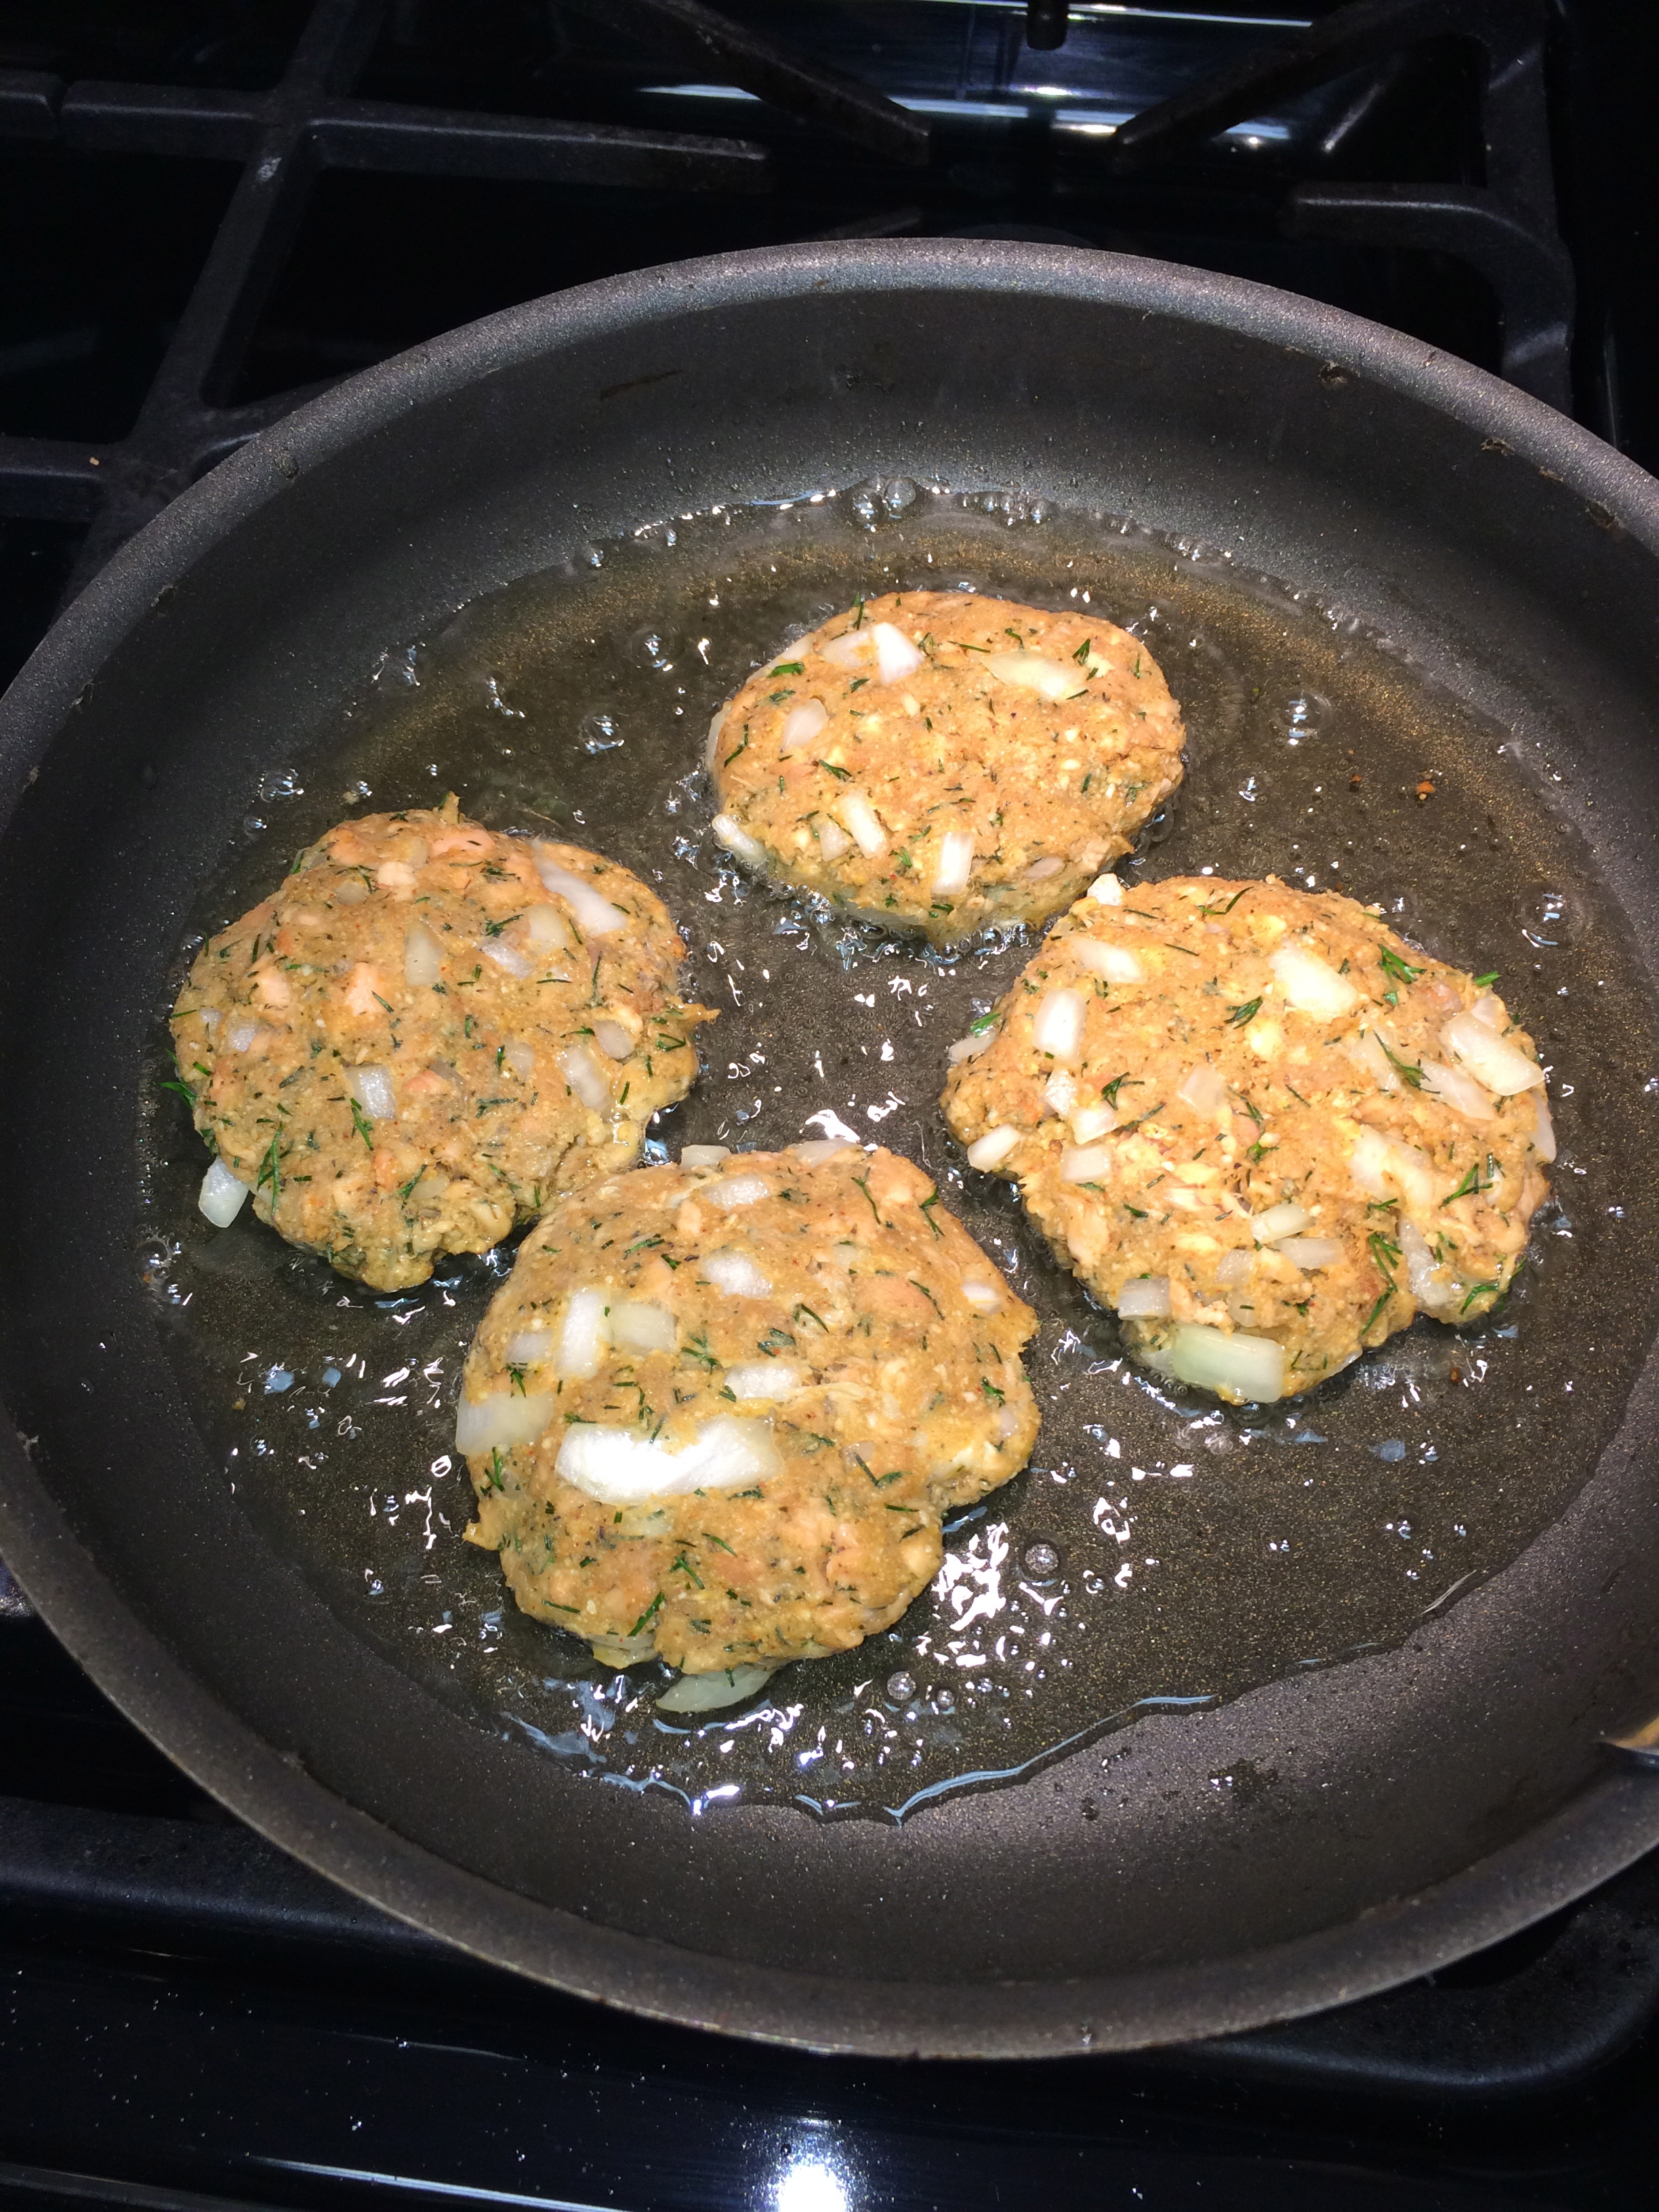
  5. Form the mixture into 8 patties (approximately two ounces each).
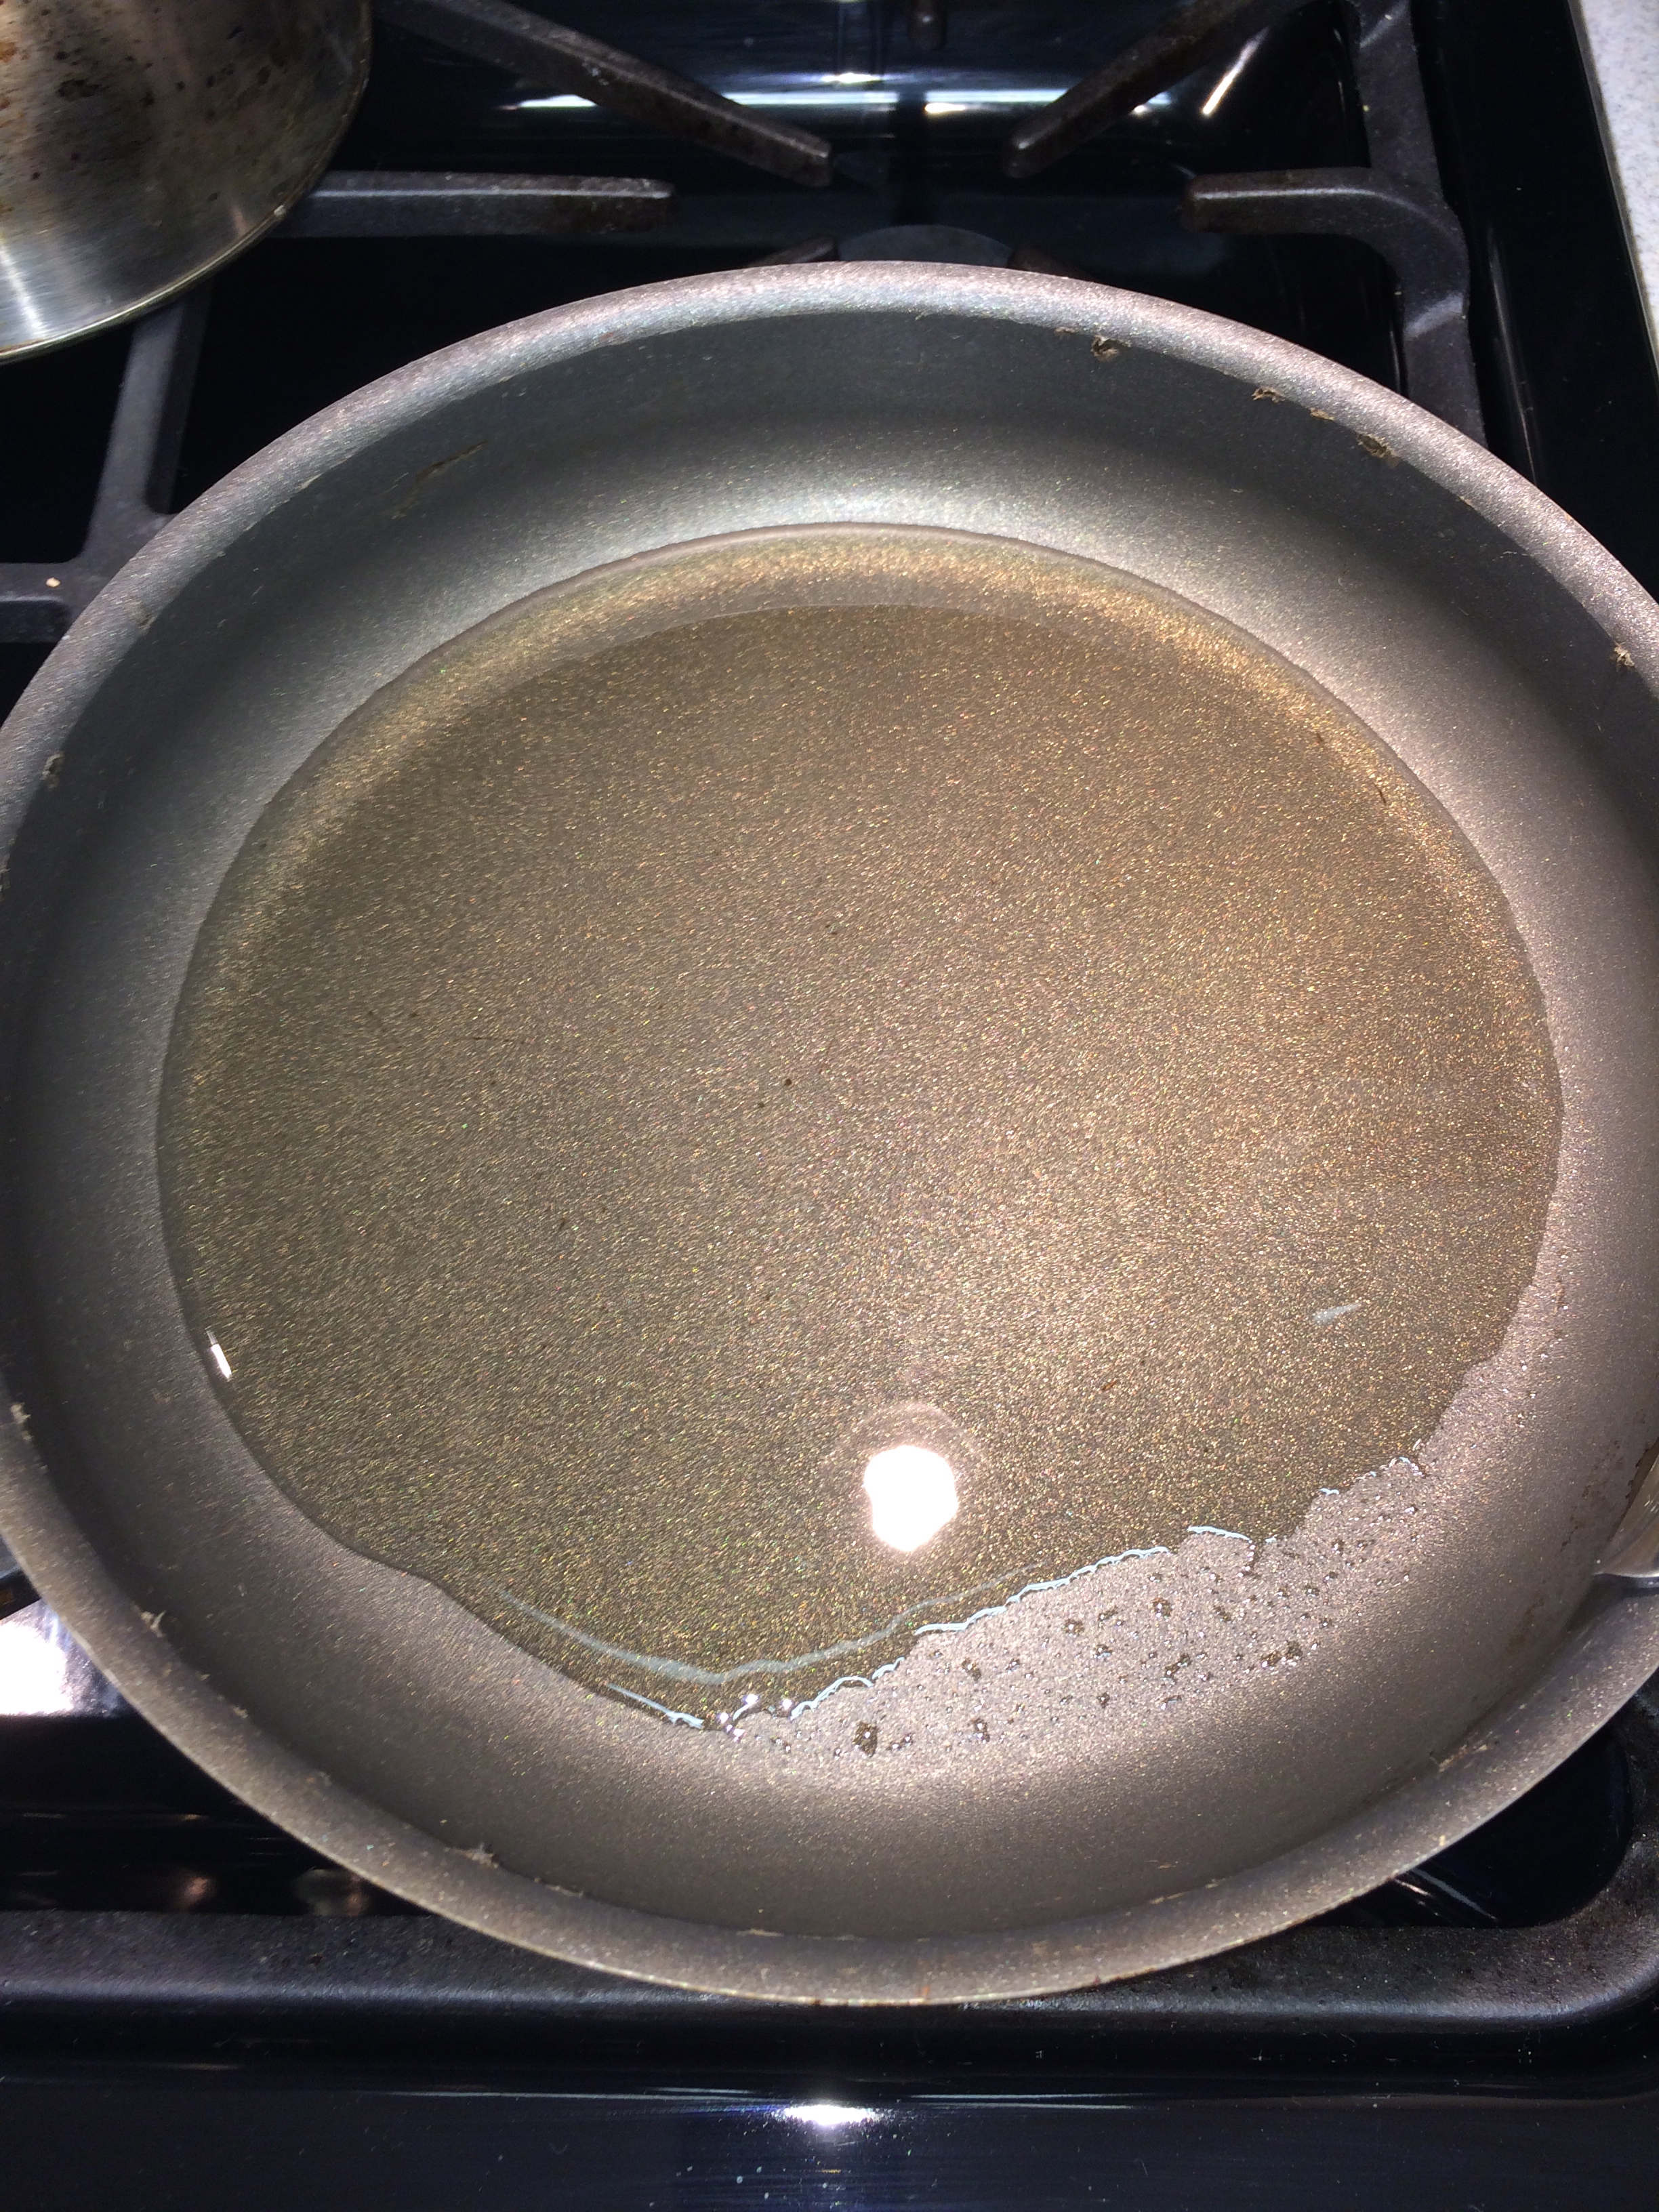
  6. Allow the patties to rest as oil heats. In a large skillet, coat the bottom of the pan with oil. Heat to about 350 degrees for frying. If you do not have a thermometer and are not sure if the oil is hot enough, use a small piece of one of the cakes or a piece of onion to test.
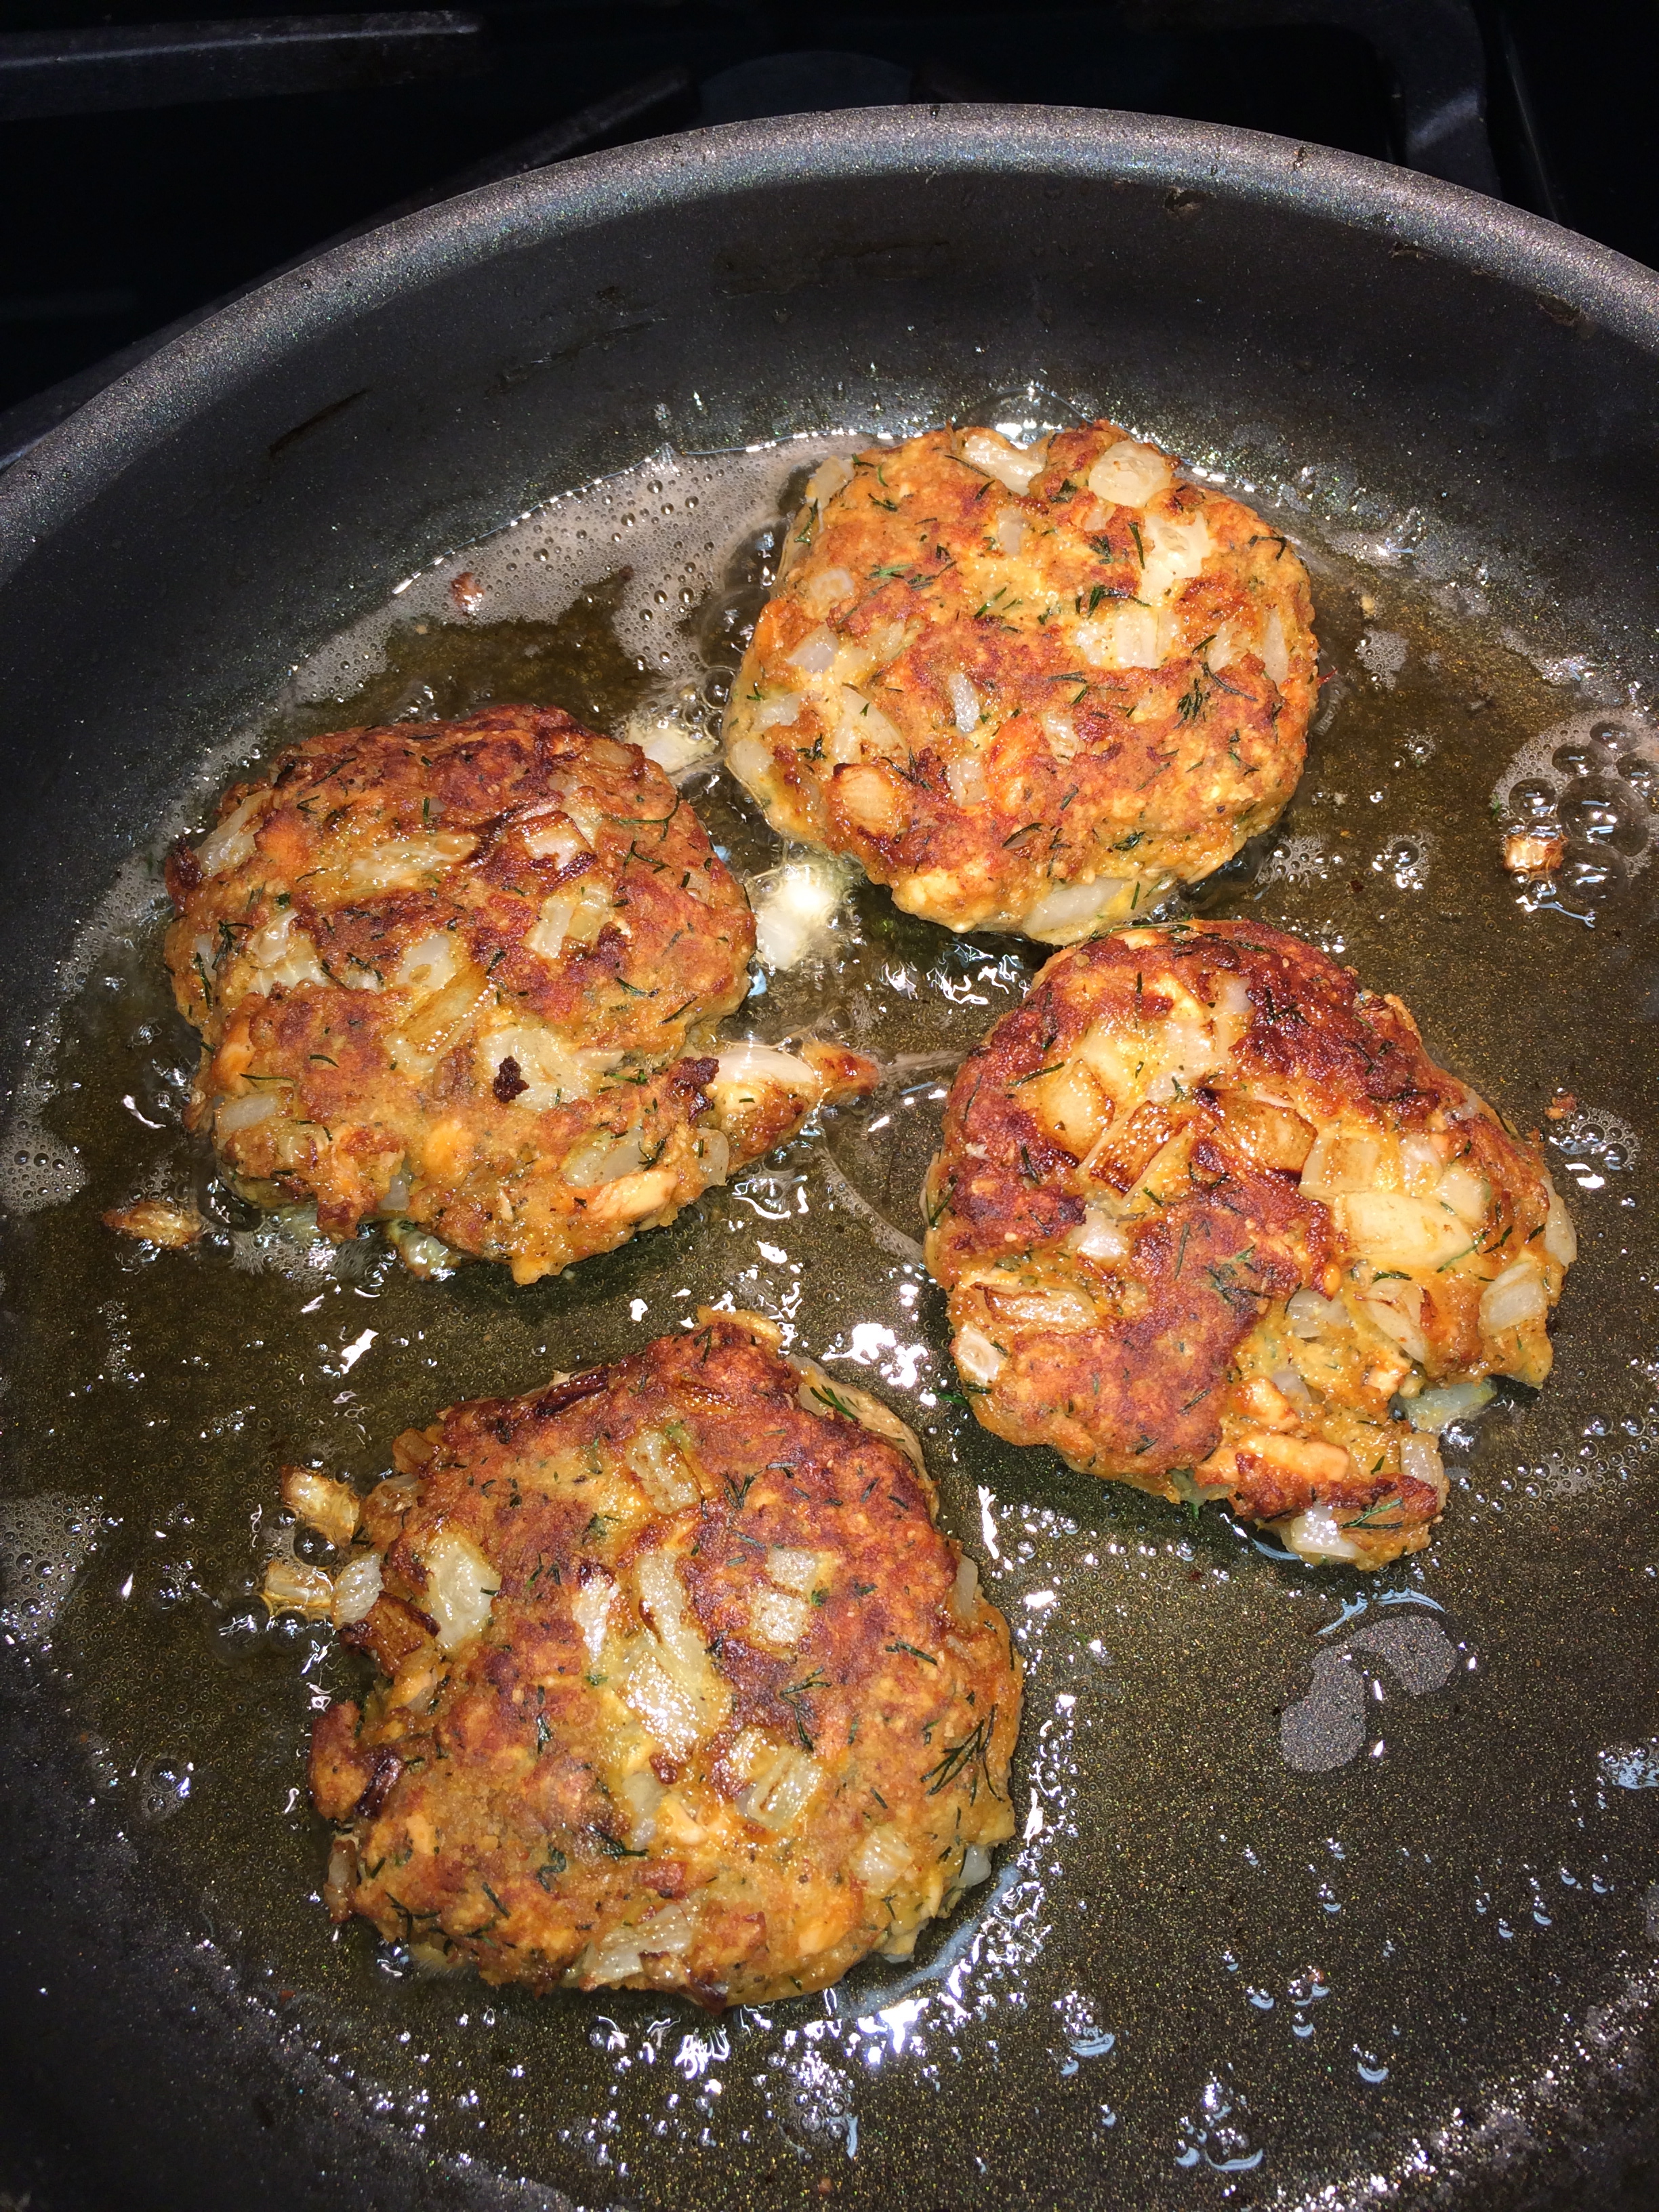
  7. When the oil is ready, fry the cakes, four at a time, two minutes per side. The color should be a deep golden brown. Remove from pan and place on paper towels to remove excess oil.
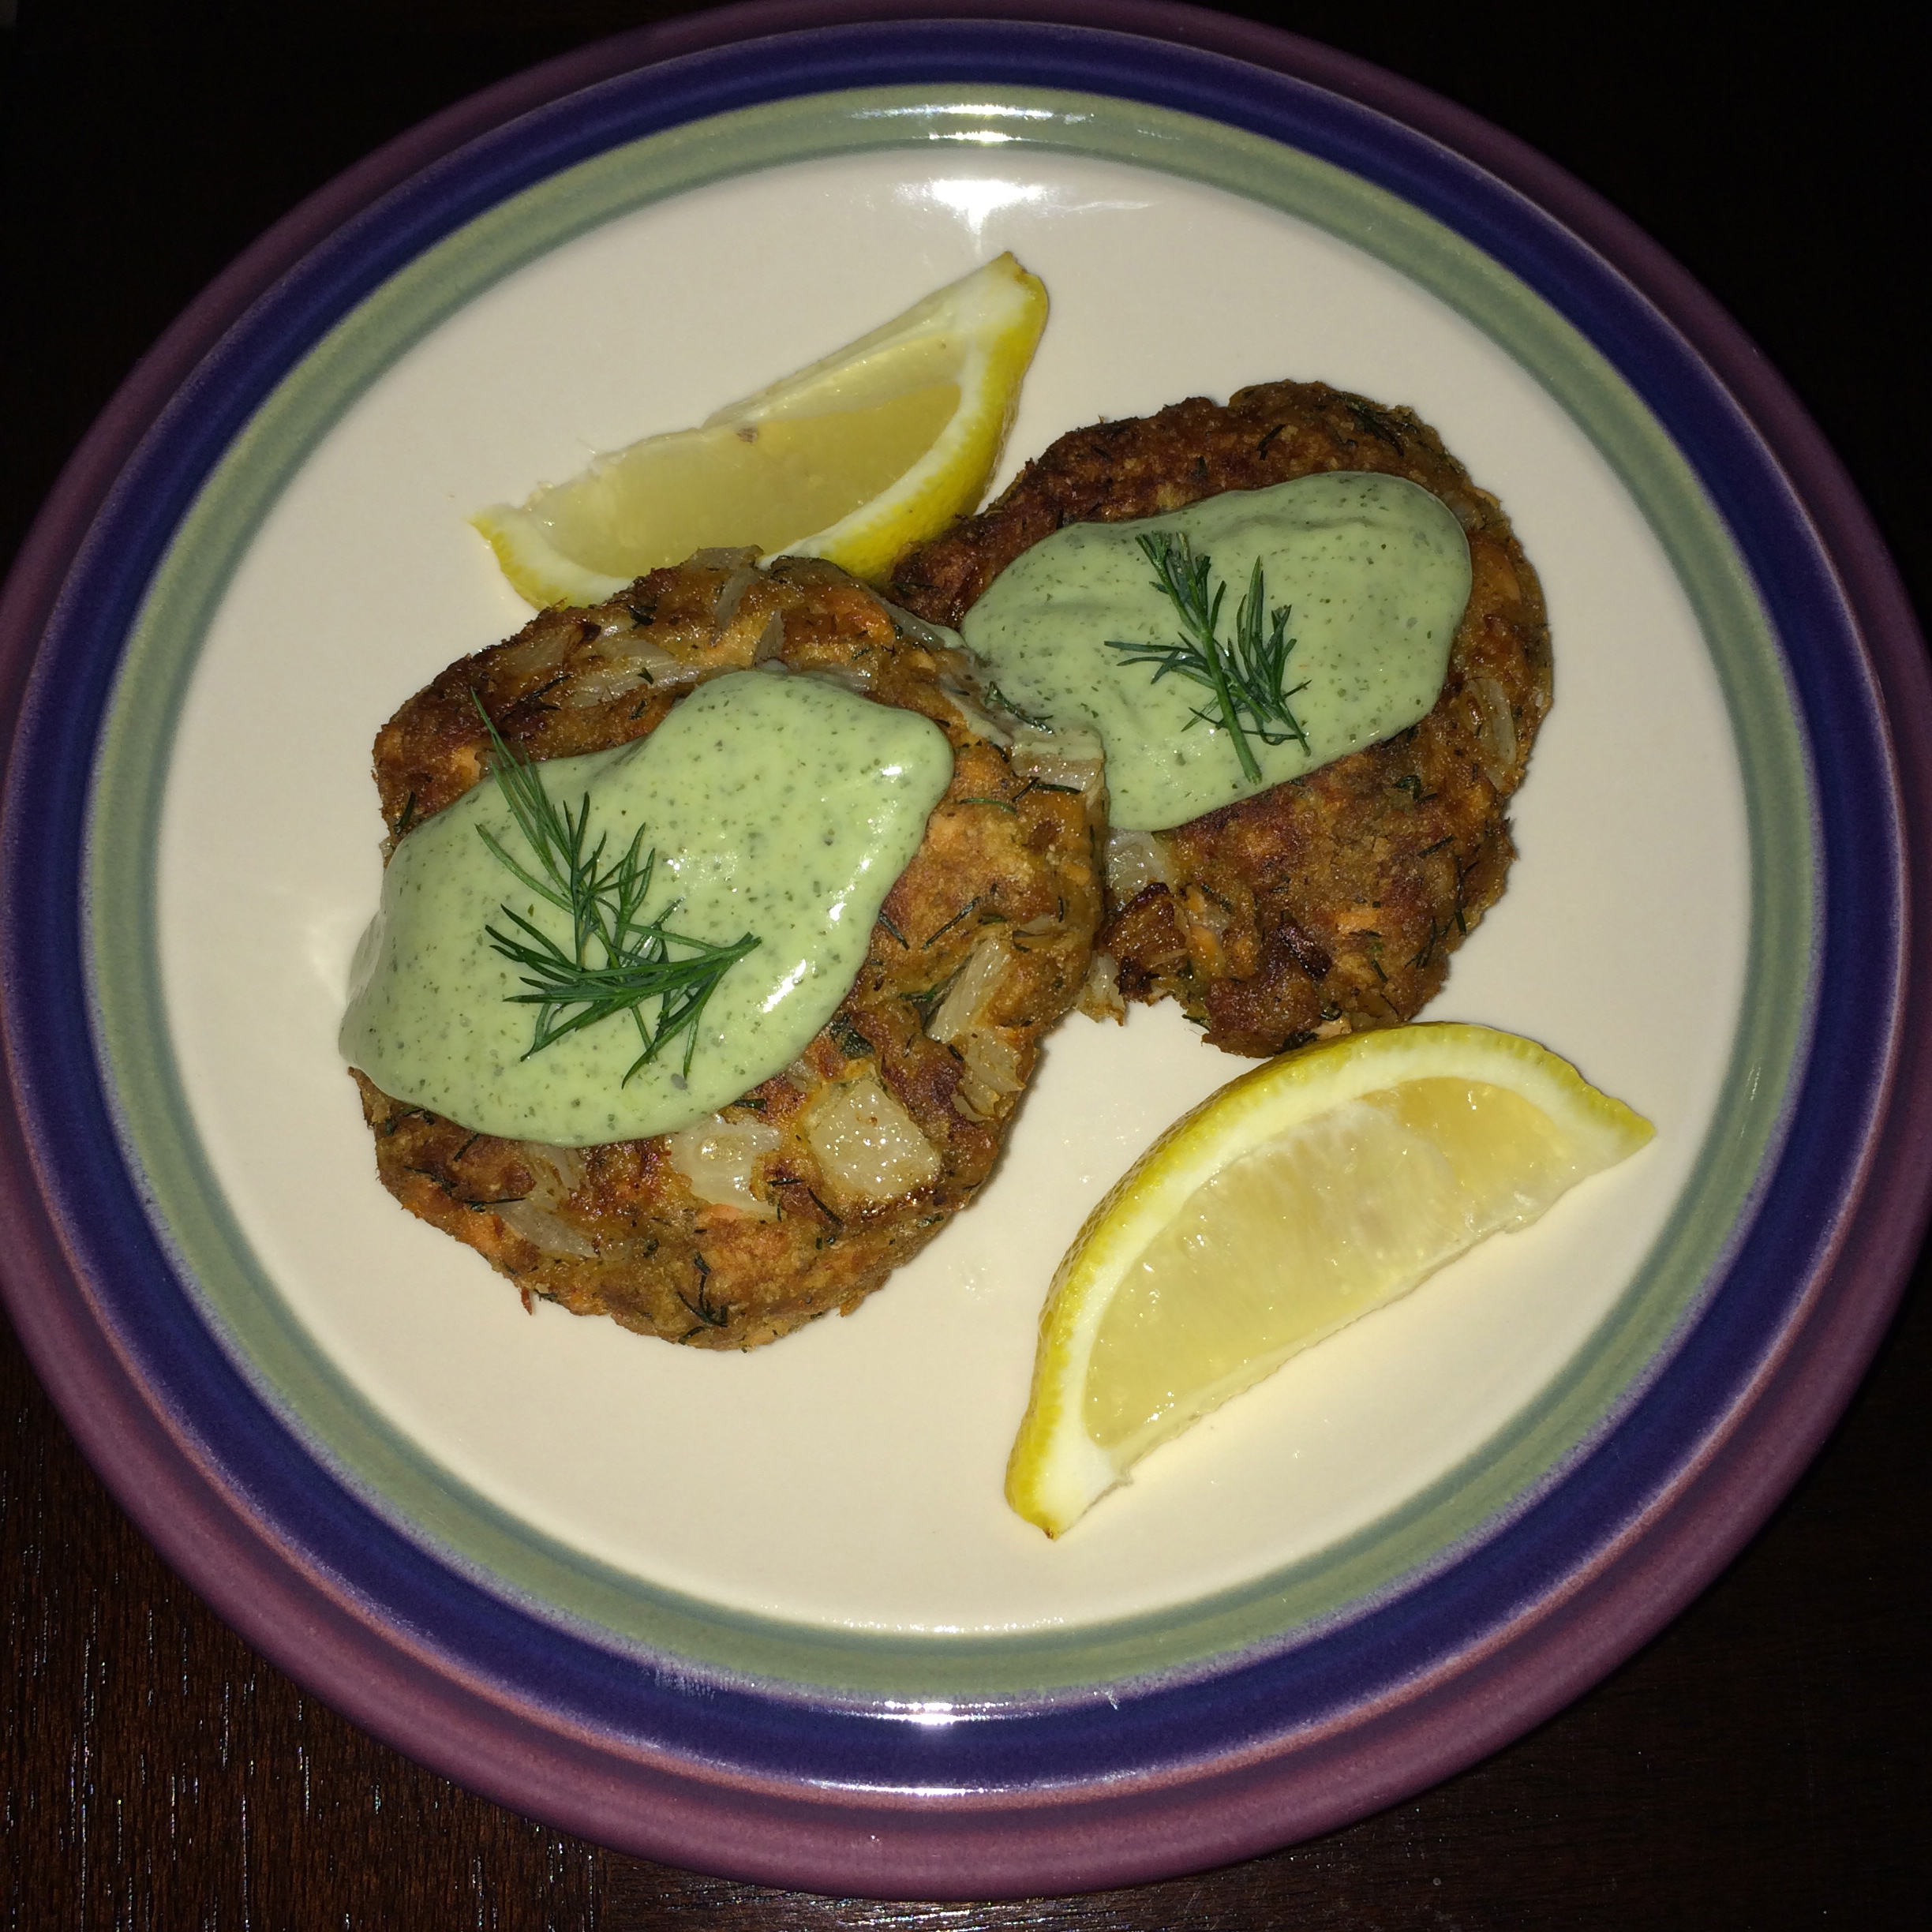
  8. Serve cakes with the Lemon-Chimichurri Aoli and garnish with lemon wedges and fresh dill. Salmon Cakes can be enjoyed hot or at room temperature.

LEMON-CHIMICHURRI AOLI
Make as little or as much as you would like with store-bought ingredients. I used equal parts ready-made chimichurri and low fat mayonnaise and thinned the mixture with lemon juice. For an even brighter, more lemony sauce, add some lemon zest.

IMG_2085 IMG_2086 IMG_2089 IMG_2090 IMG_2091 IMG_2092 IMG_2095 IMG_2096

Miso-Chicken Noodle Bowl

what's cooking

I had a noodle bowl craving the other day and decided to experiment. I looked at a couple of recipes and was inspired to create my own. The results were low-cal (353 calories in a generous sized serving), flavorful, and filling. Even better, it maybe took half an hour to prepare. My only criticism is the miso itself is high sodium, so something to keep in mind.

MISO-CHICKEN NOODLE BOWL

IMG_1606

INGREDIENTS
FOR BROTH:
1 large sweet Onion, chopped
4 cloves Garlic, chopped
2 cups chopped Carrots
2 tablespoons Sesame Oil, divided
1 pound Chicken Breasts, cut into thin strips
2 tablespoons chili garlic sauce
2 boxes (32 ounce) Miso Broth

FOR NOODLES
1 8-ounce package wide-style Chinese or Japanese noodles
1 tablespoon Sesame Oil

METHOD OF PREP
For best results, prepare the broth and noodles separate.

  1. Heat one tablespoon of oil in a large stock pot. Add onions and garlic, saute until slightly translucent, but not brown. Add carrots and ginger and saute until carrots are tender-crisp. Add a little water to keep vegetables from browning.
  2. Add miso broth, bring to a boil, and lower to a simmer.
  3. In a medium to large frying pan, heat one tablespoon sesame oil. Add chicken, stirring frequently until no pink remains. Add chili garlic sauce and stir until all pieces are coated.
  4. Transfer chicken to broth and continue to simmer as you prepare the noodles.
  5. Cook noodles in boiling salted water according to package directions. Drain and transfer to pot with one tablespoon sesame oil to prevent noodles from sticking.
  6. To serve – in a large bowl, add about half a cup of noodles. Pour 1 1/2 to 2 cups of the broth mixture over. Garnish with scallions and serve with chopsticks, if desired.

Broth mixture and be refrigerated and reheated as needed up to one week.

Chipotle Bacon Cheddar Cornbread

what's cooking

Today is International Bacon Day! In honor of the festivities, I decided it was an excuse to add bacon to one of my faves – Chipotle Cheddar Cornbread. Super easy recipe, semi-homemade style.

CHIPOTLE CHEDDAR CORNBREAD
5 strips thick-cut bacon
2 packages Jiffy Cornbread Mix
2/3 cup milk
2 eggs
1 cup grated onion cheddar
3 chipotle peppers in adobo sauce, chopped fine

PREPARATION

  1. Preheat oven to 350 degrees
  2. Cook the bacon to crispy but still chewy. Reserve some bacon grease (about two tablespoons) drain remainder and diced into small pieces. Set aside.
  3. Mix cornbread mix, milk and eggs until well incorporated.
  4. Mix in onion cheddar, chipotle peppers, and bacon.
  5. Take bacon grease and use to grease a 4″x8″ loaf pan.
  6. Pour bread batter into pan, and transfer to oven. Bake about 1 hour, until top is golden brown and you can insert a toothpick to the bread and it comes out clean.
  7. Let cool about one hour, remove from pan. Serve plain, or with butter and honey.

IMG_1056