Thai Chicken and Pineapple Fried Rice

AC_PANTRYPROJECTIMG_3795

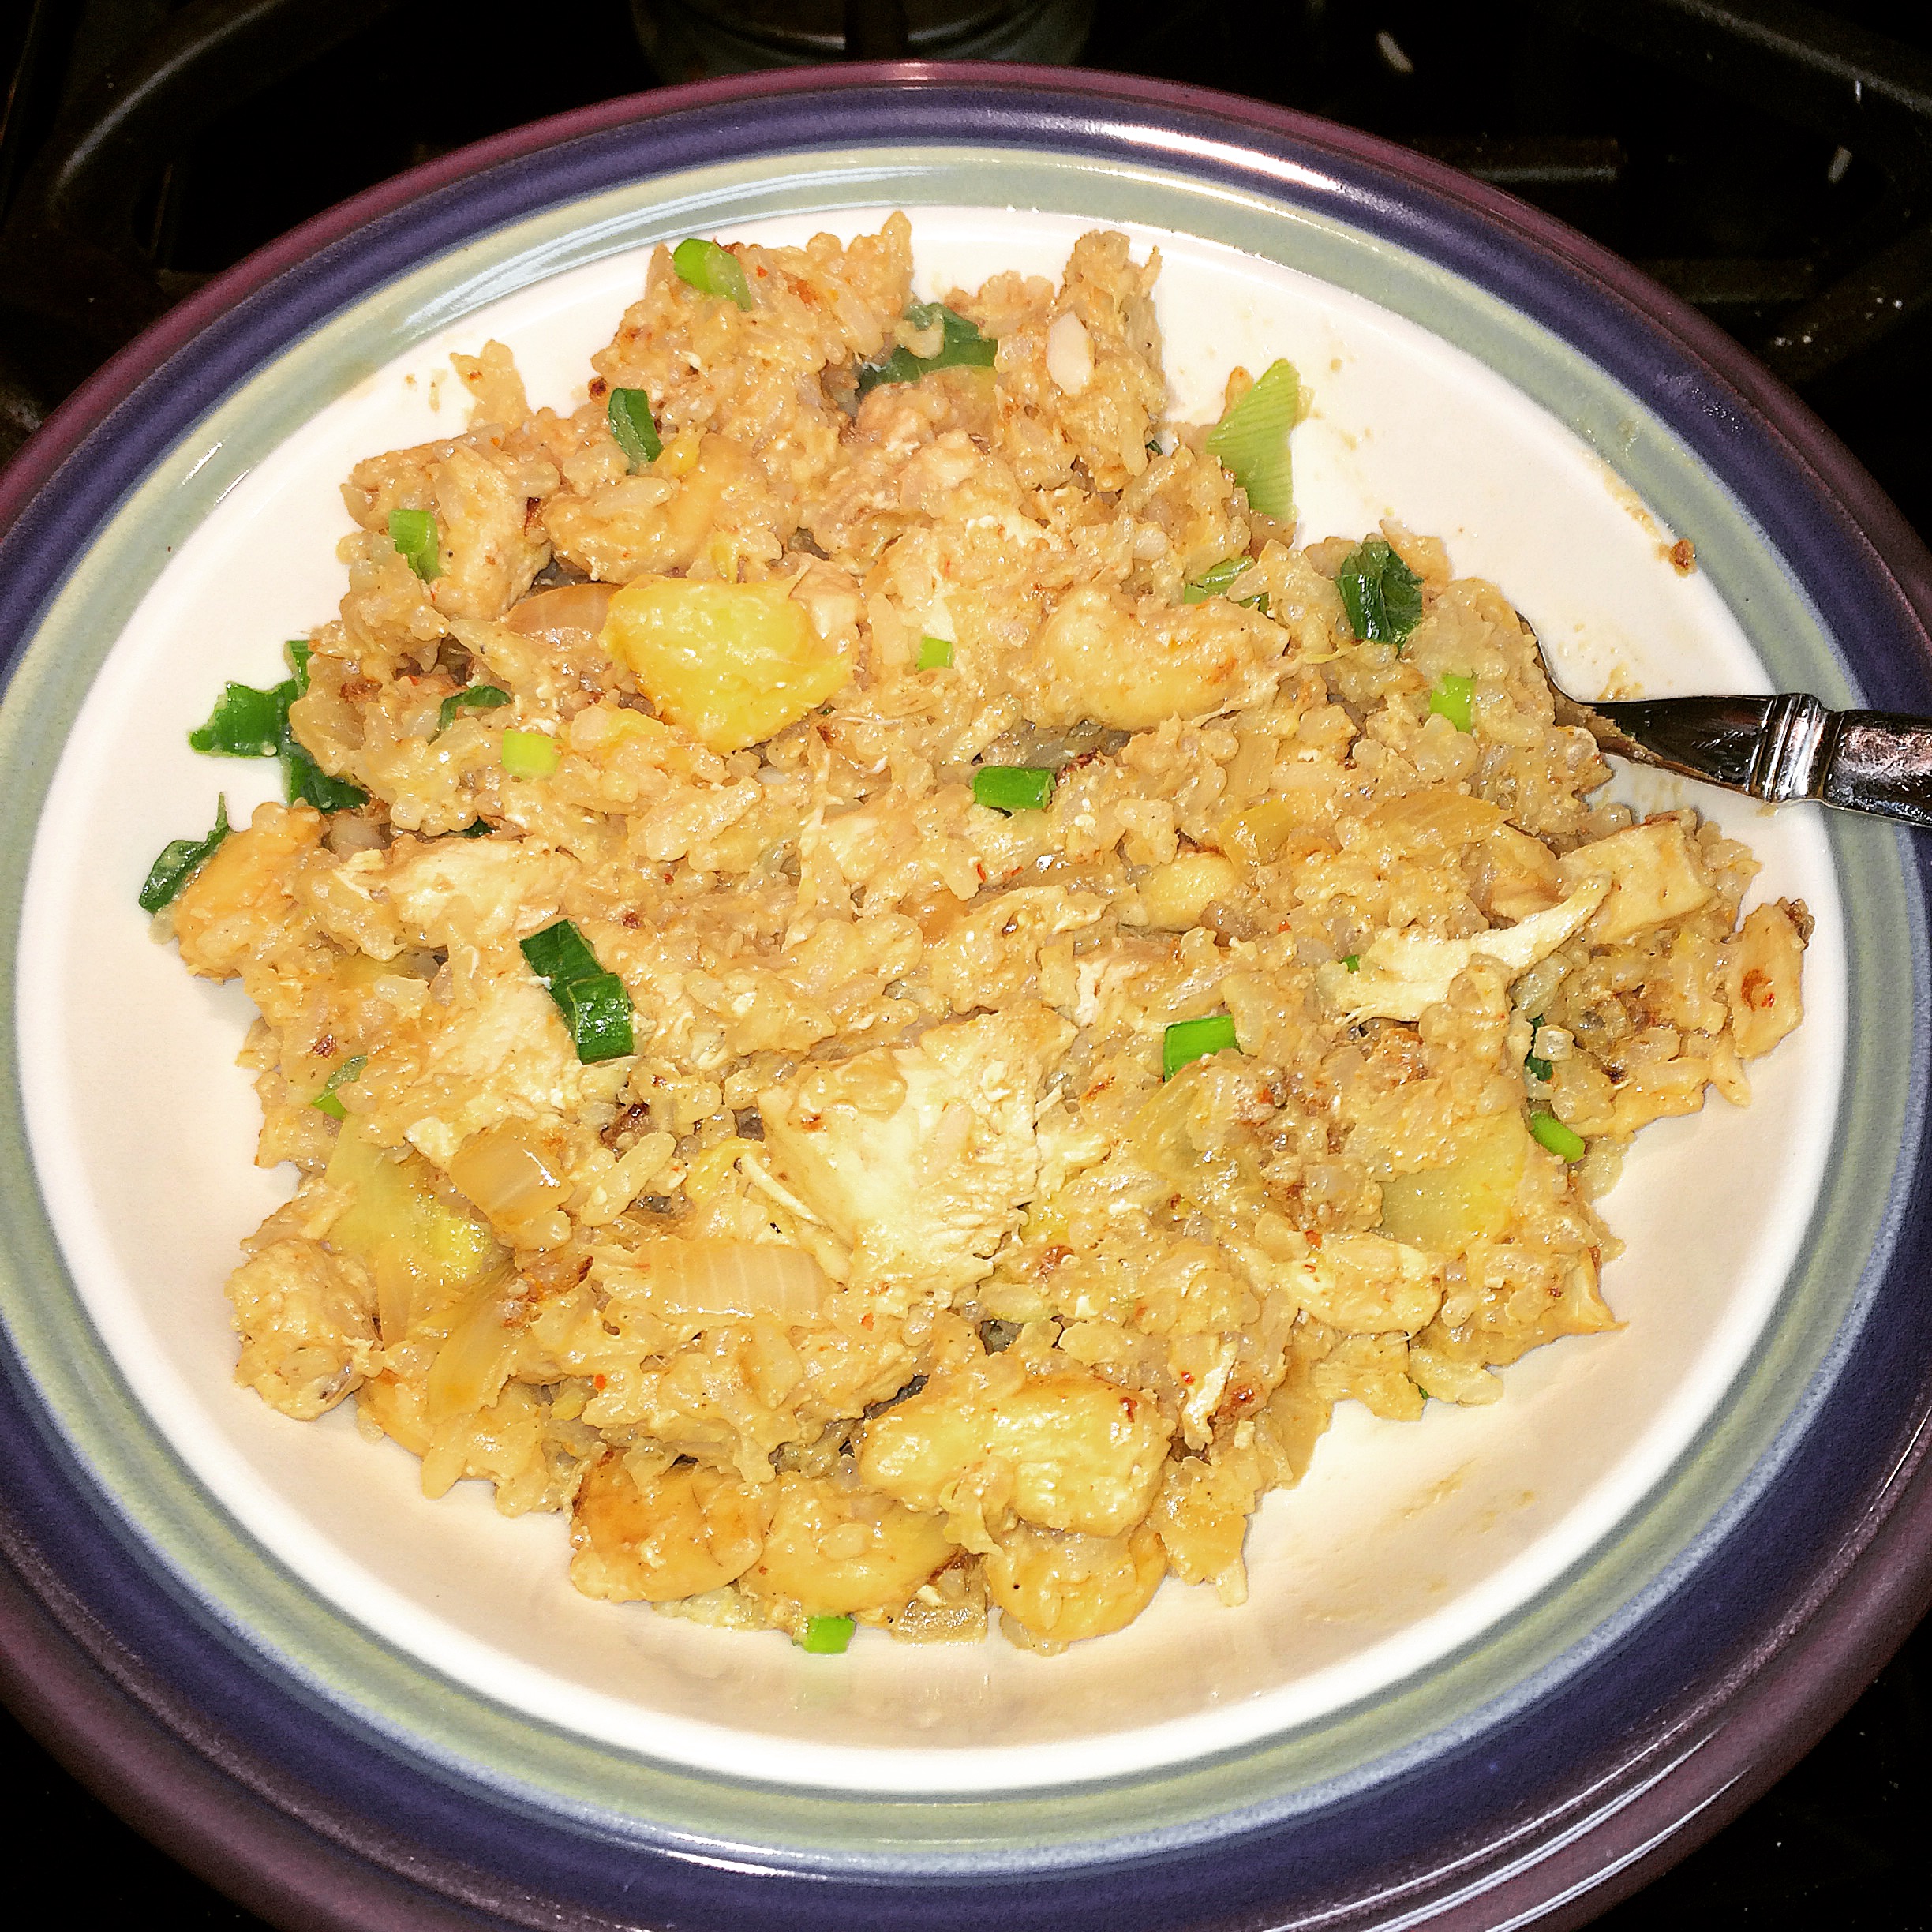
As I get the Accidental Pantry Project underway, I made my first dish tonight with stuff in my pantry and fridge. Recently I went  a Thai restaurant with some girlfriends and fell in love with the Pineapple Fried Rice. I tried to recreate the same at home. Overall I am pleased with the dish, but the rice turned out stickier than I would have liked. Next time I am going to cook the rice itself (meaning single ingredient, not whole dish) with a bit more oil and let it cool before mixing it into the stir fry.

My project is still in its early phases, and I have not taken full inventory of the food I have here at home, but I will add the food cost/savings at a later date.

THAI CHICKEN AND PINEAPPLE FRIED RICE

1 cup Thai-style Jasmine rice
1 pound chicken, cut into strips or cubes
2 cups frozen pineapple chunks, thawed and chopped into smaller chunks
1/2 onion, diced
3 scallions, chopped – white divided from green
2 tablespoons minced garlic
1/2 cup unsalted cashews
1 tablespoon red curry paste
2 tablespoons ginger paste
1/4 cup sesame oil, divided
1/4 cup liquid aminos or soy sauce
2 eggs, raw

  1. Prepare rice according to package directions, set aside to cool
  2. In a wok or large skillet, heat about 1 tablespoon of sesame oil, add chicken and stir fry until browned and about 75% cooked (do not overcook because it will get cooked again later). Remove from skillet and set aside
  3. In same wok, heat about another tablespoon of sesame oil. Add onions, white scallions, and garlic. Cook until lightly browned
  4. Add cashews, ginger paste, and curry paste. Cook about another minute
  5. Add rice, rest of oil, liquid aminos, and chicken. Stir fry mixture about 3-4 minutes until rice starts to take on a golden brown color. Adjust seasonings to your preference
  6. Crack eggs above mixture and stir into the rice, cooking about one more minute
  7. Garnish with green scallions. Dish serves 4

INTRODUCING….The Accidental Pantry Project

AC_PANTRYPROJECT

The Accidental Pantry Project!!! This project is going to be more of a practice than a project, and it will take a few phases to really get it going. Bear with me because as I get my thoughts out, this may read a bit more stream of conscious than a regimented program.


MY FOOD ADDICTION

First things first…I have an addiction to food and food shopping. I have worked in some form of a food based business for nearly 19 years, and most recently I work for Whole Foods Market. One of my favorite things to do is to go to a store and just pore over everything in the aisles. I love seeing what is trendy, what is new, and getting inspiration for my next or future meals. I loved when business is a little slow and I can explore what was new and different. Through my obsession (and employee discount and knowledge of the best sales), I built quite the pantry. Translation – I am a borderline food hoarder. There is food in several different nooks and crannies throughout my condo. Continue reading

S’Mores Cheescake Bars

what's cooking

Since I recently have not been working as much, I had my girlfriends over for dinner as a late Christmas present. Rather than buying gifts, I cooked for them. For dessert, I winged this S’mores Cheesecake Bar recipe and I was overall happy with the results. I made a couple of tweaks to the recipe to improve it for future use and for you, my dear 5 or 6 readers 🙂

When I made this I used an 8×10 glass pan, but I recommend doing this in an 8×8 square pan instead.

IMG_3757 IMG_3761

S’MORES CHEESECAKE BARS

For crust:
12 graham crackers, crushed
3 tablespoons butter, melted
2 tablespoons sugar
pinch of salt

For cheesecake and topping:
8 ounces cream cheese, softened (1 block)
1 cup marshmallow fluff
1/4 cup sugar
1 tablespoon vanilla extract
1 egg
pinch of salt
1 cup chocolate chips, optionally divided
1 1/2 cups marshmallows (or enough to cover top layer of bars)

  1. Preheat oven to 350 degrees
  2. Grease an 8×8 baking pan
  3. Mix graham crackers, butter, sugar, and pinch of salt. Texture should resemble wet sand
  4. Pour cracker mixture into pan. Using wax paper, firmly press it down into one uniform layer on bottom of pan
  5. Bake for 10 minutes or until golden brown. Allow to cool while you prepare filling
  6. Using a hand or stand mixture, beat the cream cheese about one minute. Add marshmallow fluff and sugar and mix until well blended
  7. Add egg, vanilla extract and salt, beat until smooth
  8. Fold in chocolate chips. You may choose to reserve some for the top
  9. Pour batter into pan. Add layer of marshmallows on top, enough to fully cover the mixture
  10. Bake for 15-20 minutes until cheesecake is set, but do not over bake
  11. Marshmallows should have a golden brown color. For a deeper, toastier look, switch your oven to the broiler setting and brown marshmallows for approximately one minute. You may do this with the door open so you may monitor and pull the pan before marshmallows burn
  12. Remove from oven. While still hot, you may add extra chocolate chips on top, if desired
  13.   Allow bars to cool before cutting. You may also refrigerate for up to a week